Hiding A Trail Camera
Buy 3 Get 18% OFF
Buy 5 Get 20% OFF
Buy 3 Get 18% OFF
Buy 5 Get 20% OFF
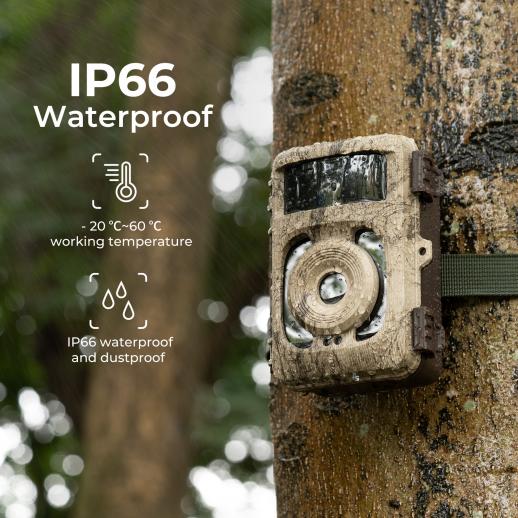
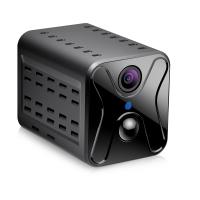
- * KF35.133 =KF35.127S1=KF35.127V1+KF28.0011*2+KF42.0013 Discreet: Hides easily in natural surroundings:The TrailCamera Wifi can be easily hidden in natural surroundings, making it difficult to detect.
- * Remote Access: Control and view footage from anywhere:With the TrailCamera Wifi's APP, you can remotely access and control the camera from anywhere.
- * Time Watermark: Accurate time stamp on footage:The TrailCamera Wifi's time watermark function ensures accurate time stamping on all footage.
- * Loop Recording: Never miss a moment:The TrailCamera Wifi's loop recording feature ensures that you never miss a moment, as it automatically overwrites old footage.
- * Customizable Settings: Tailor the camera to your needs:The TrailCamera Wifi offers customizable settings, including timing shooting function and number of consecutive shots, allowing you to tailor the camera to your specific needs.
Buy 3 Get 18% OFF
Buy 5 Get 20% OFF
Hiding a trail camera involves concealing it from view to avoid detection by animals or humans. This can be done by using natural camouflage, such as placing the camera behind a tree or bush, or by using artificial camouflage, such as a camo cover or wrap. It is important to ensure that the camera is securely attached to its hiding spot to prevent it from falling or being knocked over. Additionally, it is important to choose a location that is likely to capture the desired footage, such as near a game trail or water source. Some trail cameras also have features such as invisible flash or no-glow technology to further reduce the chances of detection. Properly hiding a trail camera can increase the chances of capturing high-quality footage of wildlife or other outdoor activities.
Maintenance:
1. Choose a strategic location: When hiding a trail camera, it is important to choose a strategic location that is not easily visible to humans or animals. Look for natural cover such as bushes, trees, or rocks that can help conceal the camera.
2. Use camouflage: Camouflage is an effective way to hide a trail camera. You can use a camouflage wrap or paint to blend the camera with the surrounding environment. This will make it less noticeable to animals and humans.
3. Secure the camera: Make sure the camera is securely mounted to prevent it from being knocked over or stolen. Use a sturdy mount and secure it to a tree or post using a cable lock.
4. Check the camera regularly: It is important to check the camera regularly to ensure it is still functioning properly. Check the battery life, memory card, and camera settings to make sure everything is working as it should.
5. Clean the camera: Dirt, dust, and debris can accumulate on the camera lens and affect the quality of the images. Use a soft cloth to clean the lens and remove any debris. This will ensure that the camera is always ready to capture high-quality images.
Product Advantages:
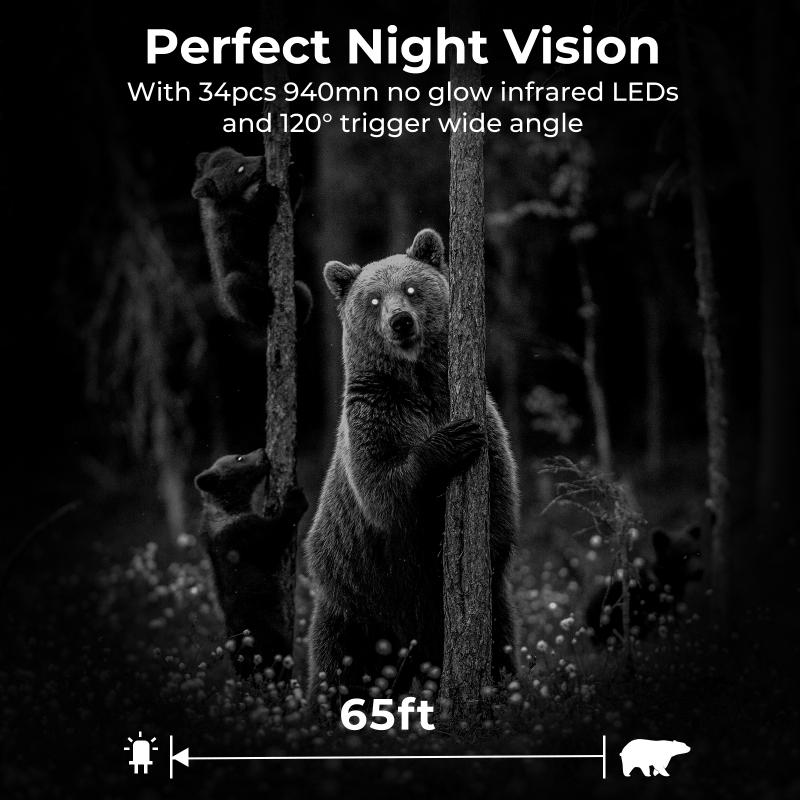
1. Stealth: One of the biggest advantages of a trail camera is its ability to remain hidden. By hiding the camera, you can capture images and videos of wildlife without disturbing them. This is especially important for animals that are easily spooked or shy.
2. Security: Hiding a trail camera can also be useful for security purposes. By placing the camera in a hidden location, you can monitor your property and capture footage of any potential intruders.
3. Versatility: Trail cameras are incredibly versatile and can be used for a variety of purposes. Whether you're a wildlife enthusiast, a hunter, or a homeowner looking to improve security, a trail camera can be a valuable tool.
4. High-quality images: Many trail cameras are equipped with high-quality lenses and sensors, which allow them to capture clear, detailed images and videos. This is especially important for wildlife photography, where you want to capture every detail of your subject.
5. Easy to use: Trail cameras are designed to be easy to use, even for beginners. Most models come with simple controls and intuitive menus, making it easy to set up and operate the camera.
6. Long battery life: Finally, many trail cameras are designed to have long battery life, allowing them to capture images and videos for extended periods of time. This is especially important if you're using the camera for wildlife photography, where you may need to leave it in place for days or even weeks at a time.

Related accessories:
1. Camouflage Cover: A camouflage cover is an essential accessory for hiding a trail camera. It helps to blend the camera with the surrounding environment, making it difficult for animals or intruders to detect. The cover is made of durable materials that can withstand harsh weather conditions and protect the camera from damage.
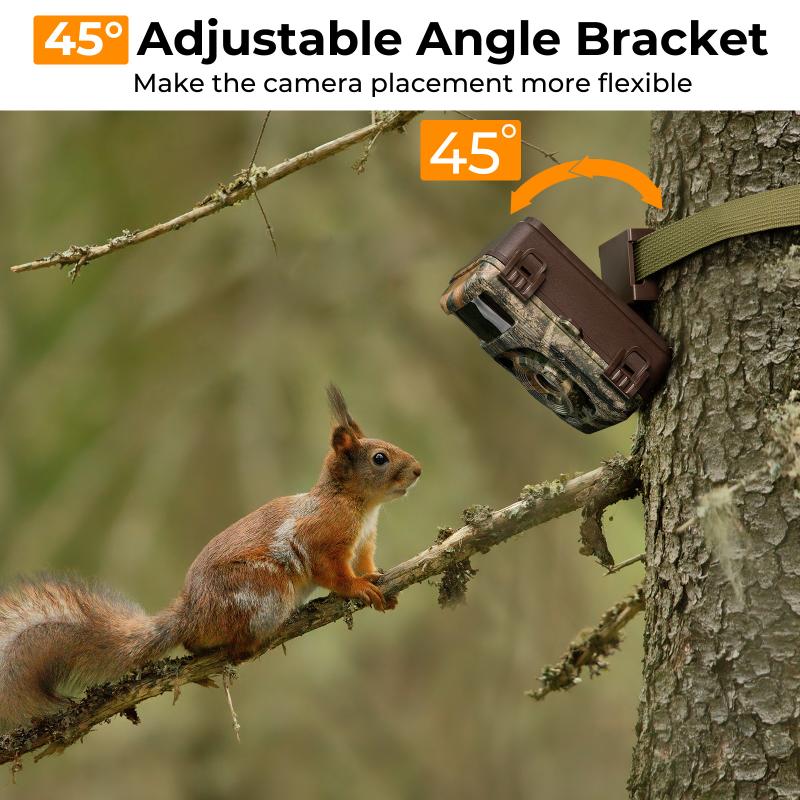
2. Tree Mount: A tree mount is another accessory that can help to hide a trail camera. It allows you to attach the camera to a tree trunk, making it less visible to animals or intruders. The mount is easy to install and can be adjusted to different angles for better coverage.
3. Security Box: A security box is a must-have accessory for protecting your trail camera from theft or damage. It is made of heavy-duty materials that can withstand tampering and can be locked with a padlock. The box also helps to conceal the camera, making it less visible to intruders.
4. Wireless Remote Control: A wireless remote control is a convenient accessory that allows you to operate your trail camera from a distance. It eliminates the need to approach the camera, which can scare away animals or intruders. The remote control is easy to use and can be programmed to take photos or videos at specific intervals.
Common problems:
Error 1: Blurry Images
If the trail camera is producing blurry images, it could be due to the camera being mounted on an unstable surface or the camera's lens being dirty. To solve this issue, ensure that the camera is mounted on a stable surface and clean the lens with a microfiber cloth.
Error 2: Battery Drain
If the trail camera's battery is draining quickly, it could be due to the camera's settings being too high or the battery being old. To solve this issue, adjust the camera's settings to a lower level and replace the battery with a new one.
Error 3: Memory Card Error
If the trail camera is displaying a memory card error, it could be due to the memory card being full or damaged. To solve this issue, transfer the images from the memory card to a computer and delete them from the card. If the memory card is damaged, replace it with a new one.
Error 4: Infrared Flash Not Working
If the trail camera's infrared flash is not working, it could be due to the camera's settings being incorrect or the flash being damaged. To solve this issue, ensure that the camera's settings are set to use the infrared flash and replace the flash if it is damaged.

Product parameters:
Timing shooting function : 3 seconds - 24 hours
Acceptance method : APP
Sleep current : about 0.20mA
LCD display : 2.0" IPS 320×240(RGB) DOT
APP name : TrailCamera Wifi
Number of consecutive shots : 1 shot in a row, 2 shots in a row, 3 shots in a row, 10 shots in a row
Loop recording : Support
Net weight : 727g
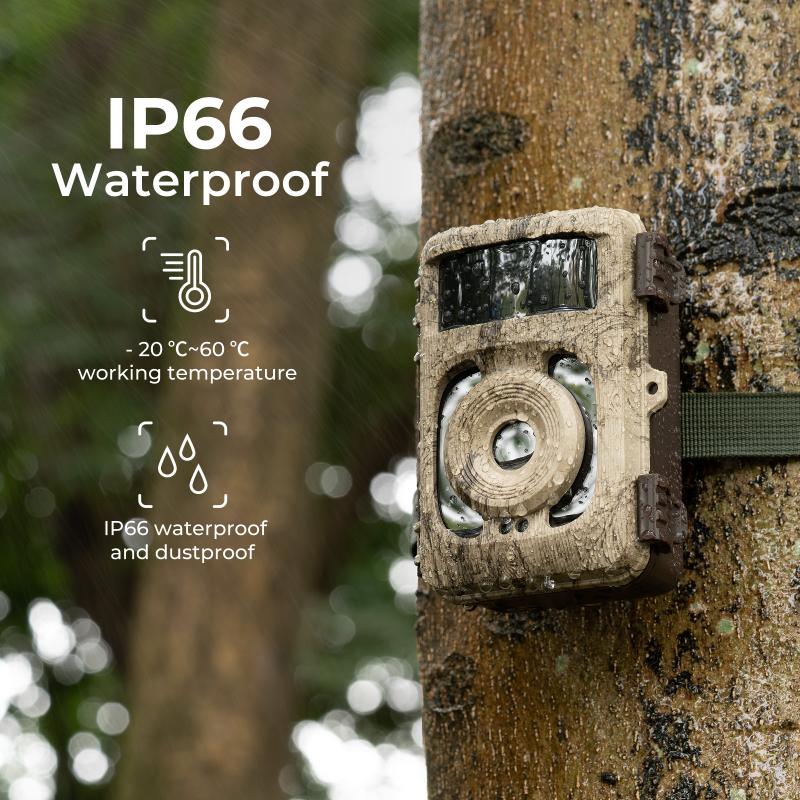
Dust and waterproof rating : IP66
Time watermark function : Support
- All Reviews
- Image

