Camera Flash How It Works?
Understanding Camera Flash: How It Works and Practical Applications
In the realm of photography, lighting is paramount. It can make or break a photograph, transforming a mundane scene into a captivating image. One of the most essential tools for managing light in photography is the camera flash. Despite its ubiquity, many photographers, both amateur and professional, often overlook the intricacies of how a camera flash works and how to use it effectively. This article delves into the mechanics of camera flash, its various types, and practical tips for optimizing its use in different scenarios.
The Basics of Camera Flash
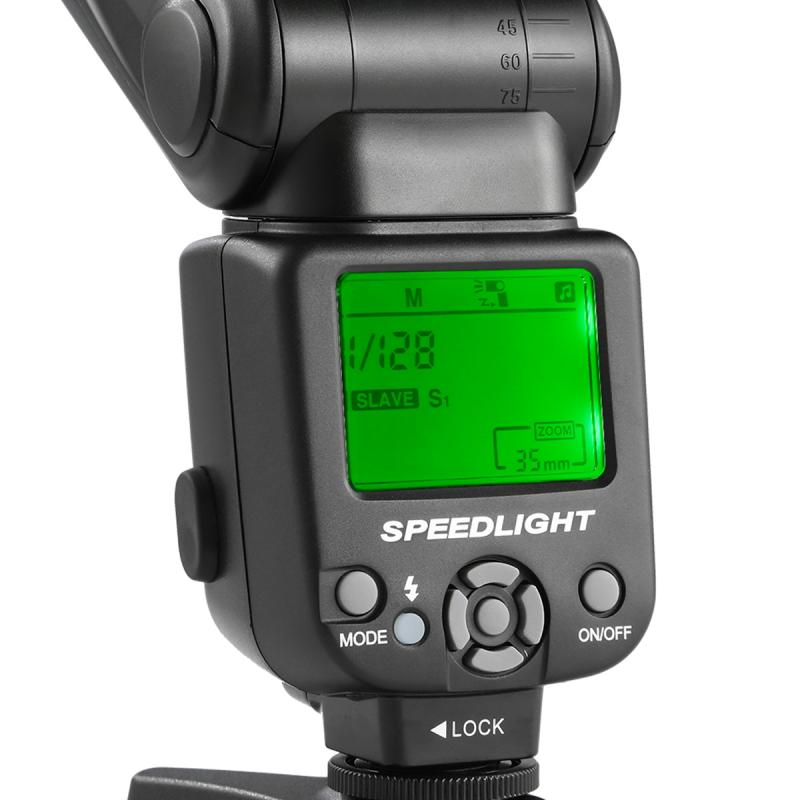
At its core, a camera flash is a device that produces a burst of light to illuminate a scene. This burst is typically very brief, lasting only a fraction of a second, but it is powerful enough to light up a subject in low-light conditions or to fill in shadows in brighter environments. The primary components of a camera flash include the flash tube, the capacitor, and the triggering mechanism.
1. Flash Tube: This is the part of the flash that emits light. It is usually a small, gas-filled tube that produces a bright flash when an electric current passes through it.
2. Capacitor: The capacitor stores electrical energy and releases it in a quick burst to power the flash tube. It charges up between flashes, ensuring that the flash is ready to fire again after each use.
3. Triggering Mechanism: This can be either a manual button or an automatic system that triggers the flash when the camera's shutter is pressed. In modern cameras, this is often synchronized with the camera's exposure settings to ensure proper illumination.
Types of Camera Flashes
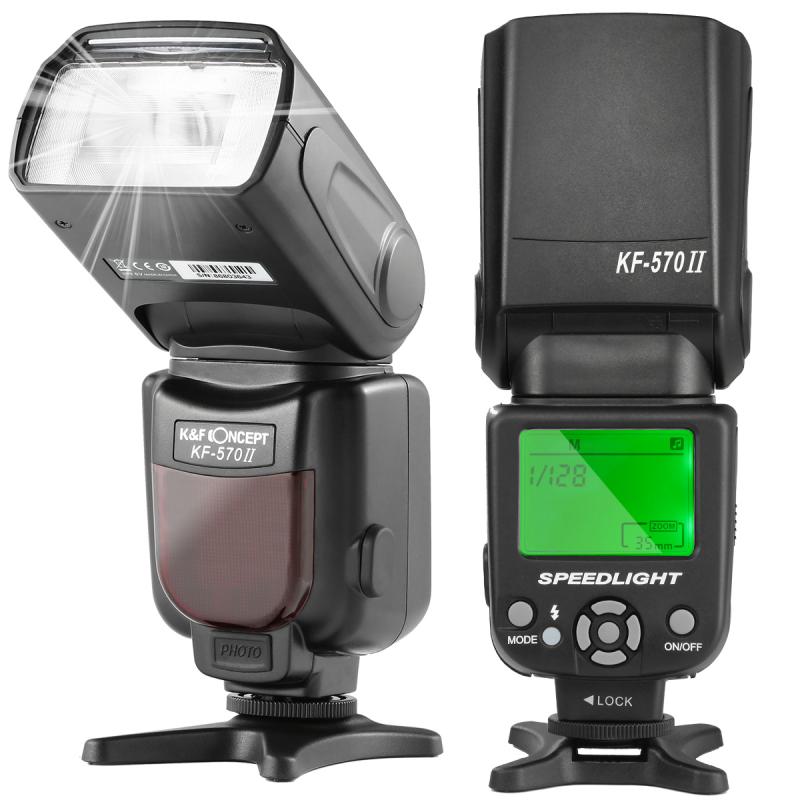
Camera flashes come in various forms, each suited to different photographic needs. Understanding the types of flashes available can help photographers choose the right tool for their specific requirements.
1. Built-in Flash: Most consumer-grade cameras come with a built-in flash. This is a small, integrated flash unit that pops up or is fixed in place on the camera body. While convenient, built-in flashes often have limited power and can produce harsh, unflattering light.
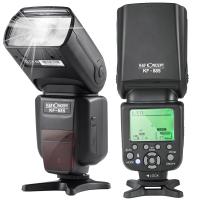
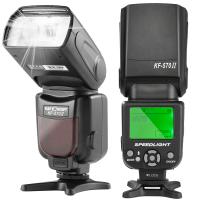
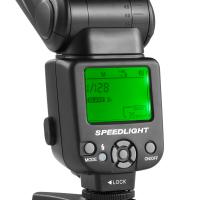
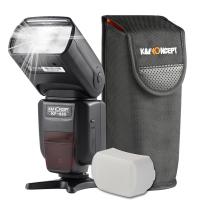
2. External Flash (Speedlight): An external flash, or speedlight, is a more powerful and versatile option. These flashes can be mounted on the camera's hot shoe or used off-camera for more creative lighting setups. They offer adjustable power settings, bounce capabilities, and can be used with various modifiers to soften or direct the light.
3. Studio Strobes: For professional studio photography, strobes are the go-to choice. These are high-powered flashes that require external power sources. They offer consistent, powerful lighting and can be used with a wide range of modifiers, such as softboxes and umbrellas, to achieve desired lighting effects.
4. Ring Flash: A ring flash is a circular flash that fits around the camera lens. It provides even, shadow-free lighting, making it popular for macro photography and portraiture.
How Camera Flash Works
The operation of a camera flash involves several steps, all of which occur in a fraction of a second:
1. Charging: When the camera is turned on, the capacitor in the flash unit begins to charge. This process can take a few seconds, depending on the flash's power and the state of the batteries.
2. Triggering: When the shutter button is pressed, the camera's internal circuitry sends a signal to the flash unit to fire. This signal is precisely timed to coincide with the opening of the camera's shutter.
3. Firing: The capacitor releases its stored energy in a quick burst, causing the flash tube to emit a bright flash of light. This light illuminates the scene, allowing the camera to capture a well-exposed image.
4. Recharging: After the flash fires, the capacitor begins to recharge, preparing for the next shot. The recharge time can vary, but most modern flashes are designed to recharge quickly to keep up with fast-paced shooting.
Practical Applications of Camera Flash
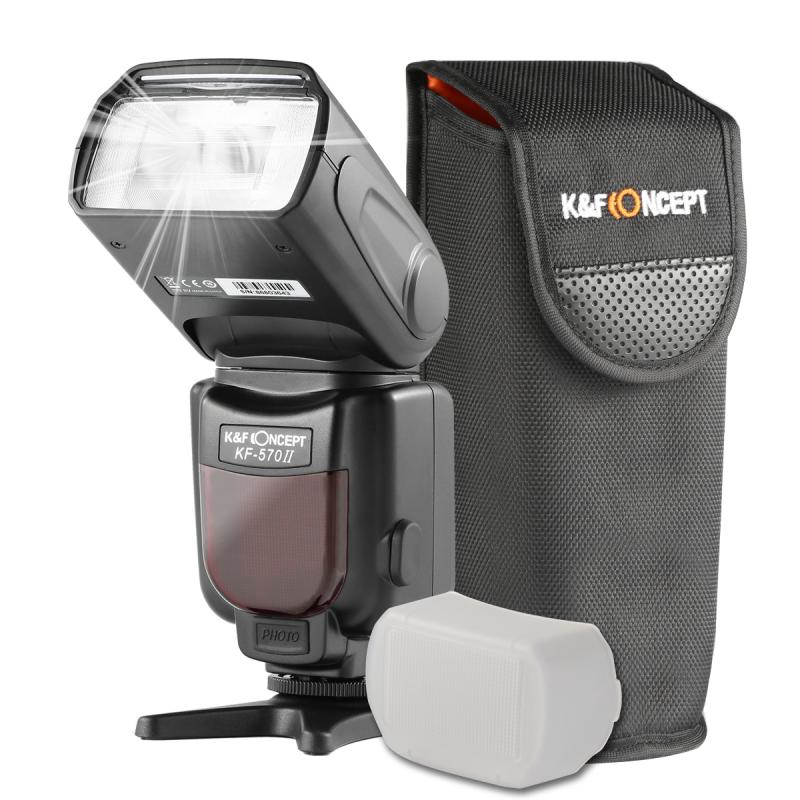
Understanding how to use a camera flash effectively can significantly enhance your photography. Here are some practical tips for different scenarios:
1. Fill Flash: In bright outdoor conditions, shadows can be harsh and unflattering. Using a fill flash can help to illuminate shadowed areas, creating a more balanced exposure. This technique is particularly useful for portrait photography, where it can help to reduce shadows on the subject's face.
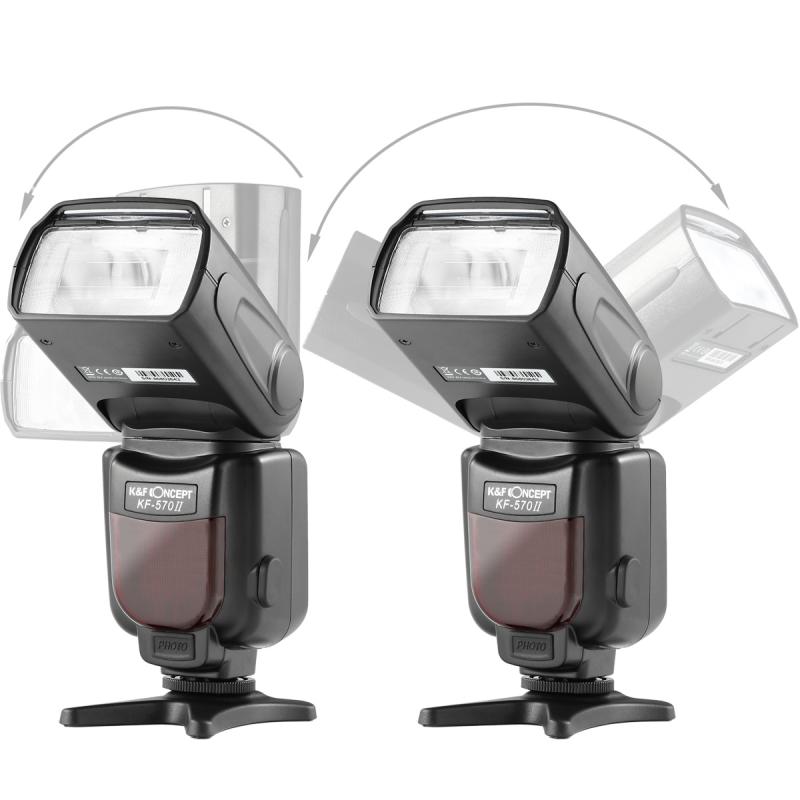
2. Bounce Flash: Direct flash can produce harsh, unflattering light. Bouncing the flash off a ceiling or wall can diffuse the light, creating a softer, more natural look. Most external flashes have a tilting head that allows you to direct the light where you want it to go.
3. Off-Camera Flash: For more creative control, consider using your flash off-camera. This technique allows you to position the light source independently of the camera, creating more dynamic and interesting lighting effects. Off-camera flash can be triggered wirelessly or with a sync cable.
4. High-Speed Sync: In situations where you need to use a fast shutter speed, such as in bright daylight or when capturing fast-moving subjects, high-speed sync (HSS) can be invaluable. HSS allows the flash to fire multiple bursts in rapid succession, effectively syncing with shutter speeds higher than the camera's native sync speed.
5. Rear Curtain Sync: This technique involves firing the flash at the end of the exposure rather than at the beginning. It can create interesting motion blur effects, making it useful for capturing dynamic action shots or adding a sense of movement to your images.
Troubleshooting Common Flash Issues
Even with a solid understanding of how a camera flash works, photographers can encounter various issues. Here are some common problems and their solutions:
1. Overexposure: If your images are too bright, try reducing the flash power or increasing the distance between the flash and the subject. You can also use a diffuser to soften the light.
2. Underexposure: If your images are too dark, increase the flash power or move the flash closer to the subject. Ensure that the flash is fully charged before taking the shot.
3. Red-Eye: Red-eye occurs when the flash reflects off the subject's retinas. To reduce red-eye, use a red-eye reduction mode if your camera has one, or try bouncing the flash rather than using it directly.
4. Harsh Shadows: Harsh shadows can be mitigated by using a bounce flash or adding a second light source to fill in the shadows. Reflectors can also help to redirect light and soften shadows.
A camera flash is a powerful tool that, when used correctly, can greatly enhance your photography. By understanding the mechanics of how a flash works and mastering various techniques, you can take control of your lighting and create stunning images in any situation. Whether you're using a built-in flash for casual snapshots or a sophisticated studio strobe for professional portraits, the principles remain the same: light your subject well, and your photos will shine.













-200x200.jpg)
