Camera Settings When Using Nd Filters?
Neutral Density (ND) filters are an indispensable tool in photography, allowing you to control light and create stunning effects that would be impossible under normal conditions. Whether you're aiming for silky smooth waterfalls, motion blur, or reducing glare in bright conditions, ND filters give you unparalleled creative freedom. However, effectively using them demands a solid understanding of your camera settings. This guide will walk you through the nuances of adjusting your camera settings for optimal results when using ND filters.
Understanding ND Filters and Their Purpose
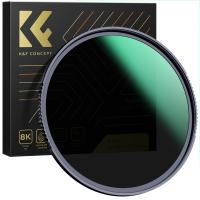
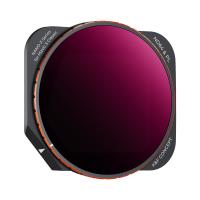
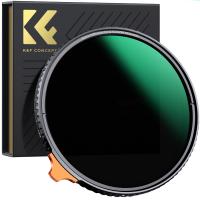
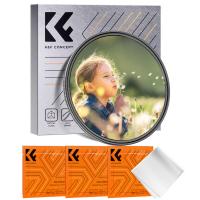
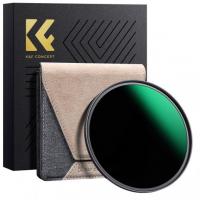
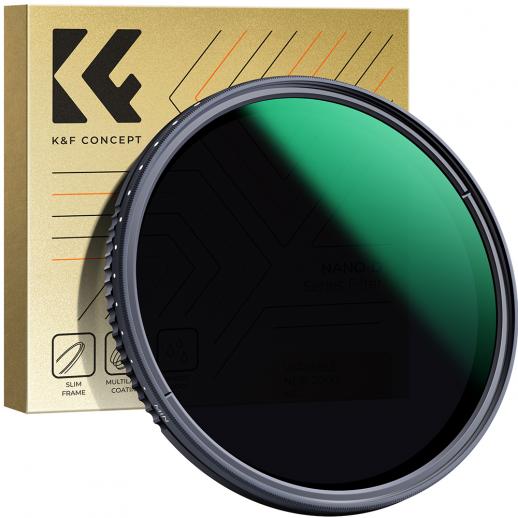
An ND filter is essentially a piece of darkened glass or resin that reduces the amount of light entering your lens. By doing so, it allows you to:
1. Use slower shutter speeds for motion blur in water, clouds, or other moving subjects.
2. Achieve wider apertures in bright light to create a shallow depth of field.
3. Prevent overexposure in high-contrast scenes.
ND filters are categorized by their light-stopping power, measured in stops. For instance, a 3-stop ND filter reduces light by a factor of 8, while a 10-stop filter cuts light by 1,024 times.
---
Pre-Shooting Considerations
Before diving into camera settings, there are a few preliminary steps to ensure a seamless shooting experience:
1. Choose the Right ND Filter: Select the filter strength based on your creative goals. For long exposures of waterfalls, a 6-stop filter is often sufficient. For extreme motion blur, a 10-stop filter might be necessary.
2. Use a Sturdy Tripod: Longer exposures amplify camera shake. A stable tripod is non-negotiable when using ND filters.
3. Use a Remote Shutter or Timer: This minimizes vibrations during exposure, especially crucial for long shutter speeds.
4. Set Up Without the ND Filter First: Compose and focus your shot before attaching the ND filter, as it significantly darkens your view, making framing and focusing difficult.
---
Camera Settings for ND Filters
1. Adjusting Shutter Speed
Shutter speed is the most significant setting when using ND filters. The primary purpose of an ND filter is to allow longer exposures, so this setting needs careful adjustment.
- Without the Filter: Meter your exposure and note the settings your camera suggests for a properly exposed image.
- With the Filter: Use an ND filter calculator or app to determine the appropriate shutter speed after accounting for the filter's light reduction. For example, if your base exposure is 1/60s and you’re using a 10-stop ND filter, the adjusted shutter speed becomes 16 seconds.
2. Aperture Settings
Aperture affects both depth of field and exposure. Since ND filters reduce the light entering your lens, you can often use wider apertures even in bright conditions.
- Wider Apertures for Portraits: If you're using an ND filter to shoot wide-open in bright light, you can maintain a shallow depth of field without overexposure.
- Mid-Range Apertures for Landscapes: For landscapes, f/8 to f/11 is typically ideal to maximize sharpness and depth of field.
3. ISO Settings
ISO should remain at its lowest native setting (e.g., ISO 100 or ISO 200) to maintain the highest image quality and avoid unnecessary noise, particularly during long exposures.
4. White Balance
ND filters can sometimes introduce color casts. While this can be corrected in post-processing, setting a custom white balance in-camera can save time and produce more accurate results straight out of the camera.
5. Focus Adjustments
- Manual Focus: After composing your shot without the filter, switch to manual focus. This ensures that your focus point doesn’t shift when you attach the ND filter.
- Focus Peaking (if available): Use focus peaking to confirm sharp focus, especially when working in darker conditions.
6. Metering and Exposure Adjustments
With strong ND filters (e.g., 10-stop), the camera’s built-in light meter may struggle. Instead, rely on manual mode and calculate the exposure manually or with a smartphone app.
- Use Bulb Mode for exposures longer than 30 seconds.
- Employ Histogram Analysis to evaluate exposure accuracy, ensuring no critical highlights are clipped.
---
Practical Scenarios
Scenario 1: Long Exposure Waterfalls
- ND Filter: 6-stop or 10-stop
- Shutter Speed: 2–30 seconds, depending on the flow of water
- Aperture: f/8–f/11 for depth of field
- ISO: 100
Tips: Use a polarizer alongside the ND filter to reduce glare and enhance water clarity.
Scenario 2: Street Photography with Motion Blur
- ND Filter: 3-stop or 6-stop
- Shutter Speed: 1–5 seconds to capture moving people or vehicles
- Aperture: f/5.6–f/8 for sharpness
- ISO: 100
Tips: Time your shots during golden hour for optimal lighting conditions.
Scenario 3: Bright Light Portraits
- ND Filter: Variable ND or 3-stop
- Shutter Speed: 1/125s or faster for hand-held shots
- Aperture: f/2.8 or wider for shallow depth of field
- ISO: 100
Tips: Use a reflector to control harsh shadows.
---
Troubleshooting Common Issues
1. Underexposure or Overexposure: Reassess your ND filter strength or re-calculate the exposure settings using a dedicated app.
2. Focus Issues: Always pre-focus before attaching the ND filter. If focus is still soft, double-check your settings and lens quality.
3. Color Casts: Correct in post-processing or use a custom white balance in-camera.
---
Post-Processing Tips
Even with perfect camera settings, post-processing can enhance your images further:
- Noise Reduction: Long exposures can introduce noise. Use tools like Adobe Lightroom or Photoshop to minimize it.
- Color Correction: Adjust white balance and remove any color cast caused by the ND filter.
- Sharpening: Apply selective sharpening to recover detail lost during long exposures.
---
Mastering ND filters and their corresponding camera settings opens a world of creative possibilities. Whether you’re capturing dynamic motion or isolating subjects with shallow depth of field, the key lies in careful planning, accurate calculations, and deliberate adjustments. By understanding and practicing the techniques outlined above, you’ll not only overcome common challenges but also elevate your photography to new heights.


