Can I Add A Microphone To My Headphones?
Adding a microphone to your headphones can significantly enhance your audio experience, whether you're using them for gaming, video conferencing, podcasting, or simply making phone calls. This article will guide you through the various methods and considerations for adding a microphone to your headphones, ensuring you make an informed decision that best suits your needs.
Understanding Your Needs
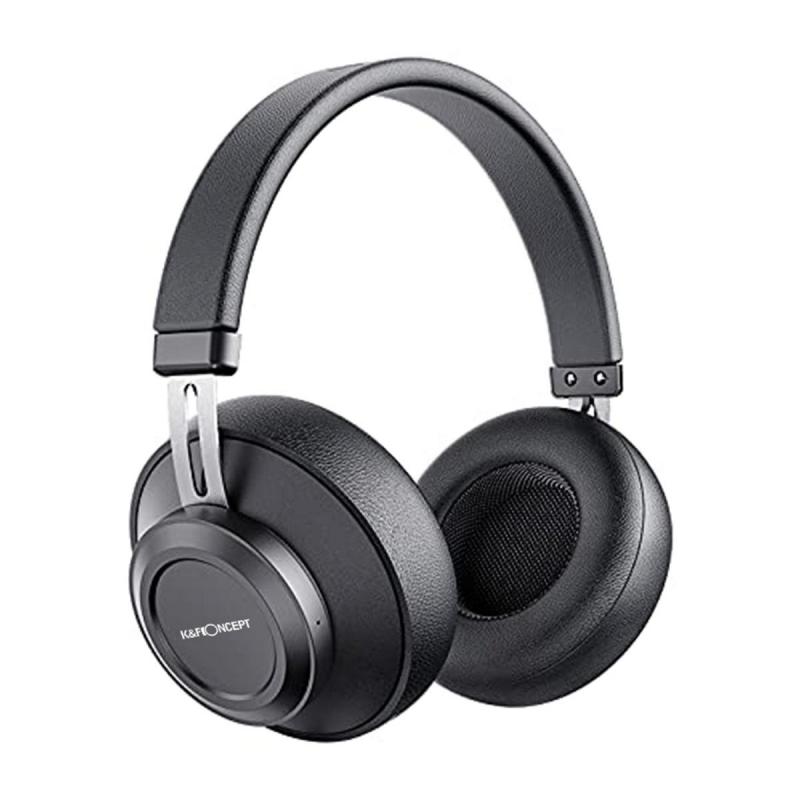
Before diving into the technical aspects, it's crucial to understand why you want to add a microphone to your headphones. Different use cases may require different types of microphones. Here are some common scenarios:
1. Gaming: Requires a microphone with good noise cancellation and clear audio quality.
2. Video Conferencing: Needs a microphone that can pick up your voice clearly without picking up too much background noise.
3. Podcasting: Requires a high-quality microphone that can capture a wide range of frequencies.
4. Phone Calls: Needs a simple, easy-to-use microphone that offers clear voice transmission.
Types of Microphones
There are several types of microphones you can add to your headphones, each with its own set of advantages and disadvantages.
1. Inline Microphones
Inline microphones are built into the cable of your headphones. They are convenient and easy to use but may not offer the best audio quality. These are ideal for casual use, such as phone calls or basic video conferencing.
Pros:
- Easy to install
- Affordable
- Convenient for mobile use
Cons:
- Limited audio quality
- May pick up cable noise
2. Boom Microphones
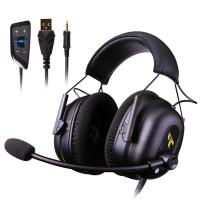
Boom microphones are attached to a flexible arm that can be positioned close to your mouth. These are commonly used in gaming headsets and offer excellent audio quality and noise cancellation.
Pros:
- High audio quality
- Good noise cancellation
- Adjustable positioning
Cons:
- Can be bulky
- More expensive
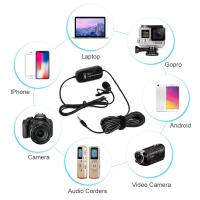
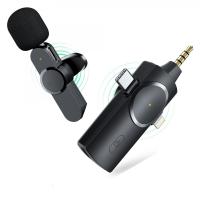
3. Clip-On Microphones
Clip-on microphones can be attached to your clothing or the headphone cable. They offer a good balance between convenience and audio quality, making them suitable for video conferencing and casual podcasting.
Pros:
- Versatile
- Decent audio quality
- Affordable
Cons:
- May pick up background noise
- Less convenient than inline microphones
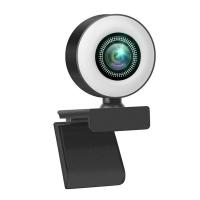
4. External USB Microphones
External USB microphones are standalone devices that connect to your computer via USB. They offer the highest audio quality and are ideal for professional podcasting and high-stakes video conferencing.
Pros:
- Superior audio quality
- Advanced features (e.g., gain control, mute button)
- Versatile
Cons:
- Not portable
- More expensive
- Requires additional setup
Installation and Setup
Once you've chosen the type of microphone that best suits your needs, the next step is installation and setup. Here are some general guidelines for each type of microphone.
Inline Microphones
1. Purchase an inline microphone adapter: These adapters usually come with a built-in microphone and a button for answering calls.
2. Connect the adapter: Plug the adapter into your headphone jack and then plug your headphones into the adapter.
3. Test the microphone: Make a test call or record a voice memo to ensure the microphone is working correctly.
Boom Microphones
1. Purchase a boom microphone: Look for one that is compatible with your headphones.
2. Attach the boom microphone: Most boom microphones come with a clip or a magnetic attachment that can be secured to your headphones.
3. Connect the microphone: Plug the microphone into your device's microphone jack or use an adapter if necessary.
4. Test the microphone: Make a test call or record a voice memo to ensure the microphone is working correctly.
Clip-On Microphones
1. Purchase a clip-on microphone: Ensure it has a long enough cable to reach your device comfortably.
2. Attach the microphone: Clip the microphone to your clothing or the headphone cable.
3. Connect the microphone: Plug the microphone into your device's microphone jack or use an adapter if necessary.
4. Test the microphone: Make a test call or record a voice memo to ensure the microphone is working correctly.
External USB Microphones
1. Purchase an external USB microphone: Look for one that meets your audio quality requirements.
2. Connect the microphone: Plug the microphone into a USB port on your computer.
3. Install any necessary drivers: Some USB microphones require drivers or software to function correctly.
4. Configure the microphone: Go to your computer's audio settings and select the USB microphone as the input device.
5. Test the microphone: Make a test call or record a voice memo to ensure the microphone is working correctly.
Additional Tips
- Check Compatibility: Ensure that the microphone you choose is compatible with your headphones and device.
- Use Adapters if Necessary: Some devices may require adapters to connect external microphones.
- Adjust Settings: Fine-tune your device's audio settings to get the best performance from your new microphone.
- Consider Noise Cancellation: If you are in a noisy environment, consider a microphone with noise-canceling features.
- Maintenance: Keep your microphone clean and free from dust to ensure long-term performance.
Adding a microphone to your headphones can greatly enhance your audio experience, making it easier to communicate clearly and effectively in various scenarios. By understanding your needs and choosing the right type of microphone, you can ensure that you get the best possible performance. Whether you're gaming, video conferencing, podcasting, or making phone calls, there's a microphone solution that can meet your requirements. Follow the installation and setup guidelines, and you'll be well on your way to enjoying improved audio quality and functionality.










There are no comments for this blog.