Can You Connect A Microphone To An Ipad?
Connecting a microphone to an iPad can significantly enhance the audio quality for various applications, such as recording podcasts, creating music, conducting interviews, or participating in video calls. While the built-in microphone on an iPad is sufficient for basic tasks, an external microphone can provide superior sound quality and greater control over audio settings. This article will explore the different methods and considerations for connecting a microphone to an iPad, ensuring you achieve the best possible audio experience.
Understanding the Types of Microphones
Before diving into the connection methods, it's essential to understand the different types of microphones available:
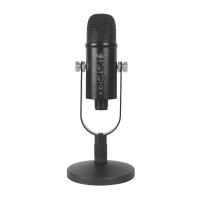
1. USB Microphones: These are plug-and-play devices that connect directly to the iPad via a USB adapter. They are popular for their ease of use and high-quality sound.
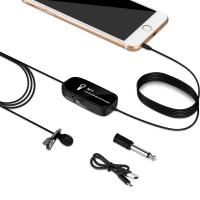
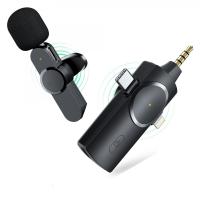
2. 3.5mm Jack Microphones: These microphones connect through the headphone jack. However, newer iPad models may require a Lightning to 3.5mm adapter.
3. XLR Microphones: These professional-grade microphones require an audio interface or a special adapter to connect to an iPad.
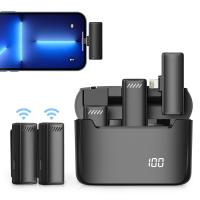
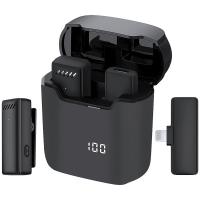
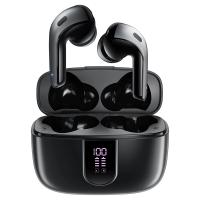
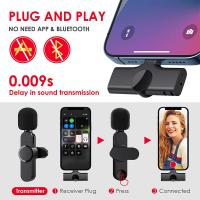
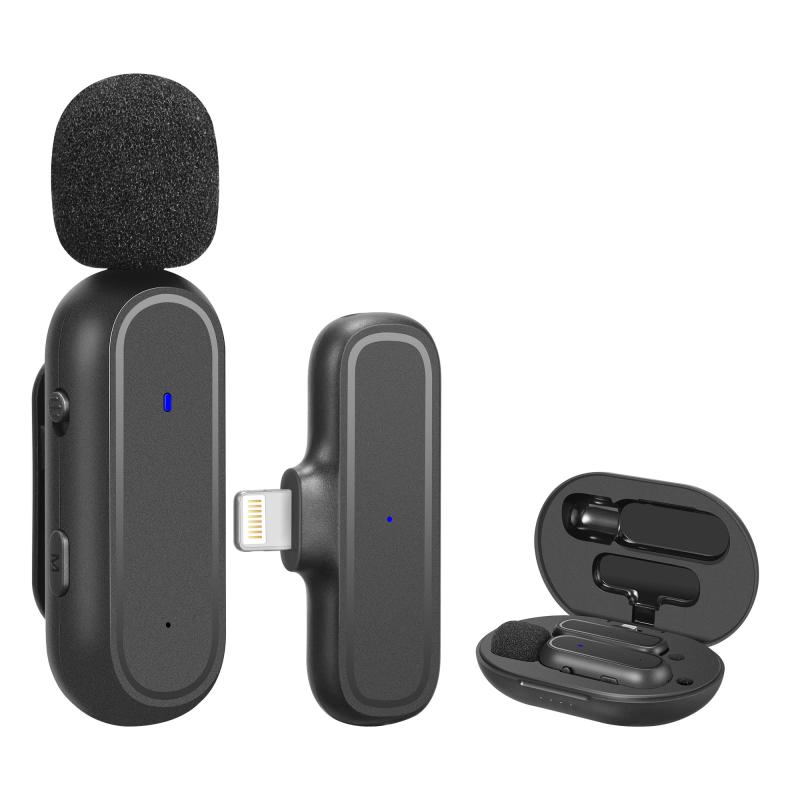
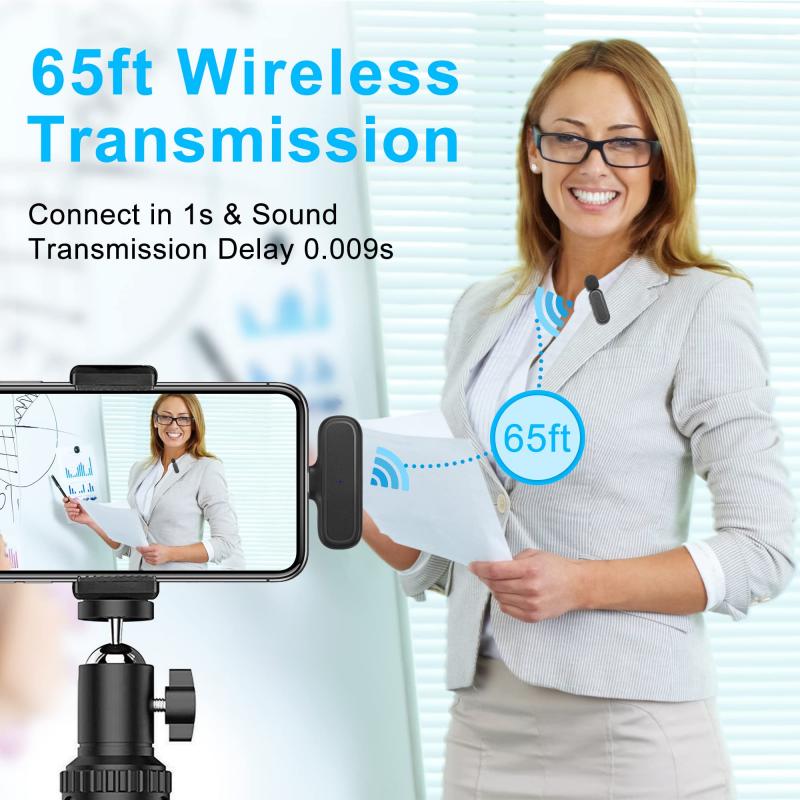
4. Wireless Microphones: These use Bluetooth or other wireless technologies to connect to the iPad, offering greater mobility.
Connecting USB Microphones
USB microphones are among the most straightforward options for connecting to an iPad. Here’s how you can do it:
1. USB Adapter: Since iPads do not have a standard USB port, you will need a USB to Lightning adapter (for older iPads) or a USB-C adapter (for newer iPads). Apple’s Camera Connection Kit is a popular choice.
2. Plug and Play: Once you have the adapter, simply connect the USB microphone to the adapter and then plug the adapter into the iPad. The iPad should recognize the microphone automatically.
3. Settings and Apps: Open the app you intend to use for recording or communication. Most apps will automatically switch to the external microphone, but you may need to check the settings to ensure it is selected.
Connecting 3.5mm Jack Microphones
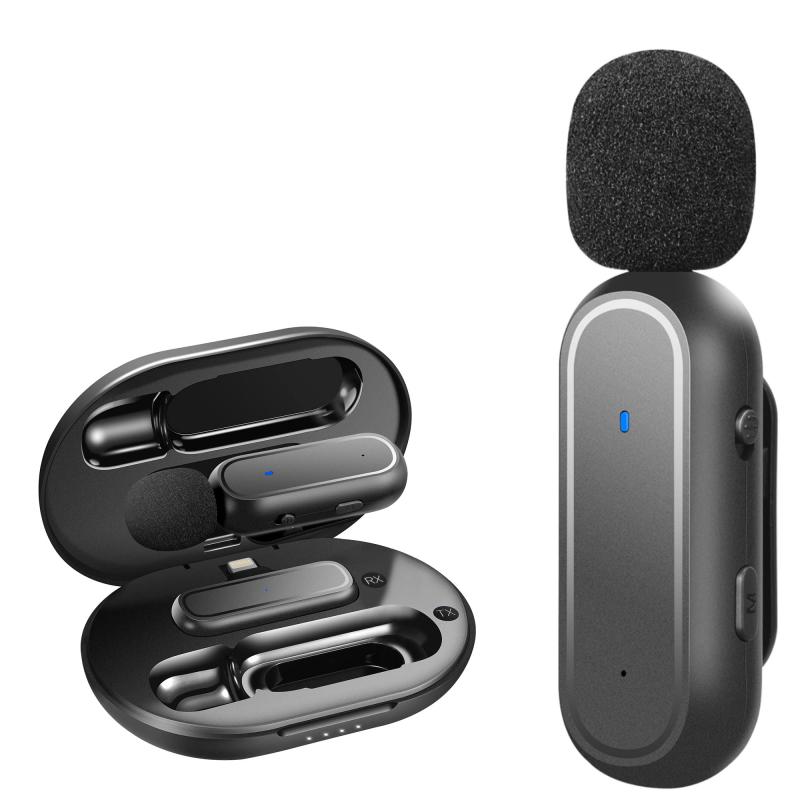
For those using a 3.5mm jack microphone, the process is slightly different:
1. Lightning to 3.5mm Adapter: If your iPad does not have a headphone jack, you will need a Lightning to 3.5mm adapter.
2. Direct Connection: Plug the 3.5mm microphone into the adapter, and then connect the adapter to the iPad.
3. App Settings: As with USB microphones, ensure that the app you are using recognizes the external microphone. This may require adjusting the input settings within the app.
Connecting XLR Microphones
XLR microphones are typically used by professionals due to their superior sound quality. Connecting an XLR microphone to an iPad involves a few more steps:
1. Audio Interface: You will need an audio interface that can convert the XLR signal to a format the iPad can understand. Popular options include the Focusrite Scarlett series and the iRig Pro.
2. Adapter: Depending on your iPad model, you may need a USB to Lightning or USB-C adapter to connect the audio interface to the iPad.
3. Power Supply: Some XLR microphones require phantom power, which the audio interface can provide.
4. Connection Steps: Connect the XLR microphone to the audio interface, then connect the audio interface to the iPad using the appropriate adapter. Ensure the audio interface is powered on and configured correctly.
5. App Configuration: Open your recording or communication app and select the audio interface as the input source.
Connecting Wireless Microphones
Wireless microphones offer the convenience of mobility and are ideal for situations where you need to move around while recording. Here’s how to connect them:
1. Bluetooth Pairing: Ensure the wireless microphone is in pairing mode. Go to the iPad’s Bluetooth settings and select the microphone from the list of available devices.
2. App Settings: Once paired, open the app you intend to use and ensure the wireless microphone is selected as the input source.
Tips for Optimal Audio Quality
Regardless of the type of microphone you choose, here are some tips to ensure the best audio quality:
1. Environment: Record in a quiet environment to minimize background noise. Use soundproofing materials if necessary.
2. Microphone Placement: Position the microphone correctly. For vocal recordings, place the microphone about 6-12 inches away from your mouth.
3. Pop Filters and Windshields: Use pop filters to reduce plosive sounds and windshields to minimize wind noise.
4. Gain Settings: Adjust the gain settings on your microphone or audio interface to avoid distortion.
5. Monitoring: Use headphones to monitor the audio in real-time, allowing you to make adjustments as needed.
Troubleshooting Common Issues
Even with the right equipment, you may encounter some issues. Here are common problems and their solutions:
1. Microphone Not Recognized: Ensure all connections are secure. Restart the iPad and check for software updates.
2. Poor Audio Quality: Check the microphone settings in the app and adjust the gain. Ensure the microphone is positioned correctly.
3. Latency Issues: If you experience a delay in audio, try using a wired connection instead of wireless. Ensure the audio interface firmware is up to date.
Connecting a microphone to an iPad can greatly enhance your audio recording and communication capabilities. Whether you choose a USB, 3.5mm jack, XLR, or wireless microphone, understanding the connection process and optimizing your setup will ensure you achieve the best possible sound quality. By following the steps and tips outlined in this article, you can confidently connect your microphone to your iPad and enjoy superior audio performance for all your needs.


