Can You Have A Circular Nd Grad Filter?
When it comes to photography, especially landscape photography, achieving the perfect exposure can be quite challenging. One of the tools that photographers often use to manage exposure is the Neutral Density (ND) filter. Among the various types of ND filters, the Graduated Neutral Density (GND) filter is particularly useful for balancing the exposure between the sky and the ground. A common question that arises is whether you can have a circular graduated ND filter. This article aims to delve into this topic, exploring the practicality, advantages, and limitations of circular GND filters.
Understanding Graduated ND Filters
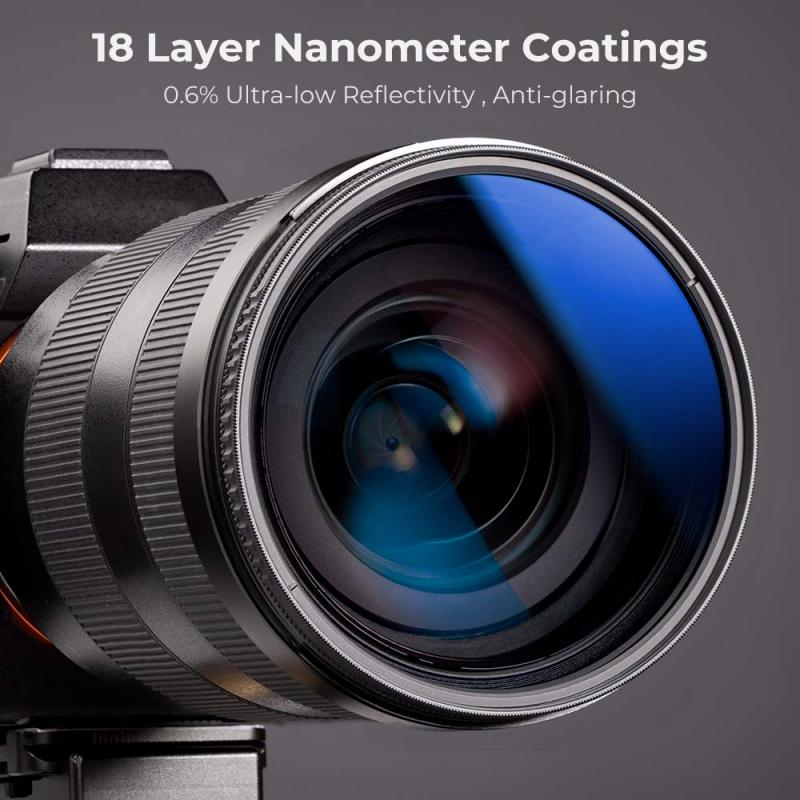
Graduated ND filters are designed to reduce the amount of light entering the lens in a gradual manner. They are darker at the top and gradually transition to clear at the bottom. This gradient helps in balancing the exposure between the bright sky and the darker foreground, which is a common scenario in landscape photography.
Types of GND Filters
1. Rectangular GND Filters: These are the most common type of GND filters. They are typically used with a filter holder system that allows the photographer to slide the filter up and down to position the gradient precisely where it is needed.
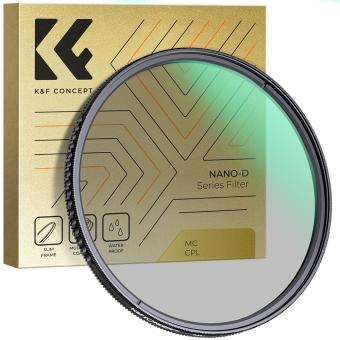
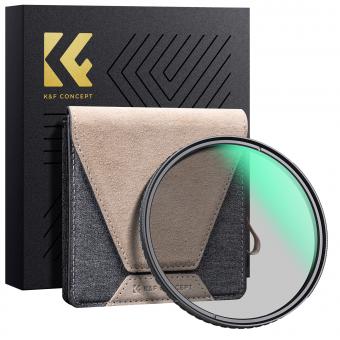
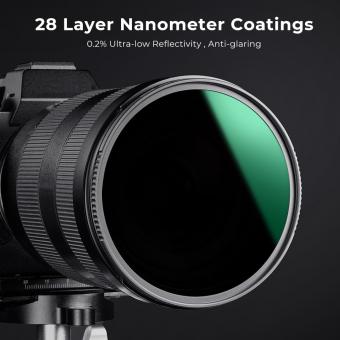
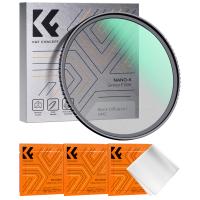
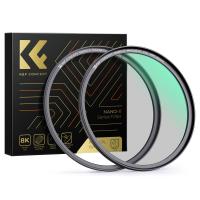
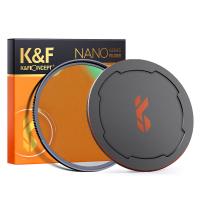
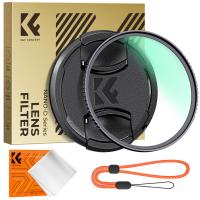
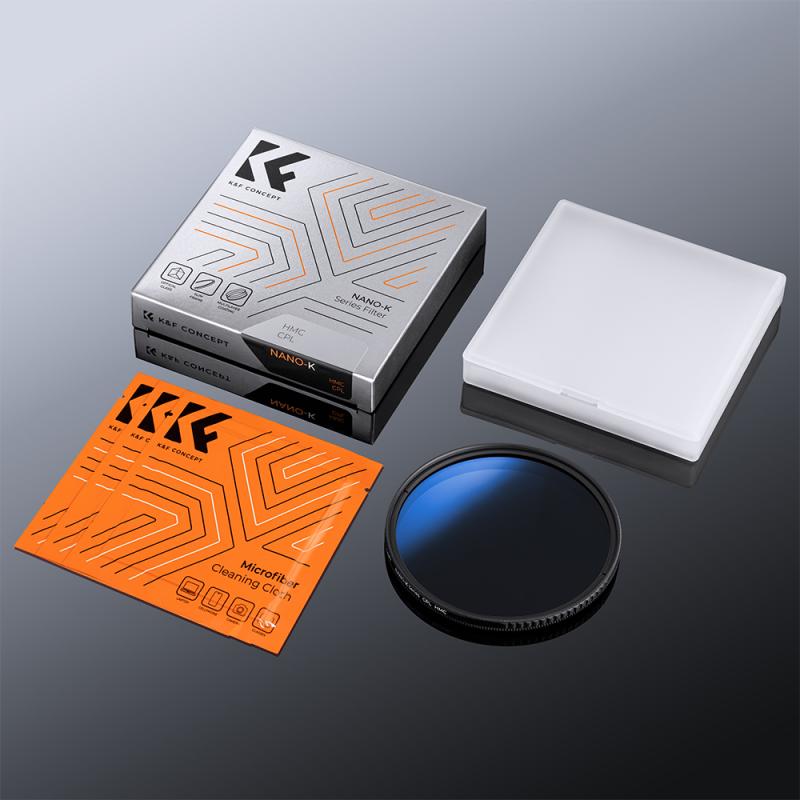
2. Circular GND Filters: These are less common and are designed to screw directly onto the lens. The gradient is fixed, which means the transition line cannot be adjusted up or down.
The Practicality of Circular GND Filters
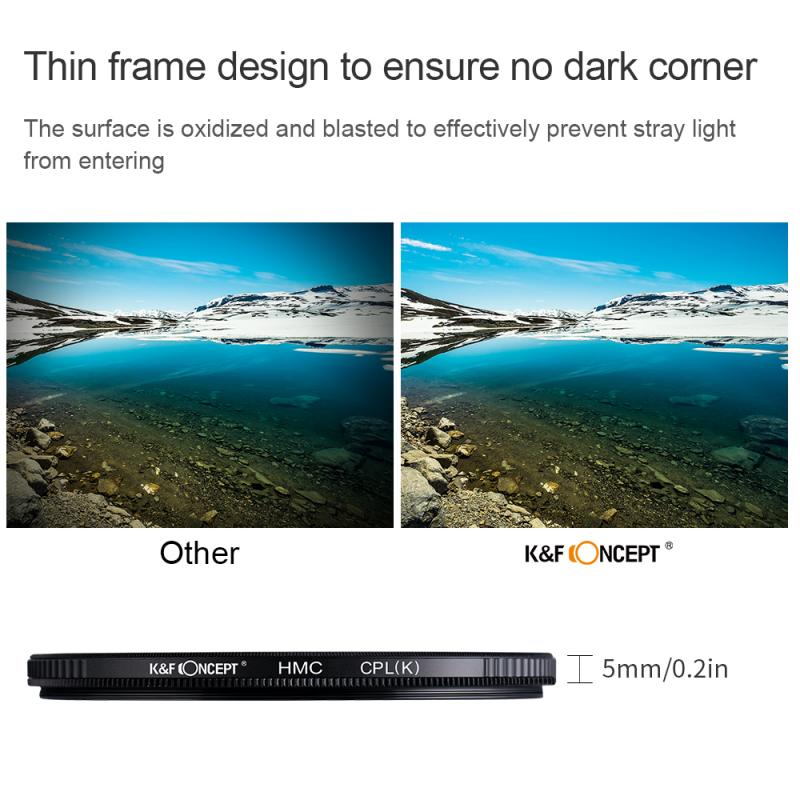
Circular GND filters are available, but they come with certain limitations. The primary advantage of a circular GND filter is its convenience. It is easy to attach and remove, and there is no need for a separate filter holder system. However, this convenience comes at the cost of flexibility.
Fixed Gradient Position
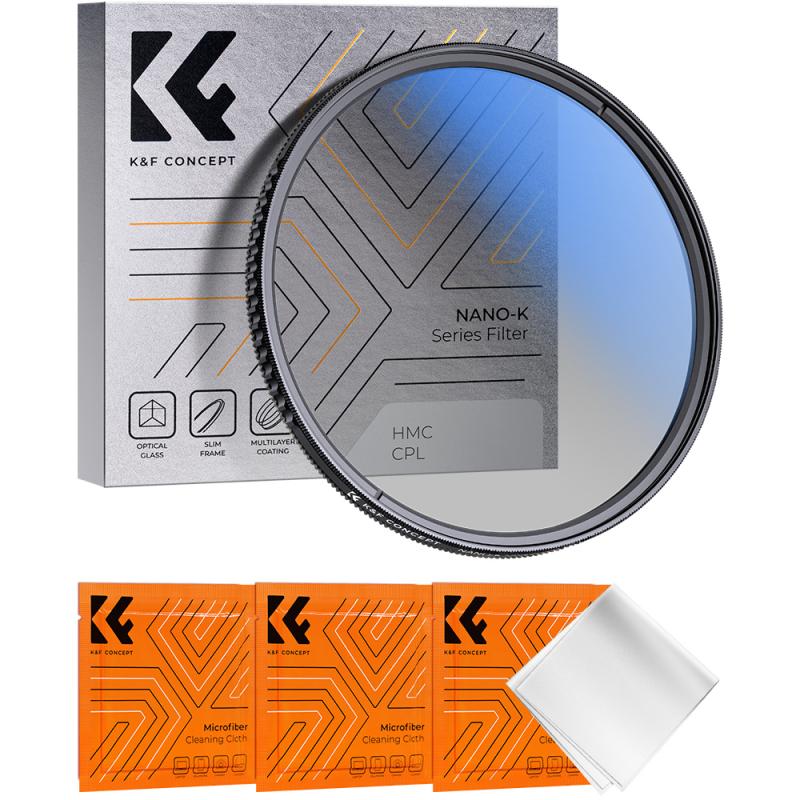
One of the main drawbacks of circular GND filters is the fixed position of the gradient. In landscape photography, the horizon is not always in the center of the frame. With a rectangular GND filter, you can adjust the position of the gradient to match the horizon, regardless of where it is in the frame. This is not possible with a circular GND filter, as the gradient is fixed in the center.
Limited Use Cases
Due to the fixed gradient position, circular GND filters are best suited for situations where the horizon is consistently in the center of the frame. This limitation makes them less versatile compared to rectangular GND filters. For photographers who frequently shoot landscapes with varying horizon positions, a rectangular GND filter is a more practical choice.
Advantages of Circular GND Filters
Despite their limitations, circular GND filters do have some advantages:
1. Ease of Use: Circular GND filters are straightforward to use. They screw directly onto the lens, eliminating the need for a filter holder system. This makes them a convenient option for photographers who prefer a simpler setup.
2. Portability: Circular GND filters are compact and easy to carry. They take up less space in a camera bag compared to a rectangular filter and holder system.
3. Cost-Effective: Circular GND filters are generally less expensive than a complete rectangular filter system. For photographers on a budget, they can be a more affordable option.
Choosing the Right GND Filter
When deciding between a circular and rectangular GND filter, consider the following factors:
1. Flexibility: If you need the ability to adjust the position of the gradient, a rectangular GND filter is the better choice. It offers more flexibility and can be used in a wider range of shooting scenarios.
2. Convenience: If you prefer a simpler setup and typically shoot scenes with the horizon in the center, a circular GND filter may be sufficient. Its ease of use and portability can be significant advantages.
3. Budget: Consider your budget when choosing a GND filter. While rectangular filters offer more flexibility, they are also more expensive due to the need for a filter holder system. Circular GND filters are a more cost-effective option.
Practical Tips for Using GND Filters
Regardless of the type of GND filter you choose, here are some practical tips for using them effectively:
1. Compose Your Shot: Before attaching the filter, compose your shot and determine where the horizon or transition line will be. This will help you position the filter correctly.
2. Use Live View: If your camera has a live view feature, use it to see the effect of the filter in real-time. This can help you make precise adjustments to the filter position.
3. Bracket Your Exposures: In challenging lighting conditions, consider bracketing your exposures. Take multiple shots at different exposure levels and blend them in post-processing to achieve the desired result.
4. Experiment with Different Filters: If possible, experiment with different types of GND filters to see which one works best for your shooting style. This can help you make an informed decision when investing in filters.
In conclusion, while circular graduated ND filters are available and offer certain advantages in terms of ease of use and portability, they come with significant limitations. The fixed gradient position makes them less versatile compared to rectangular GND filters, which allow for precise adjustment of the gradient. For photographers who frequently shoot landscapes with varying horizon positions, a rectangular GND filter is the more practical choice. However, for those who prefer a simpler setup and typically shoot scenes with the horizon in the center, a circular GND filter can be a convenient and cost-effective option. Ultimately, the choice between circular and rectangular GND filters depends on your specific needs, shooting style, and budget.

