
Dbpower Projector How To Use?

How to Use the DBPOWER Projector: A Comprehensive Guide
The DBPOWER projector has gained popularity for its excellent value, offering an affordable solution for those looking to enjoy a cinematic experience at home or on the go. Whether you're setting it up for a movie night, a presentation, or just for general entertainment, knowing how to properly use your DBPOWER projector will ensure you get the best picture and sound quality. In this article, we will take you through everything you need to know about setting up and using the DBPOWER projector, covering essential features, setup steps, troubleshooting tips, and much more.
1. Understanding the DBPOWER Projector
Before diving into the setup, it’s helpful to understand the key features and specifications of your DBPOWER projector. These projectors typically come in compact, portable designs with a variety of connectivity options and decent picture quality. Depending on the model you own, your DBPOWER projector may offer features such as:
- Resolution: The DBPOWER projectors are generally HD-ready or Full HD (1080p) resolution, which is a good range for watching movies or giving presentations.
- Brightness: These projectors usually have a brightness rating of around 2000 to 5000 lumens, which should be sufficient for home use, especially in dimmer settings.
- Portability: They are lightweight, making them easy to move around and set up for any occasion.
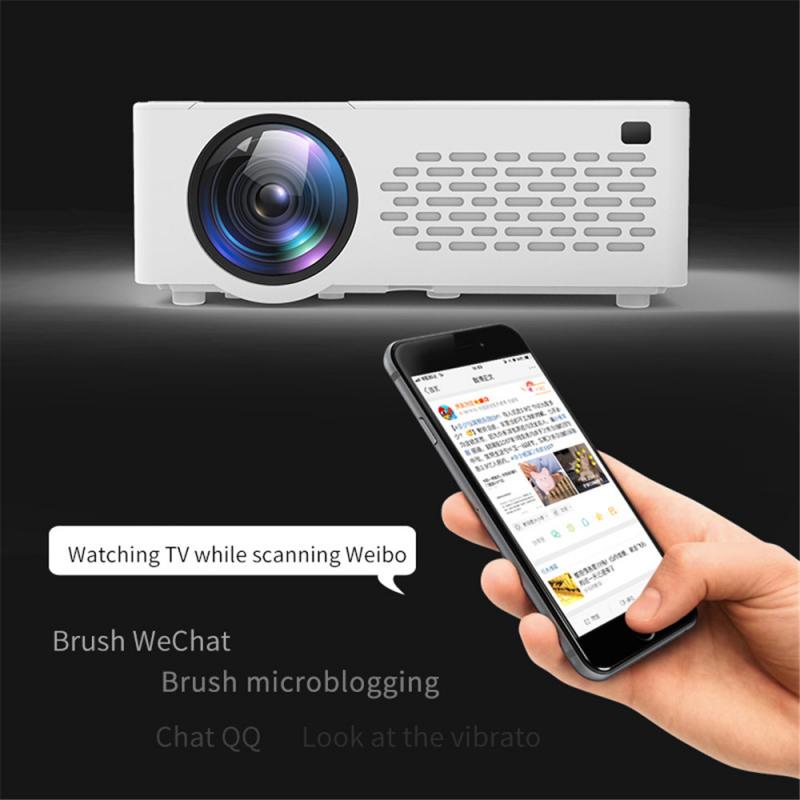
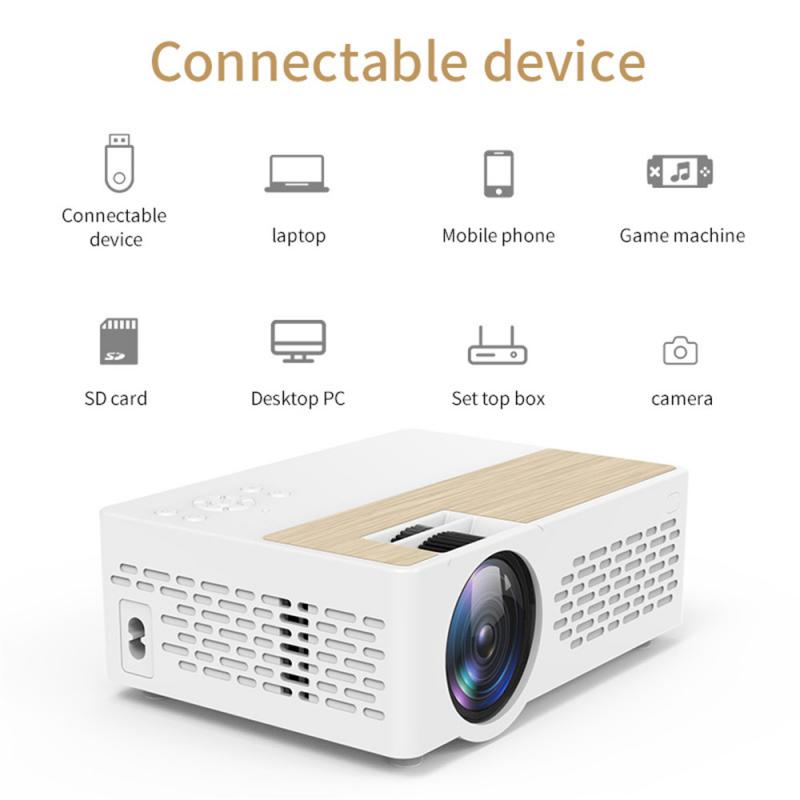
- Connectivity: Multiple input ports, such as HDMI, VGA, USB, and audio-out, are available, allowing you to connect your projector to various devices like laptops, smartphones, game consoles, and streaming devices.
- Speakers: Some DBPOWER projectors come with built-in speakers, but for better sound quality, you can connect external speakers via the audio-out jack.
2. Setting Up Your DBPOWER Projector
Step 1: Unbox and Check Contents

Start by unboxing your DBPOWER projector and checking the contents of the package. The typical components you’ll find include:
- DBPOWER projector unit
- Power cable
- HDMI cable
- Remote control
- User manual
Step 2: Position the Projector
The ideal projection distance will depend on the specific model, but typically, a DBPOWER projector should be placed anywhere from 3 to 10 feet from the screen or wall for optimal image size. Be mindful of the projector's throw ratio (which determines how far it needs to be to project a certain image size) and ensure it is positioned on a stable surface.
- Projection Surface: Ideally, use a projector screen for the clearest image. However, a white wall or even a blank, light-colored sheet can work as a projection surface.
- Keystone Adjustment: If your projector produces an image that looks trapezoidal (i.e., distorted due to angle), most DBPOWER models have a keystone adjustment feature. Use the focus and keystone settings to ensure the image is aligned and squared up with the screen.
Step 3: Powering Up

Connect the power cable to the projector and plug it into an electrical outlet. Press the power button (usually located on the top or side of the projector). You should see the DBPOWER logo appear on the screen or wall after the projector powers on.
Step 4: Connecting Your Devices
This is the crucial step in ensuring your content plays on the projector. You can connect a variety of devices to the DBPOWER projector, depending on the inputs it supports.
- HDMI Connection: For devices like laptops, gaming consoles, and streaming boxes, the easiest method is via HDMI. Simply plug the HDMI cable into both your device and the HDMI port on the projector.
- USB Connection: If you want to play videos or images directly from a USB flash drive, plug it into the USB port on the projector. Most DBPOWER projectors support multiple media file formats, including .mp4, .avi, .jpg, and .mp3.
- VGA Connection: If you're using a computer with a VGA port (often older models), you can connect it to the DBPOWER projector using a VGA cable.
- Wireless (if applicable): Some models support wireless casting via Wi-Fi or Bluetooth. In this case, you’ll need to connect the projector to the same Wi-Fi network as your device, or pair your device through Bluetooth settings.
Step 5: Adjust the Picture and Sound Settings
Once your device is connected, the next step is to adjust the picture settings. Use the remote control or on-device buttons to access the menu.
- Focus Adjustment: Use the focus ring (usually located on the lens) to fine-tune the sharpness of the image.
- Picture Mode: Many projectors, including DBPOWER models, offer different picture modes such as “Standard,” “Cinema,” and “Game.” Adjust this setting based on your preference and environment.
- Volume Control: If you are using the built-in speakers, adjust the volume accordingly. However, if you have external speakers, connect them via the audio-out jack for improved sound quality.
Step 6: Start Enjoying Content
Now that everything is set up, you can start enjoying your content. Whether it's a movie, presentation, or gaming session, you should now be able to see the projected content on the screen or wall. Ensure that your projector is kept at an optimal distance from the surface to avoid pixelation or loss of clarity.
3. Troubleshooting Common Issues
Even though DBPOWER projectors are generally easy to use, you may encounter some common issues along the way. Here are a few troubleshooting tips to address common problems:
1. No Signal on Screen
- Check connections: Ensure that all cables are securely connected to both the projector and the device.
- Input source selection: Use the remote control to select the correct input source. For instance, if you are using HDMI, ensure the projector is set to the HDMI input mode.
- Restart the device: If there’s no signal, try restarting both the projector and the device you’re trying to connect.
2. Blurry Image
- Focus: Adjust the focus ring on the projector to improve sharpness.
- Keystone: If the image appears distorted (e.g., the edges are blurry), adjust the keystone settings to correct the angle.
3. No Sound
- Volume Settings: Ensure the projector’s volume is turned up.
- External speakers: If you are using external speakers, check the audio connections. You may need to adjust the projector’s audio-out settings.
4. Overheating
- Proper Ventilation: Ensure the projector has proper ventilation and is not placed too close to a wall or other obstructions that could block airflow.
- Automatic Shutdown: If your projector gets too hot, it may automatically shut off. Allow it to cool down before restarting.
4. Maximizing Your Projector Experience
To get the best out of your DBPOWER projector, here are some additional tips:
- Use a Dark Room: Projectors work best in dark or dimly lit environments. The more ambient light in the room, the more it will affect the quality of the image. Consider dimming the lights or using blackout curtains for the best viewing experience.
- Use a Tripod or Mount: For a more stable setup, consider purchasing a tripod or ceiling mount. This will help keep the projector in place, prevent accidental adjustments, and provide a more professional viewing experience.
- Maintain Your Projector: Regularly clean the lens and ensure that the air vents are not obstructed. This will prevent overheating and extend the life of your projector.
5. Conclusion
The DBPOWER projector is an excellent tool for those who want to enjoy a big-screen experience at home or on the go. By following the setup steps, adjusting the image and sound to your preferences, and keeping an eye out for common issues, you’ll be able to make the most of your projector. Whether you're using it for movie nights, presentations, or gaming sessions, this projector provides a budget-friendly option that delivers solid performance.
With this guide, you now have the knowledge to confidently set up and troubleshoot your DBPOWER projector. Enjoy your cinematic or presentation experience with the assurance that you’ve maximized the potential of your device.


")


")


 Ultra-thin HD with Double-sided 28-layer Nano-coating Nano-Xcel Series")


There are no comments for this blog.