How Do I Turn On My Video Camera?
In today's digital age, video communication has become an essential part of our daily lives. Whether it's for a business meeting, an online class, or catching up with friends and family, knowing how to turn on your video camera is crucial. This article will guide you through the process of activating your video camera on various devices and platforms, ensuring you can connect visually with ease.
Understanding Your Device
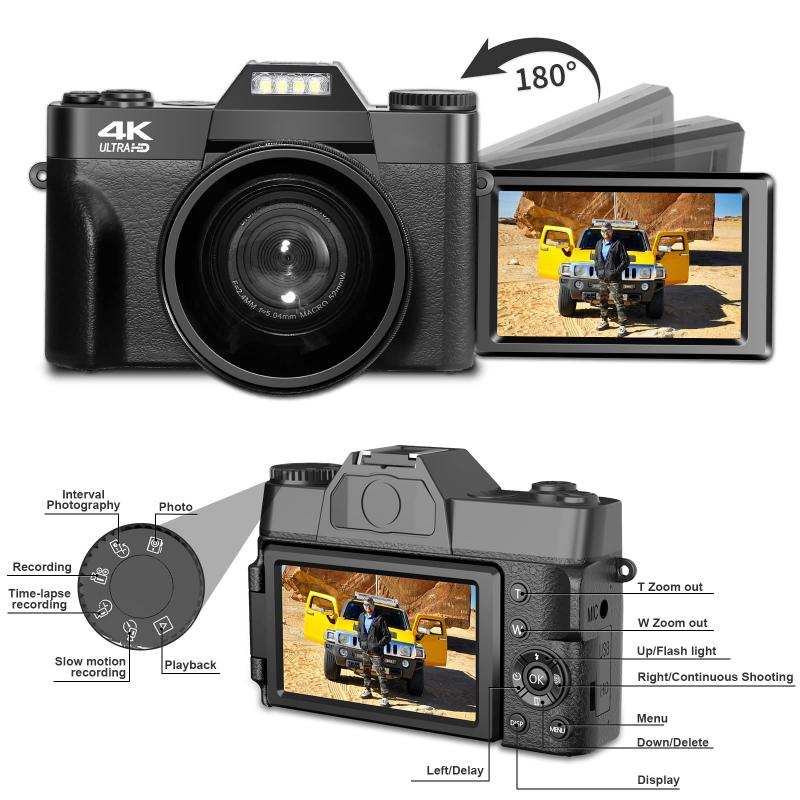
Before diving into the specifics, it's important to understand the type of device you are using. The steps to turn on a video camera can vary depending on whether you are using a laptop, desktop, smartphone, or tablet. Additionally, the operating system (Windows, macOS, iOS, Android) and the application you are using (Zoom, Skype, Google Meet, etc.) can also influence the process.
Turning on Your Video Camera on a Laptop or Desktop
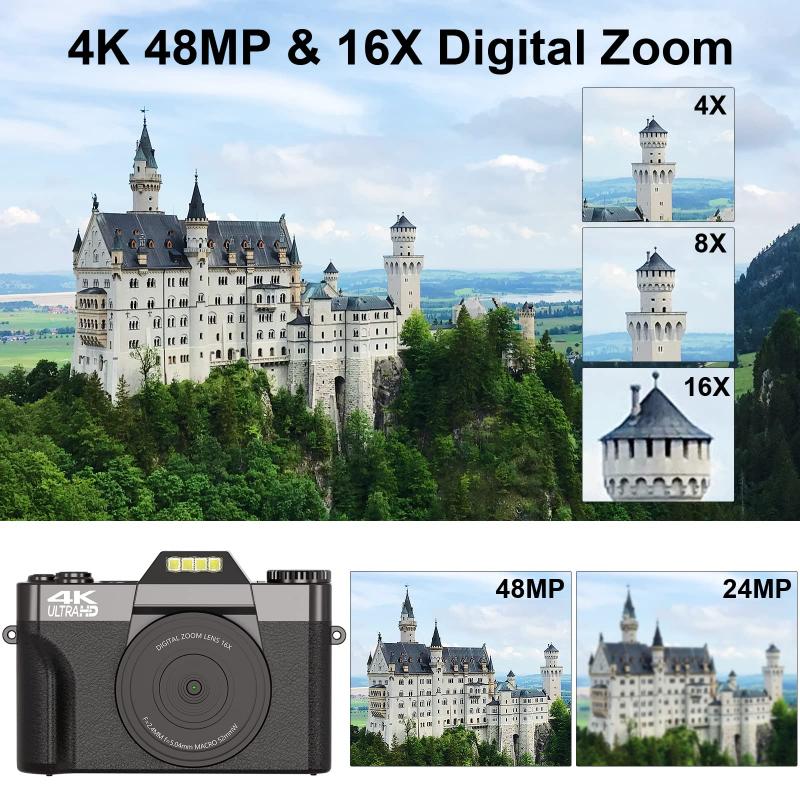
Windows
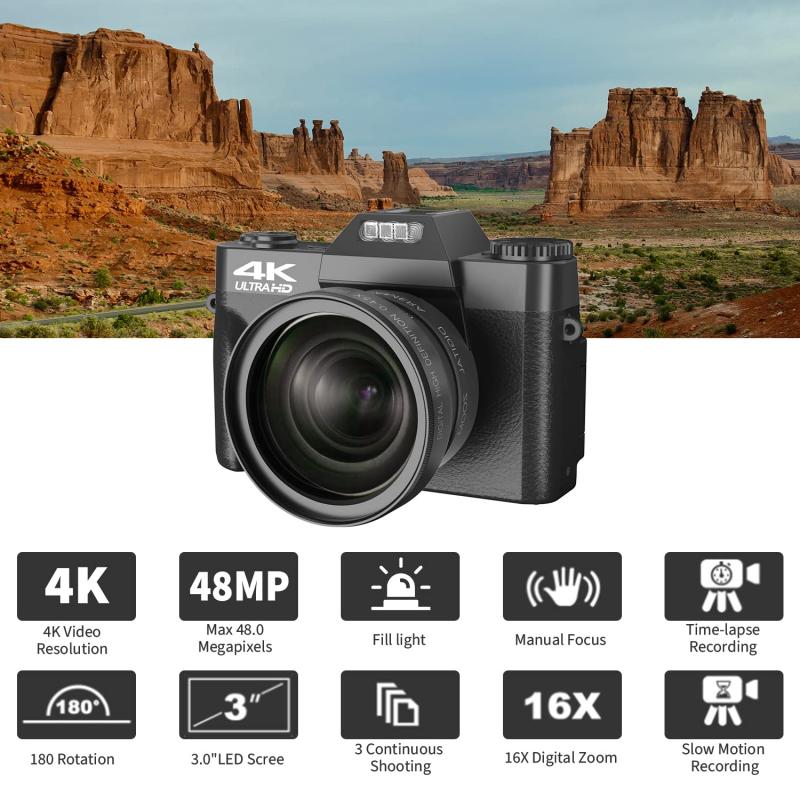
1. Check Camera Hardware: Ensure that your camera is properly connected if you are using an external webcam. For built-in cameras, make sure they are not covered or obstructed.
2. Open Camera App: Windows comes with a built-in Camera app. You can find it by typing "Camera" in the search bar and selecting the app from the results.
3. Grant Permissions: The first time you open the Camera app, you may be prompted to grant permission for the app to access your camera. Click "Yes" or "Allow".
4. Test Your Camera: The Camera app should now display a live feed from your camera. If it does, your camera is working correctly.
macOS
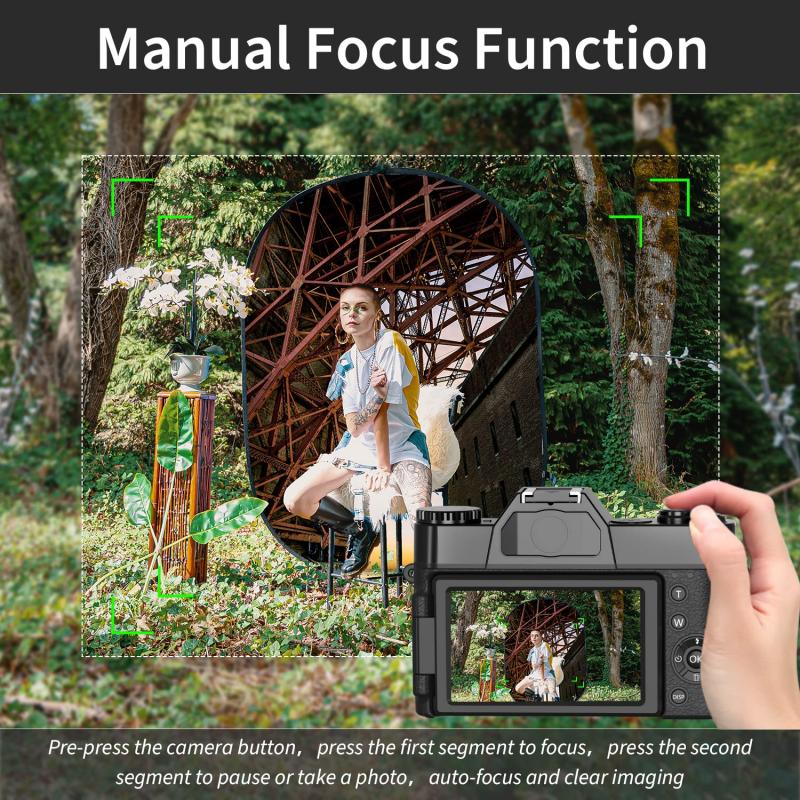
1. Check Camera Hardware: Ensure that your camera is properly connected if you are using an external webcam. For built-in cameras, make sure they are not covered or obstructed.
2. Open FaceTime or Photo Booth: macOS comes with built-in apps like FaceTime and Photo Booth that can access your camera. Open either of these apps.
3. Grant Permissions: The first time you open these apps, you may be prompted to grant permission for the app to access your camera. Click "Yes" or "Allow".
4. Test Your Camera: The app should now display a live feed from your camera. If it does, your camera is working correctly.
Turning on Your Video Camera on a Smartphone or Tablet
iOS (iPhone/iPad)
1. Open Camera App: Tap the Camera app icon on your home screen.
2. Switch to Front Camera: If you want to use the front-facing camera, tap the camera switch icon (usually a circular arrow) to switch from the rear camera to the front camera.
3. Grant Permissions: The first time you open the Camera app, you may be prompted to grant permission for the app to access your camera. Tap "OK" or "Allow".
4. Test Your Camera: The Camera app should now display a live feed from your camera. If it does, your camera is working correctly.
Android
1. Open Camera App: Tap the Camera app icon on your home screen or app drawer.
2. Switch to Front Camera: If you want to use the front-facing camera, tap the camera switch icon (usually a circular arrow) to switch from the rear camera to the front camera.
3. Grant Permissions: The first time you open the Camera app, you may be prompted to grant permission for the app to access your camera. Tap "OK" or "Allow".
4. Test Your Camera: The Camera app should now display a live feed from your camera. If it does, your camera is working correctly.
Turning on Your Video Camera in Popular Applications
Zoom
1. Open Zoom: Launch the Zoom application on your device.
2. Join or Start a Meeting: Click "New Meeting" to start a meeting or "Join" to enter an existing meeting.
3. Enable Video: Click the "Start Video" button located at the bottom-left corner of the Zoom window. If prompted, grant permission for Zoom to access your camera.
4. Test Your Camera: You should now see a live feed from your camera in the Zoom meeting window.
Skype
1. Open Skype: Launch the Skype application on your device.
2. Start a Call: Click on a contact and select the video call icon to start a video call.
3. Enable Video: If your video does not start automatically, click the camera icon to enable it. If prompted, grant permission for Skype to access your camera.
4. Test Your Camera: You should now see a live feed from your camera in the Skype call window.
Google Meet
1. Open Google Meet: Go to the Google Meet website or open the app on your device.
2. Join or Start a Meeting: Click "New Meeting" to start a meeting or "Join" to enter an existing meeting.
3. Enable Video: Click the camera icon to enable video. If prompted, grant permission for Google Meet to access your camera.
4. Test Your Camera: You should now see a live feed from your camera in the Google Meet window.
Troubleshooting Common Issues
Despite following the steps above, you may encounter issues with your video camera. Here are some common problems and their solutions:
1. Camera Not Detected: Ensure that your camera is properly connected and that no other applications are using the camera. Restart your device if necessary.
2. Permission Issues: Check your device's privacy settings to ensure that the application has permission to access your camera.
3. Outdated Drivers: Ensure that your camera drivers are up to date. You can usually find driver updates on the manufacturer's website.
4. Application-Specific Issues: Sometimes, the issue may be with the application itself. Try reinstalling the application or checking for updates.
Turning on your video camera is a straightforward process, but it can vary depending on your device and the application you are using. By following the steps outlined in this article, you should be able to activate your camera and start video communication with ease. Whether you're using a laptop, desktop, smartphone, or tablet, the key is to ensure that your camera is properly connected, permissions are granted, and the correct settings are enabled. With these tips, you'll be ready to connect visually with colleagues, friends, and family in no time.




















There are no comments for this blog.