How Do You Get Sound In Screen Recording?
Screen recording has become an essential tool in today’s digital world, helping individuals and professionals capture and share their screen activities. However, one key aspect that significantly enhances the value and clarity of a screen recording is sound. Whether you are creating tutorials, recording webinars, or documenting bugs and issues, having audio integrated with your video can make a substantial difference.
Recording sound along with video can be somewhat confusing as it involves understanding a few technical details and using the right tools. This article seeks to clarify the process of getting sound into your screen recordings and aims to provide practical solutions to the most common challenges users face.
Understanding the Basics: Types of Sound in Screen Recording

Before delving into the process, it's important to distinguish between the two primary types of audio you might want to capture:
1. System Audio: This is the sound that comes from your computer, such as music, notification sounds, in-app audio, or video audio.
2. Microphone Audio: This refers to your voice or any sounds captured via an external or internal microphone.
Different use cases might require capturing one or both types of audio simultaneously.
Tools and Software for Screen Recording with Sound
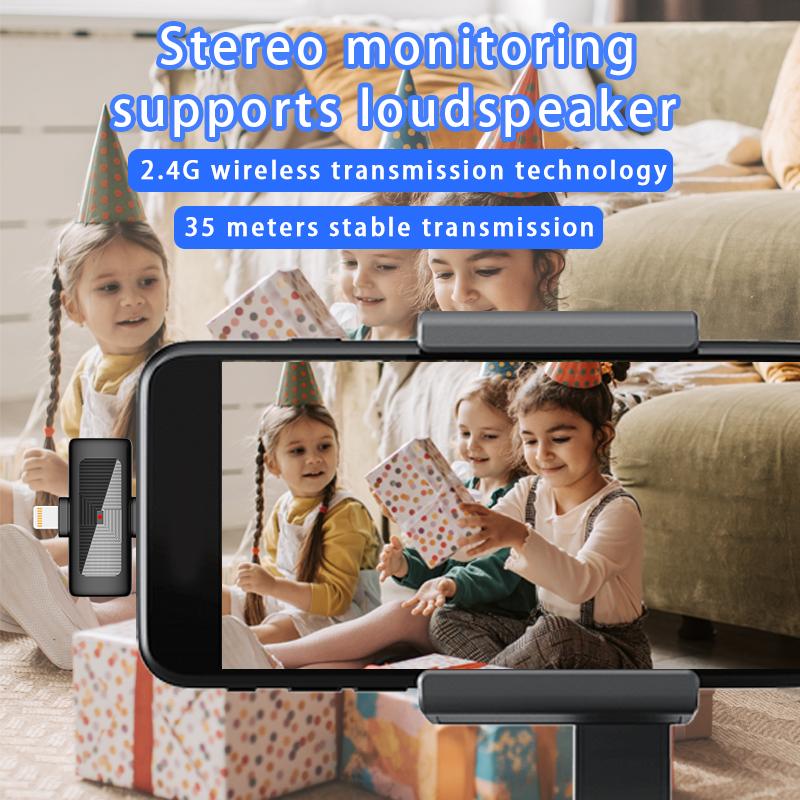
The core of your screen recording setup will be the software you choose. Many modern screen recording tools come with integrated audio capture options. Here are a few popular ones:
1. OBS Studio: This open-source tool is one of the best available options for both screen and audio recording. OBS Studio offers advanced settings that allow you to capture system audio and microphone input simultaneously.
2. Camtasia: A paid software that is user-friendly and provides robust options for both video and audio recording. It also includes post-recording editing features.
3. QuickTime Player: This is a built-in option for macOS users that can record screen and audio, albeit with some limitations.
4. Windows Game Bar: For Windows 10 users, this built-in tool can record screen activities along with system audio and microphone input.
Steps to Record Screen with Sound
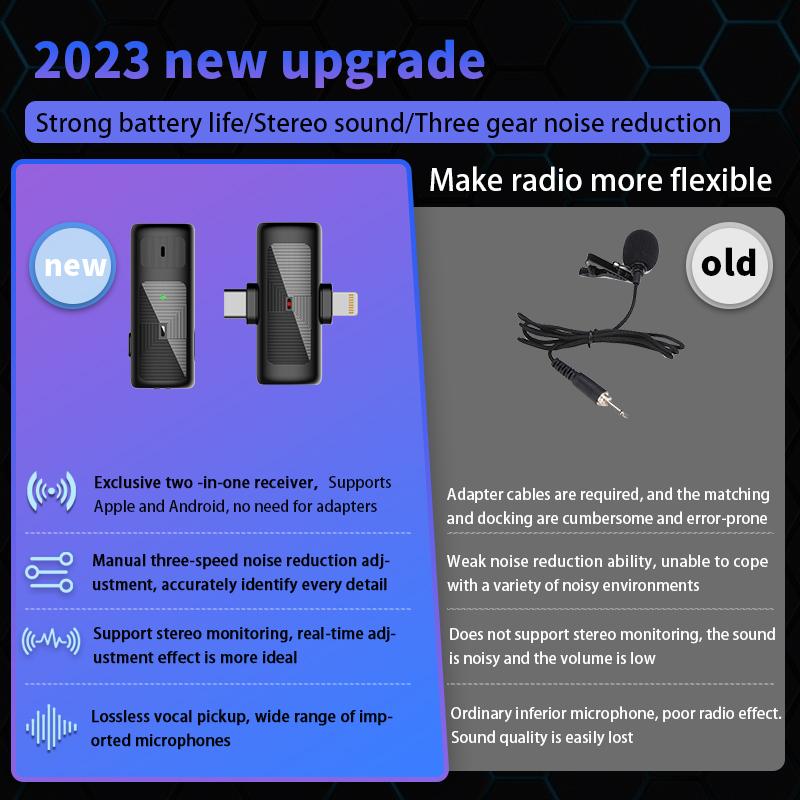
Using OBS Studio
1. Download and Install: Begin by downloading and installing OBS Studio from the official website.
2. Set Up Audio Sources:
- Open OBS Studio and create a new scene.
- In the "Sources" box, click the "+" button and add "Display Capture" to record your screen.
- To add audio, click the "+" again and choose "Audio Input Capture" for microphone audio and "Audio Output Capture" for system audio.
3. Configure Settings: Ensure the correct devices are selected for input and output in the audio settings section.
4. Record and Save: Click "Start Recording" to begin capturing both your screen and audio, then "Stop Recording" when done. The file will be saved in your designated directory.
Using Camtasia
1. Open Camtasia: Install and launch the Camtasia application.
2. New Recording: Click on “New Recording” from the main interface.
3. Select Audio Sources:
- Check the boxes for both “Record System Audio” and “Record Microphone.”
- Test your microphone to ensure it is capturing sound.
4. Record and Edit: Click "Start Recording." After recording, you can use Camtasia’s built-in editor to fine-tune both your video and audio.
Using QuickTime Player
1. Launch QuickTime: Open QuickTime Player from your Applications folder.
2. New Screen Recording: Select “File” -> “New Screen Recording.”
3. Select Audio Input: Click the down arrow next to the record button and select the microphone you wish to use. Note that QuickTime does not capture system audio by default—additional software like Soundflower might be needed to route system audio to QuickTime.
4. Record and Save: Press the record button to start. Once finished, click the stop button and save your recording.
Dealing with Common Issues
No Sound in Recordings
One of the most common issues users face is ending up with a screen recording that has no sound. The following troubleshooting steps can help:
- Check Audio Input/Output Settings: Ensure that the right devices are selected in the recording software settings.
- System Permissions: Sometimes, system permissions prevent screen recording software from accessing the microphone or system audio. Check your system settings and permissions, particularly on macOS where explicit permissions are often required.
- Update Drivers and Software: Make sure your audio drivers are up to date, and you are using the latest version of your screen recording software.
Background Noise and Audio Quality
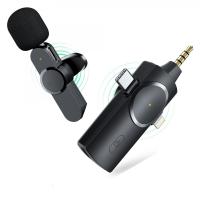
- Use a High-Quality Microphone: Built-in microphones often pick up background noise. Using a dedicated external microphone can improve audio quality.
- Soundproof Your Recording Environment: Minimize background noise by recording in a quiet room and using foam panels if necessary.
- Post-Processing: Utilize the post-processing tools in your recording software to remove background noise and enhance audio clarity.
Advanced Tips: Recording Both System and Microphone Audio
If you often need to record both system and microphone audio, consider the following:
- Audio Mixing: Learn to use the audio mixing features in your recording software. This way, you can balance the levels between system and microphone audio.
- Hardware Solutions: Invest in an audio interface or mixer that allows for easier management of multiple audio inputs.
- Virtual Audio Cable: Software like Virtual Audio Cable allows you to route audio between applications and devices, providing more control over what gets recorded.
Capturing high-quality sound along with your screen recordings can enhance the effectiveness and professionalism of your videos. By understanding the basics, choosing the right tools, and following best practices, you can ensure that your screen recordings deliver clear and precise audio. Whether you’re a professional creating instructional videos or a gamer sharing your latest exploits, mastering audio recording is a valuable skill that can significantly improve the quality of your output.


