How Do You Have Sound On Screen Record?
Screen recording has become an essential tool in our digital lives, whether for creating tutorials, capturing online content, or saving video calls. However, while most people find recording the visuals straightforward, capturing audio alongside video often presents a challenge. In this comprehensive guide, we will explore various methods to record sound with your screen recordings across multiple platforms, analyzing best practices to ensure high-quality results.
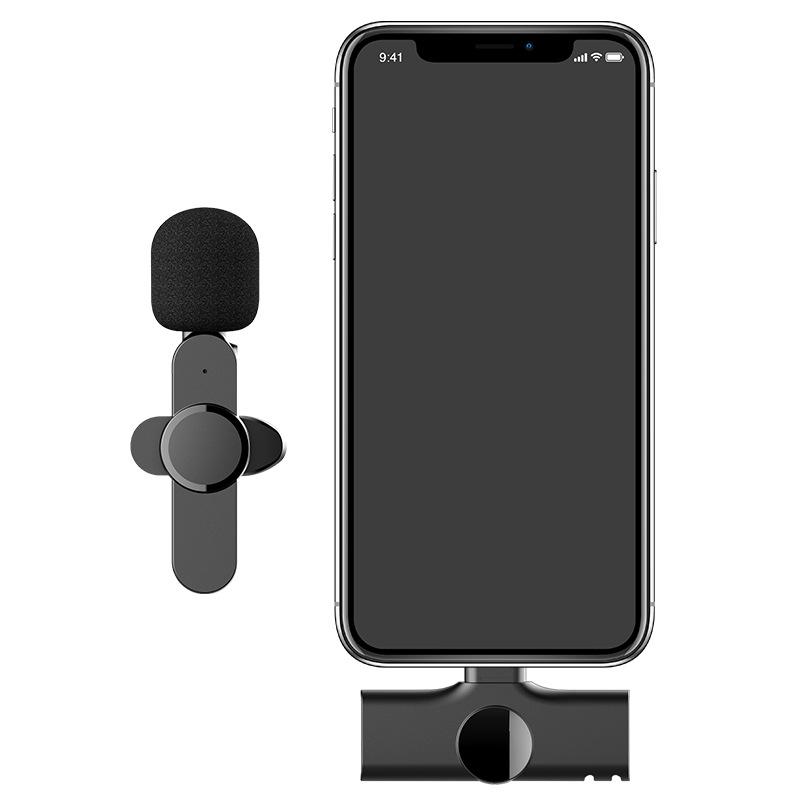
To begin with, let us understand the importance and nuances of screen recording with sound. For educators and content creators, the voice-over or system sound is not just an accessory but an integral part of the media that conveys complete information. Without audio, the context could be lost, leaving the viewer confused or uninterested. Now, let’s dive into practical solutions for capturing sound along with your screen recordings on different devices and operating systems.
Using Built-In Tools
1. Windows 10/11: Xbox Game Bar
Windows 10 and 11 come with an integrated tool named Xbox Game Bar, primarily designed for gamers but equally useful for general screen recording needs:
- Accessing Xbox Game Bar: Use the shortcut `Win + G` to open the Game Bar.
- Starting Recording: Click on the ‘Record’ button or use the shortcut `Win + Alt + R`. Make sure to enable the microphone if you want to capture your voice alongside system sounds.
- Settings: Navigate to Settings > Capture, where you can adjust the audio settings for capturing all system sounds, or just the microphone audio.
2. macOS: QuickTime Player
Mac users can rely on QuickTime Player, a versatile media tool bundled within macOS:
- Recording with QuickTime: Open QuickTime Player and select `File > New Screen Recording`.
- Audio Settings: Click on the arrow next to the record button to select the microphone, ensuring both your voice and system sounds are captured.
- Recording: Press the record button to start and use the same button to end the recording.
Third-Party Software Solutions
When built-in tools do not suffice, third-party applications can provide advanced features and better control over your recordings.
1. OBS Studio (Open Broadcaster Software)
OBS Studio is a free and open-source tool that offers comprehensive screen recording capabilities:
- Installation and Setup: Download OBS Studio from the official website, and follow prompts to install.
- Configuring Audio: In OBS, you can add multiple audio sources, such as your system sound and microphone. Navigate to `Settings > Audio` to configure the sample rate, channels, and other audio properties.
- Scene Setup: Create a new scene and add `Display Capture` to include your screen, and `Audio Input Capture` for capturing your microphone.
- Recording: Start recording by hitting the `Start Recording` button on the OBS interface.
2. Camtasia
Camtasia by TechSmith offers a user-friendly experience with advanced editing features:
- Setup: Install Camtasia and open the application.
- Audio Capture: In the Camtasia Recorder section, ensure both `Record System Audio` and `Record Microphone` are selected.
- Start Recording: Hit the start button, and Camtasia will record both your screen and audio inputs.
Mobile Devices
Both Android and iOS platforms provide methods to record screen activity with sound.
1. Android Devices
Most modern Android devices have built-in screen recording functions:
- Screen Recorder Access: Pull down the notification shade and find the `Screen Recorder` option.
- Audio Settings: Choose if you want to record audio from the microphone, system, or both.
- Recording: Tap the record button. Once finished, stop the recording from the notification shade.
2. iOS Devices
Apple devices running iOS 11 or later include a screen recording feature:
- Enable Screen Recording: Go to `Settings > Control Center > Customize Controls` and add `Screen Recording`.
- Starting Recording: Open the Control Center and long-press the screen recording button to access audio settings.
- Choosing Audio: Select `Microphone Audio On` to record sound and start recording.
Best Practices for High-Quality Audio
Ensuring high-quality sound in your screen recordings requires attention to a few best practices:
- Quiet Environment: Record in a quiet environment to minimize background noise.
- External Microphones: Use an external microphone for better voice quality compared to built-in device microphones.
- System Sound: If you need to capture system sound, close unnecessary applications to avoid unwanted noises or notifications.
- Audio Settings: Use software settings to adjust audio input levels and gain to optimal levels to avoid distortion or clipping.
Final Thoughts
Screen recording with sound is not merely about the tools you use but also how you use them. Whether leveraging built-in utilities or sophisticated third-party software, the goal remains to produce clear and informative content. By following our guide, you can effectively capture both video and audio, enhancing the overall quality and professionalism of your screen recordings. Practice and experimentation with different tools and settings will help you find the perfect balance for your specific needs, ensuring your presentations, tutorials, or shared moments are as engaging and effective as possible.





![[4X Optical Zoom] Recharge power Security Camera PTZ Outdoor for Home Security with Human Detection Auto Tracking-EU Standard [4X Optical Zoom] Recharge power Security Camera PTZ Outdoor for Home Security with Human Detection Auto Tracking-EU Standard](https://img.kentfaith.com/cache/catalog/products/us/KF50.0003/KF50.0003-1-200x200.jpg)





There are no comments for this blog.