How Do You Install Nest Outdoor Camera?
Installing a Nest Outdoor Camera can be a straightforward process if you follow the right steps. This article will guide you through the entire installation process, from unboxing to setting up the camera on your mobile device. By the end of this guide, you will have a fully functional Nest Outdoor Camera that enhances the security of your home.
Unboxing and Preparation
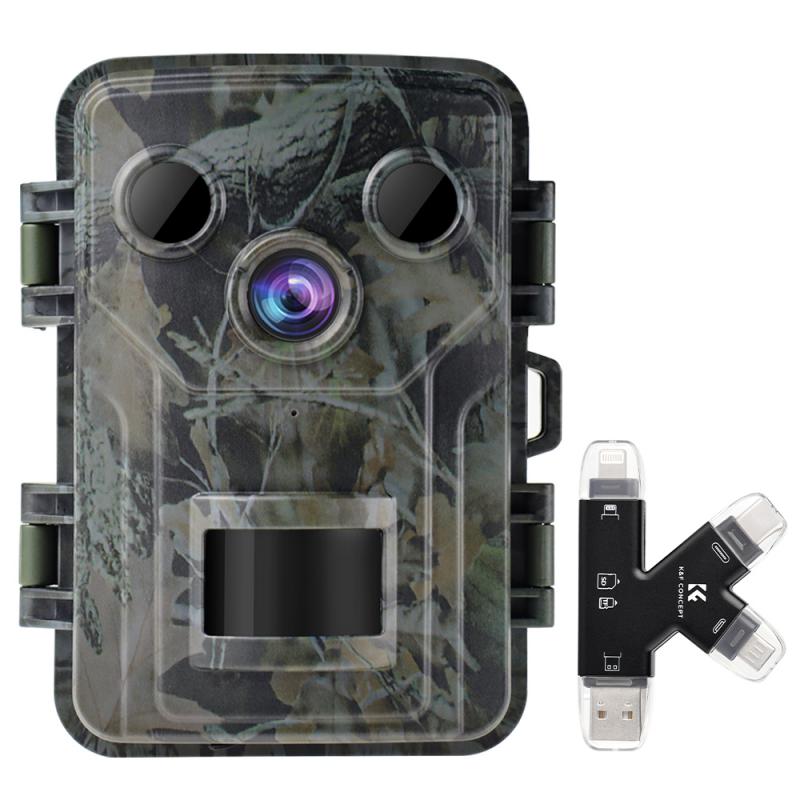
Before you start the installation, make sure you have all the necessary components. Your Nest Outdoor Camera package should include the camera itself, a power adapter, a mounting plate, screws, wall anchors, and a cable clip. Additionally, you will need a drill, a screwdriver, and possibly a ladder, depending on the height at which you plan to install the camera.
1. Check the Contents: Ensure that all components are present in the box. Missing parts can delay your installation process.
2. Read the Manual: Although this guide will cover most aspects, it’s always a good idea to read the manufacturer’s manual for any specific instructions or warnings.
Choosing the Right Location
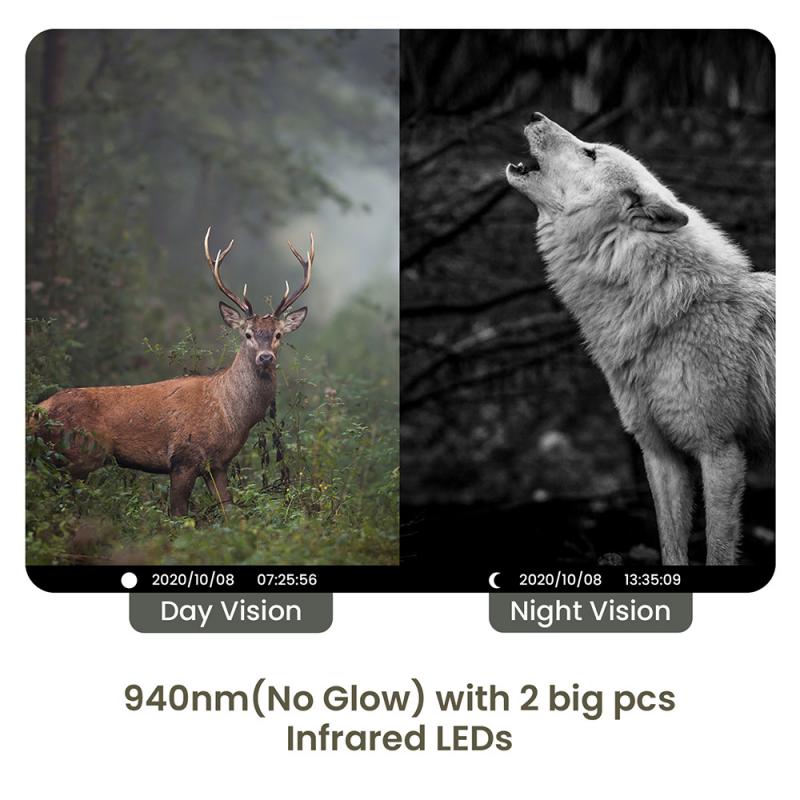
The placement of your Nest Outdoor Camera is crucial for optimal performance. Here are some factors to consider:
1. Field of View: Ensure the camera covers the area you want to monitor. The Nest Outdoor Camera has a 130-degree wide-angle lens, so position it to maximize this feature.
2. Height: Install the camera at a height that is out of reach for potential intruders but still provides a clear view of the area. Typically, 7-10 feet above the ground is ideal.
3. Power Source: The camera needs to be plugged into an electrical outlet. Make sure the chosen location is within reach of a power source or consider using an extension cord.
4. Wi-Fi Signal: Ensure the camera is within range of your Wi-Fi network. A weak signal can affect the camera’s performance.
Installation Steps
Step 1: Mounting the Camera
1. Mark the Drill Points: Use the mounting plate as a template to mark the spots where you will drill holes for the screws.
2. Drill Holes: Drill holes at the marked spots. If you are installing the camera on a masonry surface, use the provided wall anchors.
3. Attach the Mounting Plate: Secure the mounting plate to the wall using the screws provided.
4. Attach the Camera: Snap the camera onto the mounting plate. Make sure it is securely attached.
Step 2: Connecting the Power
1. Route the Power Cable: Run the power cable from the camera to the nearest electrical outlet. Use the provided cable clips to secure the cable along the wall.
2. Plug in the Adapter: Connect the power adapter to the cable and plug it into the electrical outlet. The camera will power on automatically.
Step 3: Setting Up the Camera on Your Mobile Device
1. Download the Nest App: If you haven’t already, download the Nest app from the App Store or Google Play Store.
2. Create an Account: Open the app and create a new account or log in to your existing account.
3. Add the Camera: In the app, select “Add Product” and follow the on-screen instructions to add your Nest Outdoor Camera. You will need to scan the QR code on the camera or enter the serial number manually.
4. Connect to Wi-Fi: Follow the prompts to connect the camera to your Wi-Fi network. Ensure you enter the correct Wi-Fi password.
5. Test the Camera: Once connected, the app will guide you through a series of tests to ensure the camera is working correctly. Check the live feed to make sure the camera is positioned correctly and adjust if necessary.
Fine-Tuning and Maintenance
After the initial setup, you may need to make some adjustments to optimize the camera’s performance.
1. Adjust the Angle: Use the app to view the live feed and adjust the camera angle as needed. Make sure the camera covers the desired area without obstructions.
2. Set Up Alerts: Customize the alert settings in the app to receive notifications for specific events, such as motion detection or sound detection.
3. Regular Maintenance: Periodically check the camera and its components for any signs of wear or damage. Clean the lens to ensure a clear view and check the power connections.
Troubleshooting Common Issues
Even with a straightforward installation process, you may encounter some issues. Here are common problems and their solutions:
1. Weak Wi-Fi Signal: If the camera has trouble connecting to your Wi-Fi network, consider moving your router closer to the camera or using a Wi-Fi extender.
2. Power Issues: Ensure the power adapter is securely plugged in and the outlet is functioning. If the camera doesn’t power on, try a different outlet.
3. App Connectivity: If the app fails to connect to the camera, restart your mobile device and the camera. Ensure your app and device firmware are up to date.
Enhancing Security with Additional Features
The Nest Outdoor Camera offers several features that can enhance your home security:
1. Nest Aware Subscription: Consider subscribing to Nest Aware for additional features like continuous video recording, intelligent alerts, and activity zones.
2. Integration with Other Devices: Integrate your Nest Outdoor Camera with other smart home devices, such as Google Home, for a more comprehensive security system.
3. Two-Way Audio: Use the two-way audio feature to communicate with visitors or deter potential intruders.
Installing a Nest Outdoor Camera is a valuable step towards enhancing the security of your home. By following this guide, you can ensure a smooth installation process and make the most of the camera’s features. Remember to choose the right location, secure the camera properly, and set up the app for optimal performance. With regular maintenance and the right settings, your Nest Outdoor Camera will provide reliable security for years to come.


