How Do You Make A Voice Recording?
When it comes to making a high-quality voice recording, users often seek guidance on a variety of topics. Here's a comprehensive guide covering the different facets of voice recording, designed to address the most common user needs and questions.
Selecting the Right Equipment
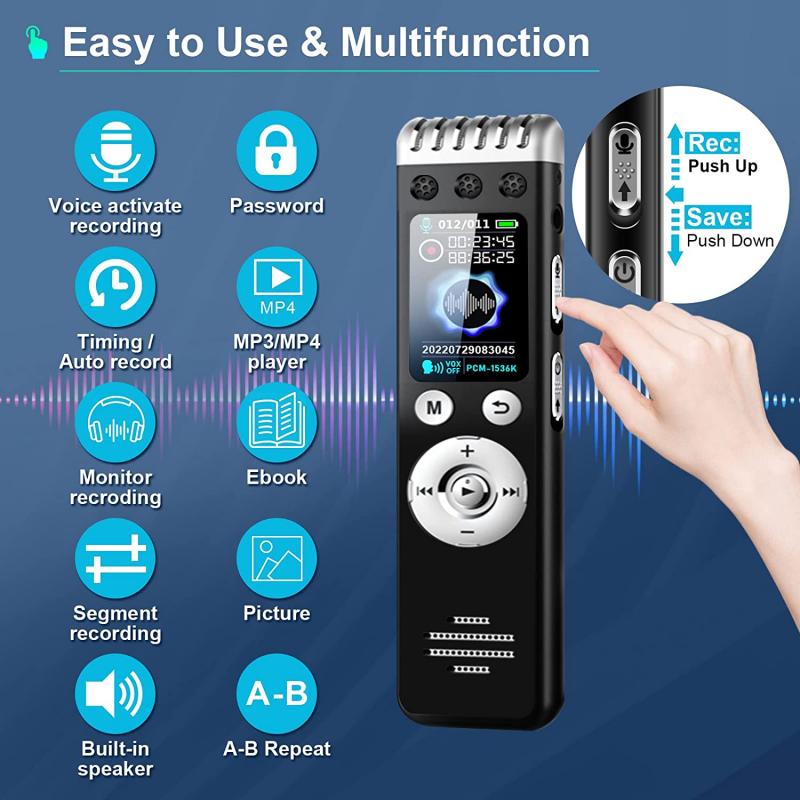
The foundation of any good voice recording starts with selecting the right equipment. Microphones are the primary tool for capturing voice, and they come in various types, each suited for different scenarios.
Types of Microphones:
1. Dynamic Microphones: Durable and versatile, these are great for beginners who don’t want to invest too much initially. They are perfect for recording in noisier environments as they pick up less background noise.
2. Condenser Microphones: Known for their sensitivity and wide frequency response, these are ideal for studio recordings where capturing audio detail is crucial.
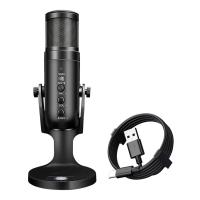
3. USB Microphones: These are a good middle ground for those who want reasonable quality without needing an audio interface. They are plug-and-play, making them accessible even for non-experts.
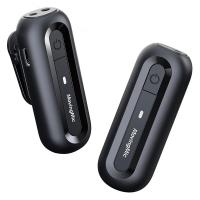
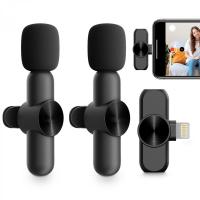
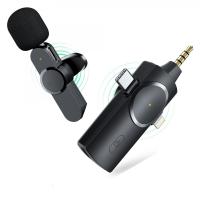
4. Lavalier Microphones: Small and unobtrusive, these mics are often used in interviews or presentations where the speaker needs to move around.
Your microphone choice should match your intended use. For podcasting or voiceover work, a condenser microphone is typically recommended, whereas a USB microphone might suffice for simpler tasks like online meetings or video calls.
Setting Up Your Environment
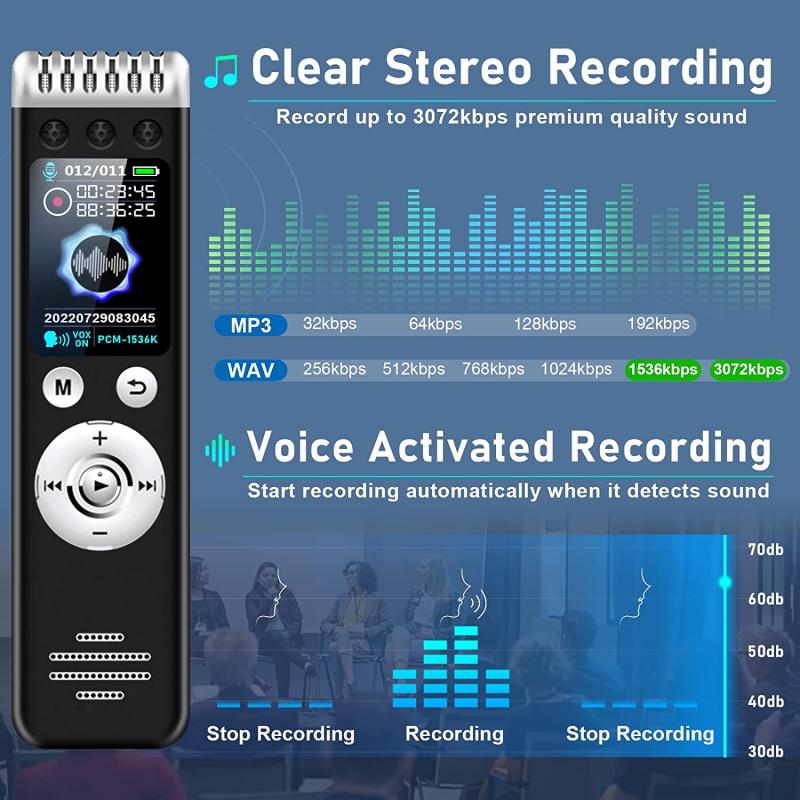
The environment where you record significantly impacts the audio quality. Even the best microphone can’t compensate for a noisy or acoustically bad setting.
Acoustic Treatment:
1. Soundproofing: Try to record in a quiet room away from external noise. Consider adding heavy curtains or carpets to reduce outside sounds.
2. Acoustic Panels: These can be attached to walls to absorb sound reflections, reducing reverb and echo.
3. Pop Filters and Windscreens: These are small, inexpensive tools that help to reduce ‘popping’ sounds caused by plosive consonants.
Ensure the room you choose is not too large or empty, as sound waves can bounce around, creating unwanted reverberations.
Choosing the Right Software
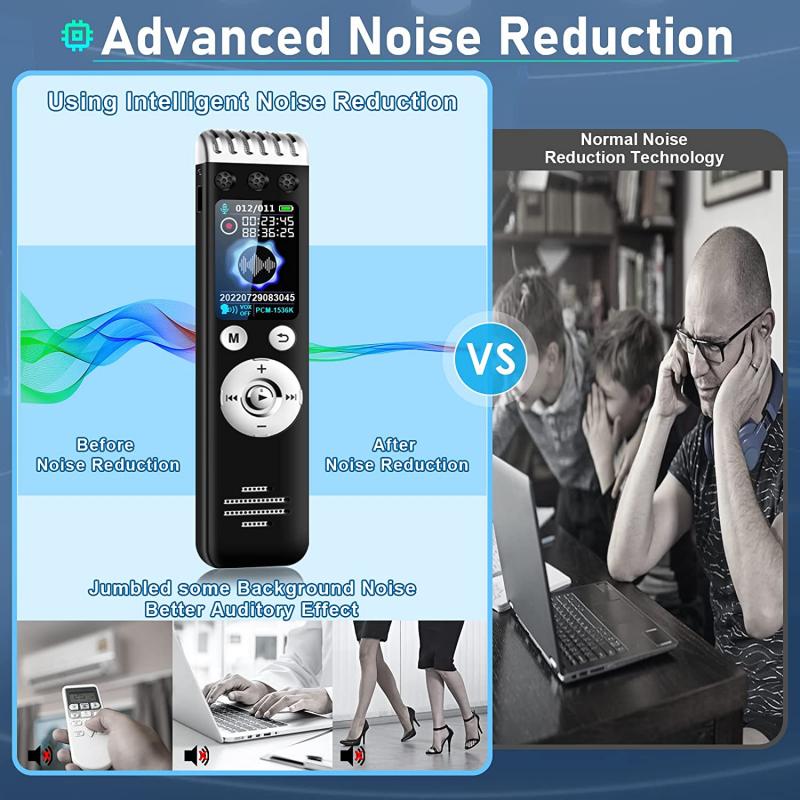
Once you’ve got your equipment and environment set up, the next step is to choose the right software for recording and editing your audio.
Popular Software Options:
1. Audacity: A free, open-source tool that offers robust features for recording and editing. It is perfect for beginners.
2. GarageBand: Ideal for Mac users, it provides an intuitive interface and advanced editing features.
3. Adobe Audition: A professional-level application with extensive features for detailed audio editing.
4. Reaper: Known for its flexibility and user customization, it's suitable for both beginners and advanced users.
Most of these software options offer tutorials and community forums, where users can seek specific advice or troubleshooting tips.
Recording Techniques and Tips
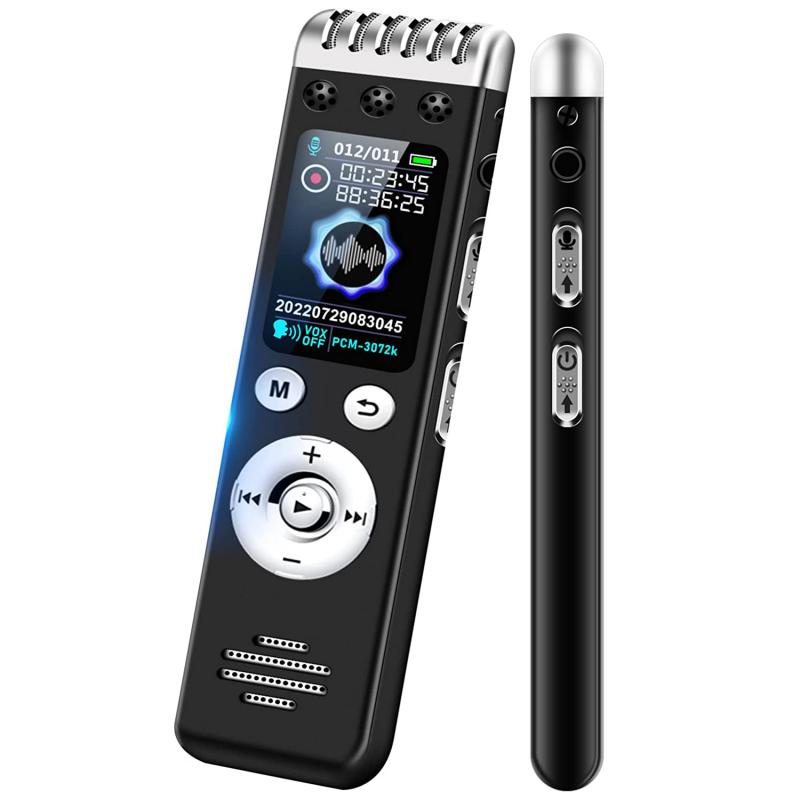
Now that you are all set up, let’s get into the actual process of recording. Here are some best practices to ensure high-quality voice recordings.
Positioning and Technique:
1. Microphone Placement: Position the microphone about 6-12 inches from your mouth. Adjust according to the type of microphone and your vocal strength.
2. Angle: Avoid speaking directly into the microphone; angling it slightly can help reduce plosive sounds.
3. Consistent Volume: Maintain a consistent distance from the microphone to avoid fluctuations in recording volume.
4. Practice: Do a few test recordings to find the optimal settings for your voice. Listen to the playback and make necessary adjustments.
Voice Warm-ups:
1. Warm-up Exercises: Simple vocal exercises can prepare your voice for recording and reduce the chances of strain.
2. Hydration: Keep yourself hydrated, but avoid dairy products before recording as they can produce excess saliva.
Editing Your Recording
Once you have your raw audio recorded, it's time for editing. This step involves refining your audio to remove imperfections and enhance quality.
Basic Editing Steps:
1. Noise Reduction: Use the software’s noise reduction tools to minimize background noise.
2. Cutting and Trimming: Remove any unwanted sections, like long pauses or mistakes.
3. Equalization (EQ): Adjust frequencies to ensure your voice sounds clear and consistent. Boosting lower frequencies can add warmth, while cutting higher frequencies can reduce sibilance.
4. Compression: This helps level out the dynamics of your recording, ensuring a more consistent volume.
5. Normalization: Adjust your audio to a standard peak level.
Advanced Tips and Troubleshooting
As you gain experience, you'll encounter various challenges. Here are some advanced tips and solutions to common problems.
Common Issues and Fixes:
1. Background Noise: In post-production, apply a noise gate to eliminate minor background sounds that the noise reduction might miss.
2. Pops and Clicks: Use a pop filter while recording, and a de-click plugin during editing.
3. Reverb and Echo: If the recording has unavoidable reverb, use an de-reverb plugin to mitigate it as much as possible.
4. Computer Noise: If your computer's fan noise is captured, consider using a directional microphone to focus on your voice, or isolate your computer with barriers.
Monitoring and Feedback:
1. Use Headphones: Monitor your recording through headphones to catch issues in real-time.
2. Feedback Loop: Get feedback from peers or online communities. They might offer insights that you missed.
Finalizing and Exporting
After meticulous recording and editing, your final step is exporting your audio.
Export Tips:
1. File Format: Choose a format that suits your needs. WAV is preferred for high-quality archives, while MP3 is commonly used for online sharing due to its smaller file size.
2. Export Settings: Pay attention to bit rate and sample rate settings. A 44.1 kHz sample rate and a 128 kbps bit rate are generally adequate for voice recordings.
Backup:
1. Multiple Backups: Always keep backups of your raw and edited files. Use cloud storage or external drives to safeguard your work.
By following these comprehensive steps, you can create high-quality voice recordings suitable for any professional use, from podcasting to video production. Whether you’re a beginner or looking to refine your skills, these guidelines will help ensure that you deliver clear, professional-sounding audio every time.















There are no comments for this blog.