How Do You Set Up A Telescope?
Setting up a telescope can be an exciting yet daunting task, especially for beginners. However, with the right guidance and understanding, you can quickly become proficient in setting up and using your telescope to explore the night sky. This article will walk you through the essential steps and considerations for setting up a telescope, ensuring you get the most out of your stargazing experience.
Understanding Your Telescope
Before diving into the setup process, it's crucial to understand the type of telescope you have. There are three main types of telescopes: refractors, reflectors, and compound (or catadioptric) telescopes. Each type has its unique setup requirements and advantages.
1. Refractor Telescopes: These use lenses to gather and focus light. They are generally easier to set up and maintain, making them ideal for beginners.
2. Reflector Telescopes: These use mirrors to gather and focus light. They are often more affordable for larger apertures but require more maintenance.
3. Compound Telescopes: These combine lenses and mirrors to gather and focus light. They are versatile and compact but can be more expensive.
Step-by-Step Guide to Setting Up Your Telescope
1. Unboxing and Inventory
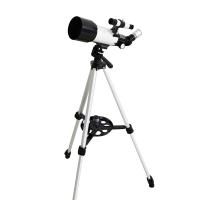
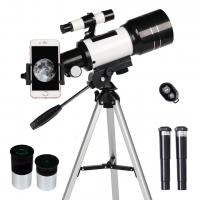
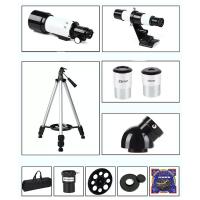
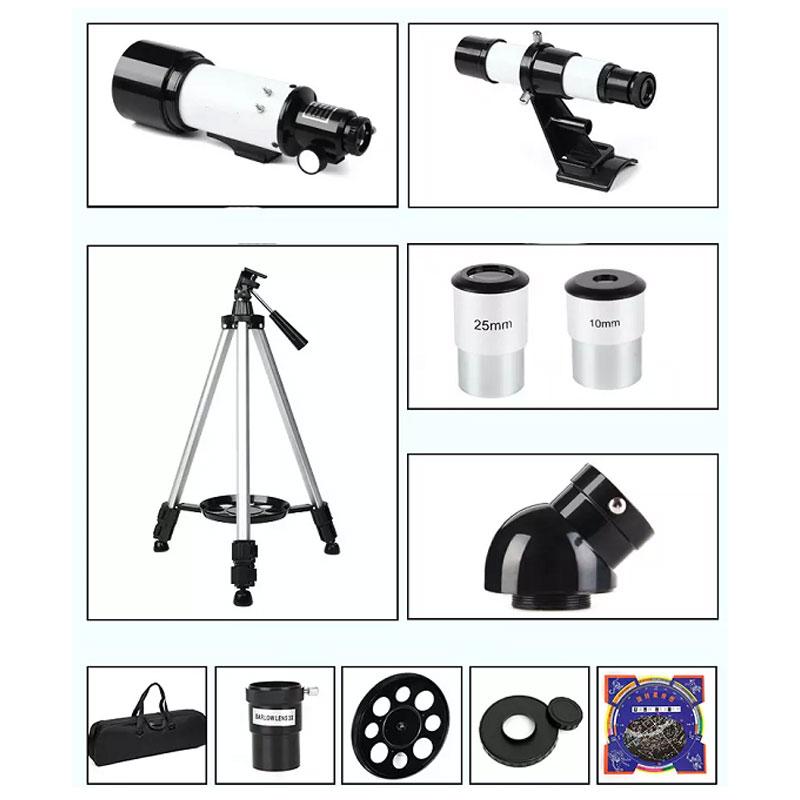
When you first receive your telescope, carefully unbox it and take inventory of all the parts. Ensure you have all the necessary components, including the optical tube, mount, tripod, eyepieces, finder scope, and any additional accessories.
2. Assembling the Tripod and Mount
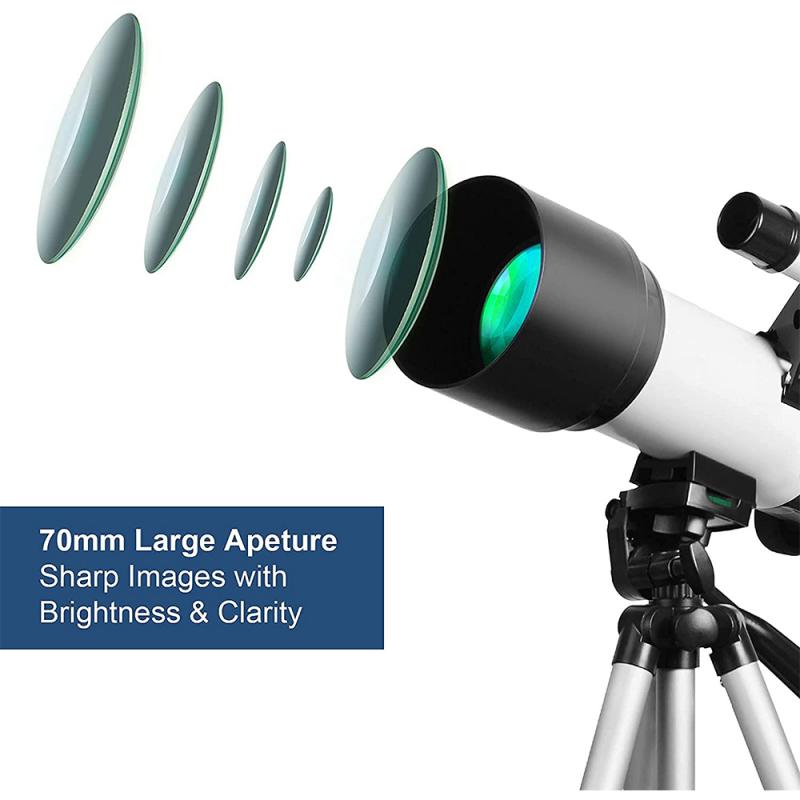
The tripod and mount are the foundation of your telescope setup. Follow these steps to assemble them:
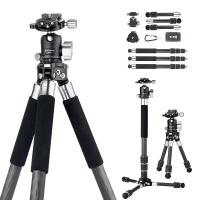
- Tripod: Spread the tripod legs and adjust them to a stable height. Ensure the tripod is on a level surface to provide a stable base for your telescope.
- Mount: Attach the mount to the tripod. There are two main types of mounts: altazimuth and equatorial. Altazimuth mounts are simpler and move in up-down and left-right directions. Equatorial mounts are more complex and are designed to follow the rotation of the Earth, making them ideal for astrophotography.
3. Attaching the Optical Tube
Once the tripod and mount are securely assembled, it's time to attach the optical tube:
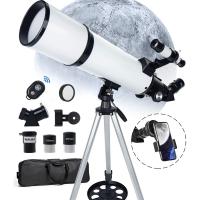
- Refractor Telescopes: Slide the optical tube into the mount's cradle and secure it with the provided screws or clamps.
- Reflector Telescopes: Attach the optical tube to the mount using the provided dovetail bar or rings.
- Compound Telescopes: Follow the manufacturer's instructions to attach the optical tube to the mount.
4. Balancing the Telescope
Balancing your telescope is crucial for smooth and accurate movement. Here's how to do it:
- Altazimuth Mounts: Adjust the balance by sliding the optical tube forward or backward in the mount's cradle until it remains level when you let go.
- Equatorial Mounts: Balance the telescope in both the right ascension (RA) and declination (DEC) axes. Start by balancing the RA axis by moving the counterweight along the shaft until the telescope remains level. Then, balance the DEC axis by sliding the optical tube forward or backward in the mount's cradle.
5. Aligning the Finder Scope
The finder scope helps you locate objects in the night sky. To align it with the main telescope:
- Choose a distant object, such as a tree or building, during the day.
- Center the object in the main telescope's eyepiece.
- Adjust the finder scope's alignment screws until the same object is centered in the finder scope's crosshairs.
6. Inserting the Eyepiece
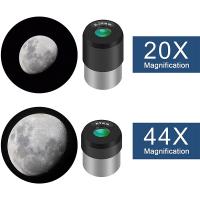
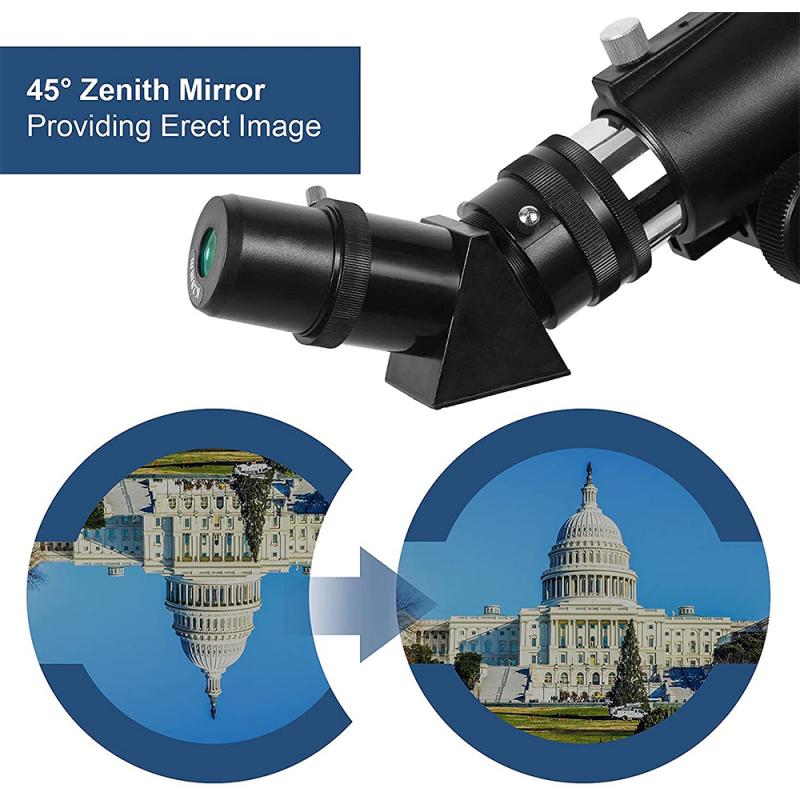
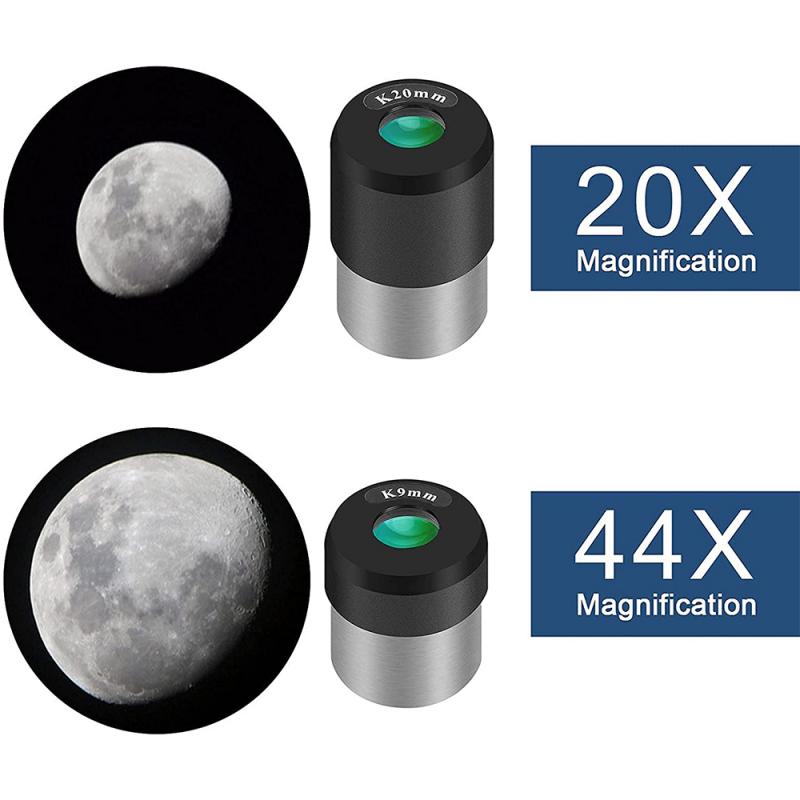
Eyepieces are interchangeable lenses that determine the magnification of your telescope. Start with a low-power eyepiece (higher focal length) to locate objects more easily. Insert the eyepiece into the focuser and secure it with the thumbscrew.
7. Focusing the Telescope
To achieve a clear image, you need to focus the telescope:
- Point the telescope at a bright object, such as the Moon or a star.
- Slowly turn the focus knob until the object comes into sharp focus.
Additional Tips for Successful Stargazing
1. Choosing the Right Location
Select a location with minimal light pollution for the best stargazing experience. Dark skies away from city lights will allow you to see more celestial objects.
2. Allowing Time for Cooling
Telescopes need time to acclimate to the outdoor temperature. Allow your telescope to cool down for at least 30 minutes before observing to prevent image distortion caused by temperature differences.
3. Using Star Charts and Apps
Star charts and mobile apps can help you navigate the night sky and locate celestial objects. Familiarize yourself with constellations and prominent stars to make finding objects easier.
4. Practicing Patience
Stargazing requires patience and practice. Spend time learning how to use your telescope and exploring the night sky. Over time, you'll become more proficient and discover new wonders.
Troubleshooting Common Issues
1. Blurry Images
If your images are blurry, check the following:
- Ensure the telescope is properly focused.
- Allow the telescope to cool down to the outdoor temperature.
- Check for any dew or condensation on the optics.
2. Difficulty Finding Objects
If you're having trouble finding objects:
- Double-check the alignment of your finder scope.
- Use a low-power eyepiece to locate objects more easily.
- Refer to star charts or apps for guidance.
3. Unstable Mount
If your mount is unstable:
- Ensure the tripod is on a level surface.
- Tighten all screws and clamps securely.
- Consider using vibration suppression pads to reduce vibrations.
Setting up a telescope may seem challenging at first, but with practice and patience, it becomes a rewarding experience. By following the steps outlined in this guide, you'll be well on your way to exploring the wonders of the night sky. Remember to choose the right location, allow time for cooling, and use star charts or apps to enhance your stargazing experience. With time and dedication, you'll unlock the full potential of your telescope and discover the beauty of the cosmos. Happy stargazing!


