How Does A Camera Filter Kit Work?
Understanding Camera Filter Kits: A Comprehensive Guide
In the world of photography, achieving the perfect shot often requires more than just a high-quality camera and lens. One of the most essential tools in a photographer's arsenal is the camera filter kit. These kits can significantly enhance the quality of your images by controlling light, reducing glare, and adding creative effects. But how exactly do these filter kits work, and how can they be used to their full potential? In this article, we will delve into the mechanics of camera filter kits, explore the different types of filters available, and provide practical tips on how to use them effectively.
What is a Camera Filter Kit?
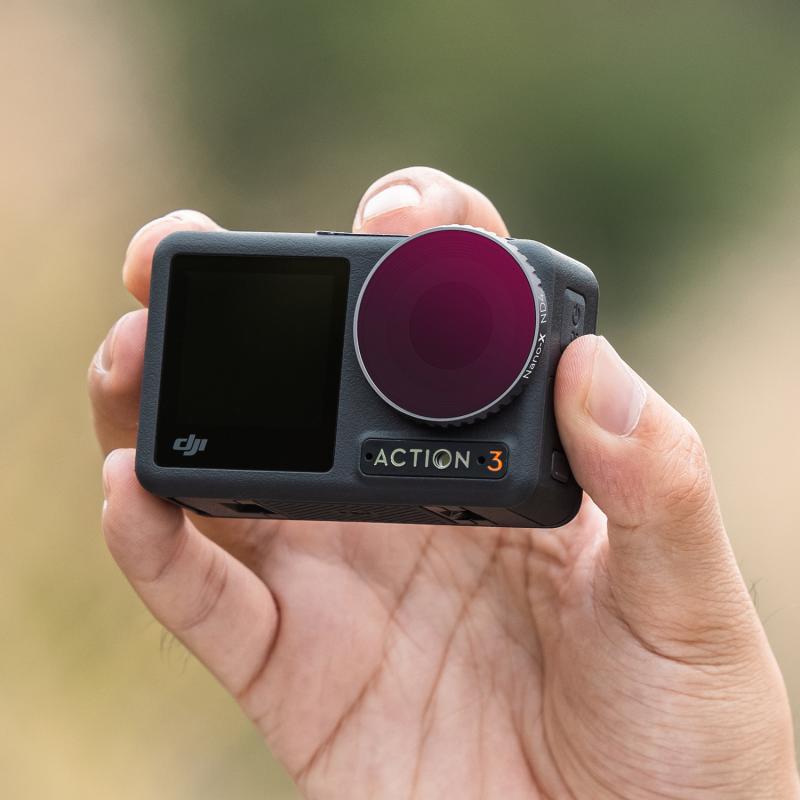
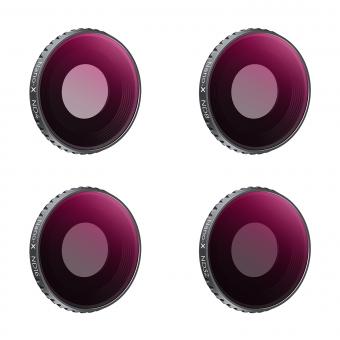
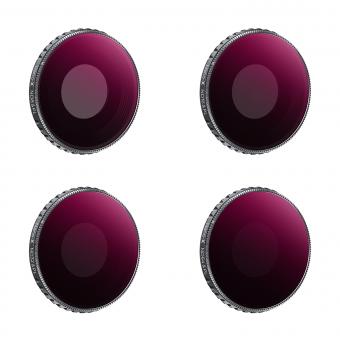
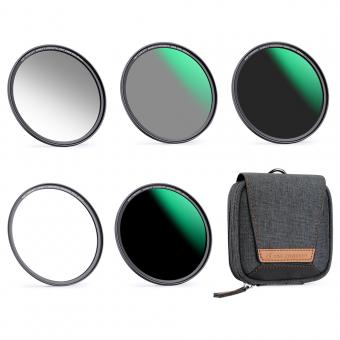
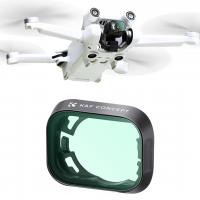
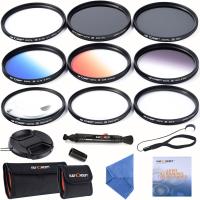
A camera filter kit typically includes a variety of filters that can be attached to the front of a camera lens. These filters are made from glass or resin and are designed to modify the light entering the lens in various ways. The primary purpose of using filters is to enhance image quality, protect the lens, and introduce creative effects that would be difficult to achieve through post-processing alone.
Types of Camera Filters
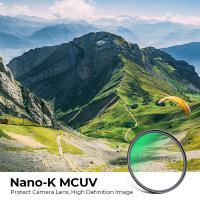
1. UV Filters: These are primarily used to protect the lens from dust, scratches, and moisture. While they were originally designed to block ultraviolet light, modern lenses often have built-in UV protection, making this filter more of a protective accessory.
2. Polarizing Filters: These filters are used to reduce reflections and glare from non-metallic surfaces like water and glass. They also enhance the colors and contrast in your images, making skies appear bluer and foliage greener.
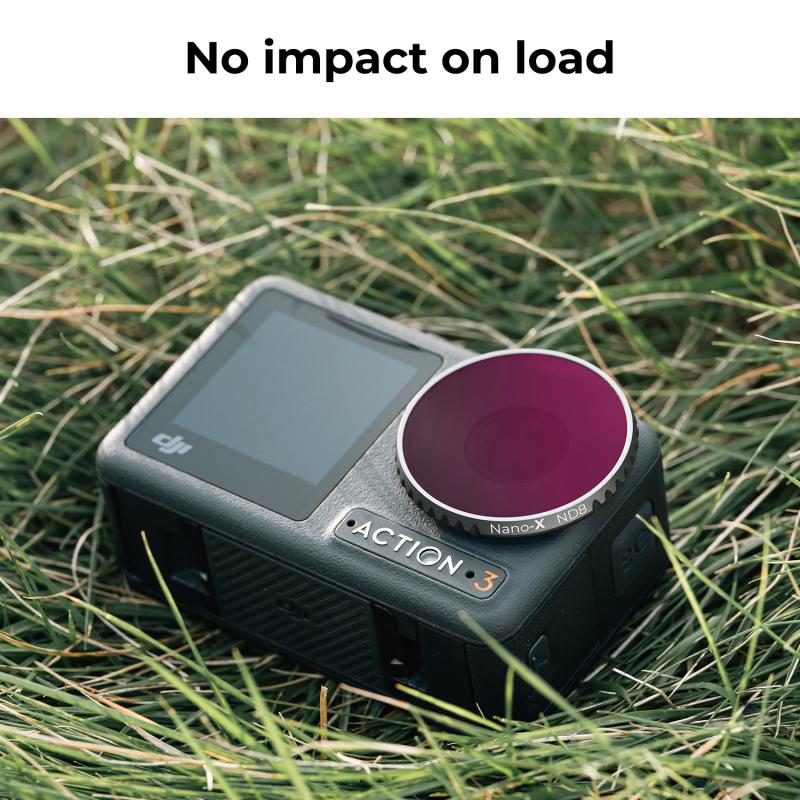
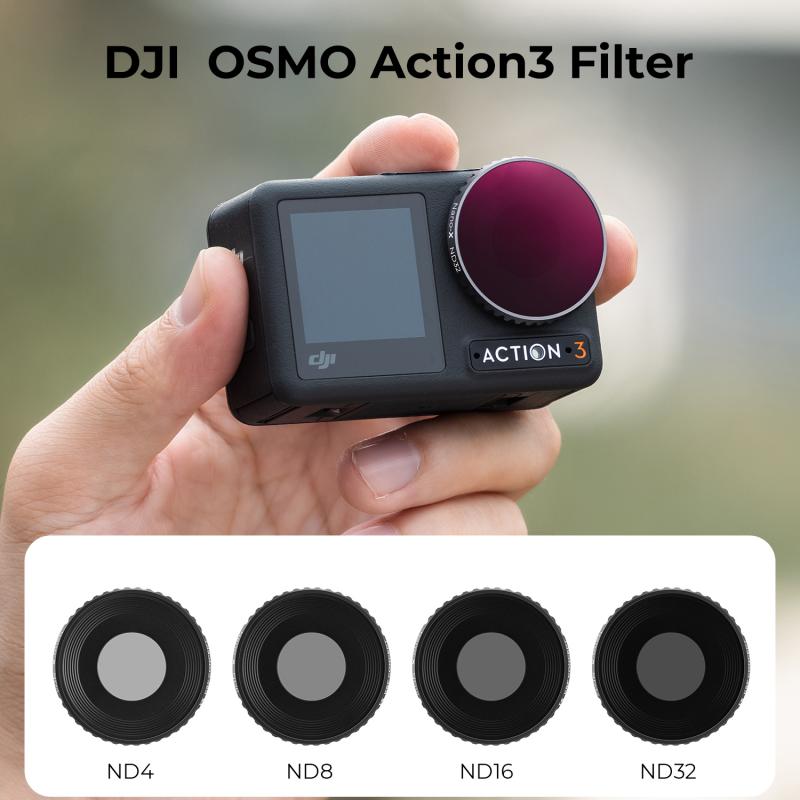
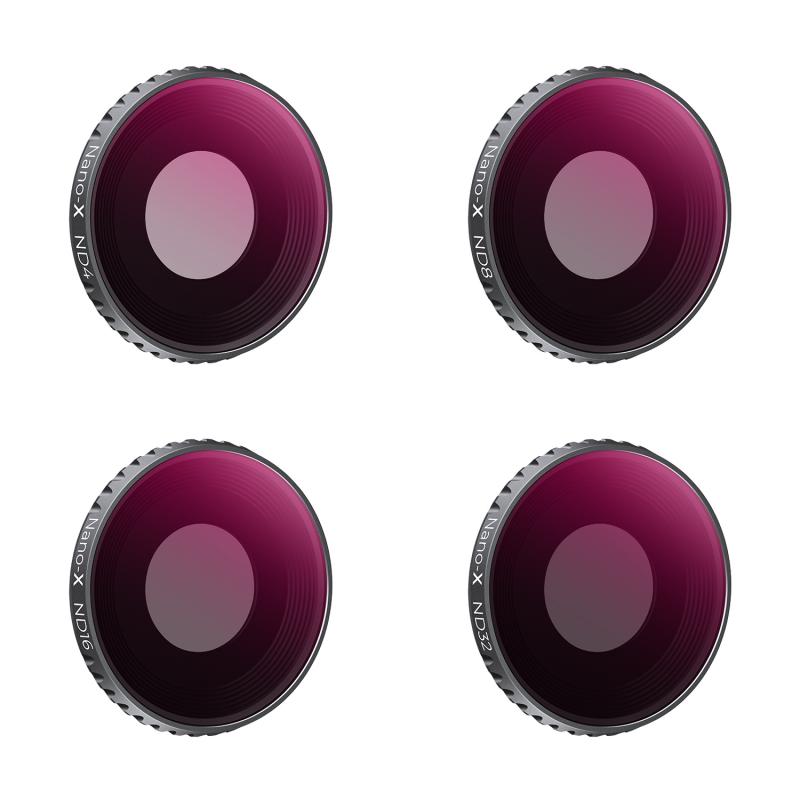
3. Neutral Density (ND) Filters: ND filters reduce the amount of light entering the lens without affecting the color of the image. This allows photographers to use slower shutter speeds or wider apertures in bright conditions, enabling effects like motion blur in waterfalls or a shallow depth of field in daylight.
4. Graduated ND Filters: These are similar to ND filters but have a gradient that transitions from dark to clear. They are particularly useful for balancing the exposure in scenes with a high dynamic range, such as landscapes with a bright sky and dark foreground.
5. Color Filters: These filters add a tint to the entire image, which can be used for creative effects or to correct color balance in certain lighting conditions.
6. Infrared Filters: These filters block visible light and allow only infrared light to pass through, creating surreal and otherworldly images.
How Do Camera Filters Work?
Camera filters work by selectively blocking or modifying the light that enters the lens. Each type of filter has a specific function and is designed to achieve a particular effect. Here’s a closer look at how some of the most common filters work:
- UV Filters: These filters block ultraviolet light, which can cause haziness and reduce contrast in your images. By filtering out UV light, these filters help produce clearer and sharper photos. However, their primary use today is to protect the lens from physical damage.
- Polarizing Filters: These filters contain a special polarizing film that only allows light waves vibrating in a particular direction to pass through. By rotating the filter, you can control the amount of polarized light entering the lens, effectively reducing reflections and enhancing colors.
- ND Filters: ND filters are made from neutral-colored glass or resin that reduces the intensity of all wavelengths of light equally. This allows photographers to use slower shutter speeds or wider apertures without overexposing the image. For example, an ND filter can enable a long exposure shot of a waterfall, creating a smooth, silky effect on the water.
- Graduated ND Filters: These filters have a gradient that transitions from dark to clear, allowing photographers to balance the exposure between the sky and the foreground. This is particularly useful in landscape photography, where the sky is often much brighter than the land.
Practical Tips for Using Camera Filters
1. Choose the Right Filter for the Situation: Different filters serve different purposes, so it’s essential to select the right one for the scene you’re shooting. For example, use a polarizing filter to reduce glare and enhance colors in outdoor scenes, or an ND filter to achieve long exposure effects in bright conditions.
2. Stack Filters with Caution: While it’s possible to stack multiple filters on top of each other, doing so can introduce vignetting (darkening of the corners) and reduce image quality. Use filter stacking sparingly and only when necessary.
3. Keep Filters Clean: Dust, fingerprints, and smudges on your filters can degrade image quality. Use a microfiber cloth and lens cleaning solution to keep your filters clean and free of debris.
4. Experiment with Different Effects: Don’t be afraid to experiment with different filters to achieve creative effects. For example, try using a color filter to add a unique tint to your images or an infrared filter to capture surreal landscapes.
5. Use a Filter Holder for Graduated ND Filters: Graduated ND filters are often rectangular and require a filter holder to position them correctly. A filter holder allows you to adjust the position of the gradient to match the horizon line in your composition.
6. Be Mindful of Exposure Adjustments: When using ND filters, you’ll need to adjust your exposure settings to compensate for the reduced light. This may involve using a slower shutter speed, a wider aperture, or a higher ISO setting.
Camera filter kits are invaluable tools for photographers looking to enhance their images and explore creative possibilities. By understanding how different filters work and how to use them effectively, you can take your photography to the next level. Whether you’re looking to reduce glare, balance exposure, or add artistic effects, there’s a filter for every situation. So, invest in a quality filter kit, experiment with different filters, and watch your photography skills soar.


