How Record Audio On Pc?
Recording audio on a PC is a common task that can be required for various purposes, such as creating podcasts, recording music, capturing voice memos, or even documenting meetings and lectures. With the right tools and knowledge, anyone can record high-quality audio on their PC. This article will guide you through the process, covering the necessary hardware, software options, and step-by-step instructions to ensure you achieve the best results.
Understanding the Basics
Before diving into the specifics, it's essential to understand the basic components required for recording audio on a PC:
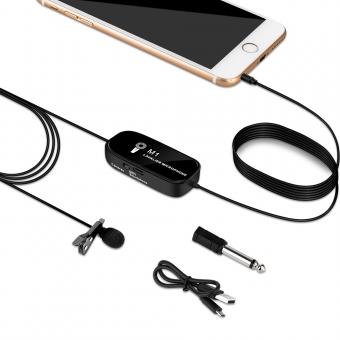
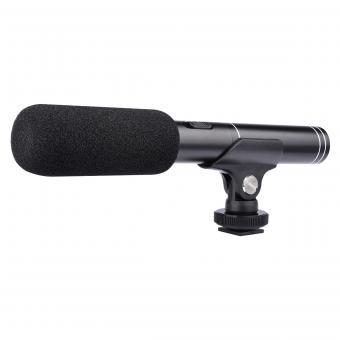
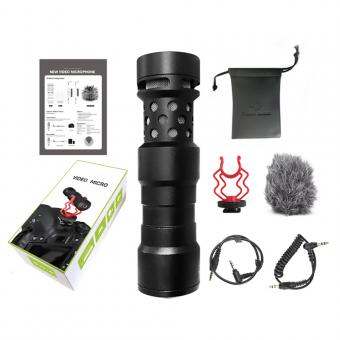
1. Microphone: The quality of your microphone significantly impacts the audio recording. There are various types of microphones, including USB microphones, which are easy to use and connect directly to your PC, and XLR microphones, which require an audio interface.
2. Audio Interface: If you opt for an XLR microphone, you'll need an audio interface to connect the microphone to your PC. The audio interface converts the analog signal from the microphone into a digital signal that your computer can process.
3. Recording Software: Also known as Digital Audio Workstations (DAWs), recording software allows you to capture, edit, and produce audio. There are many options available, ranging from free to professional-grade software.
Choosing the Right Microphone
The first step in recording audio on your PC is selecting the right microphone. Here are some popular options:
- USB Microphones: These are plug-and-play devices that connect directly to your PC via a USB port. They are convenient and often come with built-in preamps and analog-to-digital converters. Popular models include the Blue Yeti and Audio-Technica AT2020USB+.
- XLR Microphones: These microphones require an audio interface but generally offer higher audio quality. They are preferred by professionals for their versatility and superior sound. Examples include the Shure SM7B and Rode NT1-A.
Setting Up Your Audio Interface
If you choose an XLR microphone, you'll need an audio interface. Here’s how to set it up:
1. Connect the Microphone to the Audio Interface: Use an XLR cable to connect your microphone to the audio interface.
2. Connect the Audio Interface to Your PC: Most audio interfaces connect to your PC via USB, Thunderbolt, or FireWire. Follow the manufacturer's instructions for installation.
3. Install Drivers and Software: Some audio interfaces require specific drivers or software to function correctly. Ensure you download and install these from the manufacturer's website.
Selecting Recording Software
There are numerous recording software options available, each with its own set of features. Here are some popular choices:
- Audacity: A free, open-source audio recording and editing software. It’s user-friendly and suitable for beginners.
- GarageBand: Available for macOS users, GarageBand is a versatile and free DAW that offers a range of features for recording and editing audio.
- Adobe Audition: A professional-grade DAW with advanced features for audio recording, editing, and mixing. It requires a subscription but is highly regarded in the industry.
- Reaper: An affordable DAW that offers a comprehensive set of features. It’s highly customizable and suitable for both beginners and professionals.
Step-by-Step Guide to Recording Audio
Now that you have your hardware and software ready, follow these steps to record audio on your PC:
1. Set Up Your Recording Environment: Choose a quiet room with minimal background noise. Consider using soundproofing materials or a pop filter to reduce unwanted sounds.
2. Connect Your Microphone: Plug your USB microphone directly into your PC or connect your XLR microphone to the audio interface, which is then connected to your PC.
3. Open Your Recording Software: Launch your chosen DAW and create a new project or session.
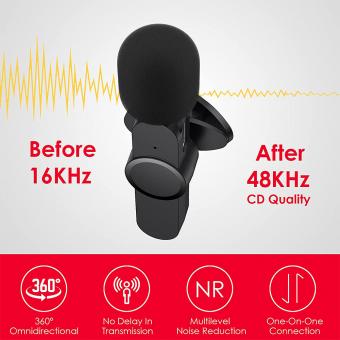
4. Configure Audio Settings: Ensure your microphone is selected as the input device in your DAW’s audio settings. Adjust the sample rate and bit depth according to your needs (44.1 kHz and 16-bit are standard for most recordings).
5. Set Up a Track for Recording: Create a new audio track in your DAW and arm it for recording. This usually involves clicking a record button on the track.
6. Adjust Input Levels: Speak or play into the microphone and adjust the input gain on your audio interface or within the DAW to ensure the levels are not too low or too high. Aim for levels that peak around -6 dB to -3 dB.
7. Start Recording: Press the record button in your DAW and begin speaking, singing, or playing your instrument. Monitor the levels to ensure consistent audio quality.
8. Stop Recording: Once you’ve finished, press the stop button. Save your project to avoid losing any recorded material.
Editing and Exporting Your Audio
After recording, you may need to edit your audio to remove any mistakes, add effects, or enhance the overall sound quality. Here are some basic editing steps:
1. Trim and Cut: Remove any unwanted sections at the beginning or end of the recording. Use the cut tool to eliminate mistakes or pauses.
2. Normalize Audio Levels: Ensure consistent volume levels throughout the recording by normalizing the audio.
3. Apply Effects: Add effects such as equalization (EQ), compression, and reverb to enhance the sound quality. Be cautious not to overdo it, as too many effects can degrade the audio quality.
4. Export Your Audio: Once you’re satisfied with the edits, export the audio file in your desired format (e.g., WAV, MP3). Choose the appropriate settings for sample rate and bit depth to maintain quality.
Troubleshooting Common Issues
Recording audio on a PC can sometimes present challenges. Here are some common issues and solutions:
- Background Noise: Use a noise gate or noise reduction plugin to minimize background noise. Ensure your recording environment is as quiet as possible.
- Latency: If you experience a delay between speaking and hearing the audio, adjust the buffer size in your DAW’s audio settings. Lower buffer sizes reduce latency but may strain your CPU.
- Distorted Audio: Ensure your input levels are not too high. Distortion occurs when the audio signal clips, so reduce the gain if necessary.
Recording audio on a PC is a straightforward process with the right equipment and software. By selecting a suitable microphone, setting up your audio interface, and using reliable recording software, you can achieve high-quality recordings for any purpose. Follow the step-by-step guide and troubleshooting tips provided in this article to ensure a smooth recording experience. Whether you’re a beginner or a seasoned professional, these insights will help you capture the best possible audio on your PC.


