How To Add Adapter On Sony A6000?
The Sony A6000 is a powerful, versatile mirrorless camera known for its excellent performance and compact design. One of its standout features is its interchangeable lens system, which opens up a world of creative possibilities. However, native lenses designed specifically for the Sony E-mount system can sometimes feel limiting, especially if you already own a collection of lenses from other brands or mounts. This is where lens adapters come into play.
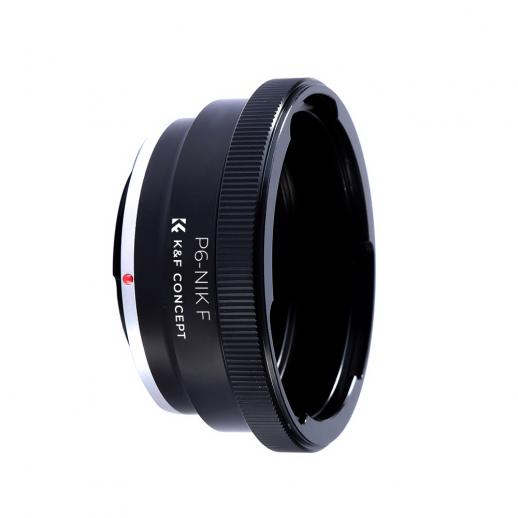
In this article, we’ll delve into the intricacies of using lens adapters on the Sony A6000, guiding you through the process of selecting, attaching, and optimizing adapters for the best shooting experience. Whether you're looking to breathe new life into legacy lenses or expand your creative toolkit, this guide will equip you with the knowledge to make informed choices.
---
Understanding Lens Adapters
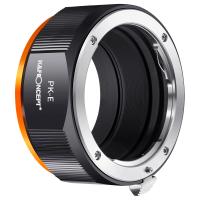
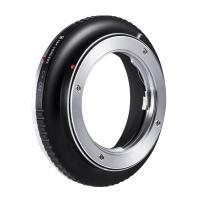
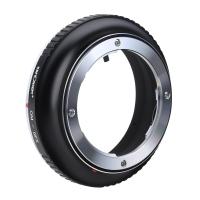
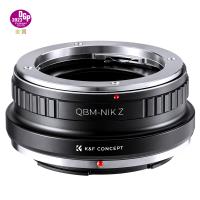
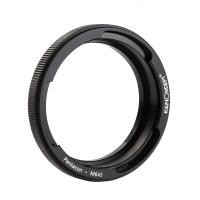
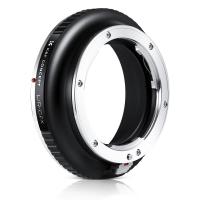
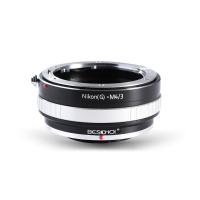
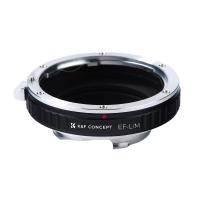
Lens adapters are accessories that allow lenses from one mount system to be used on a camera body with a different mount. For the Sony A6000, which features an E-mount system, adapters provide compatibility with lenses from brands like Canon, Nikon, Sigma, Tamron, and even older manual lenses.
Types of Lens Adapters
1. Passive Adapters
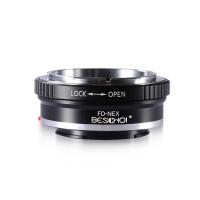
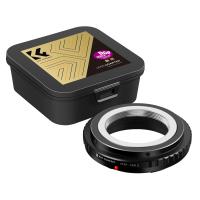
Passive adapters are simple mechanical rings that connect a lens to the camera body without transmitting electronic signals. These adapters are best suited for manual focus lenses since autofocus, aperture control, and image stabilization will not work.
2. Active Adapters
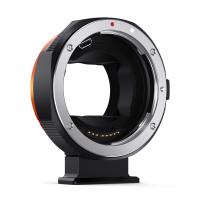
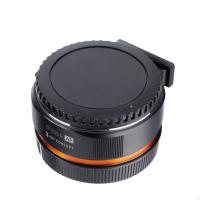
Active adapters are equipped with electronic contacts to facilitate communication between the lens and the camera. This allows features like autofocus, aperture control, and EXIF data transfer to function, making them ideal for modern lenses.
3. Speed Boosters
Speed boosters not only adapt lenses but also modify the optics to increase light transmission and reduce the crop factor. These adapters are popular for videographers and photographers looking to maximize the performance of full-frame lenses on APS-C cameras like the A6000.
---
How to Choose the Right Adapter
Selecting the right adapter is crucial for ensuring compatibility and performance. Consider the following factors:
1. Lens Mount Compatibility
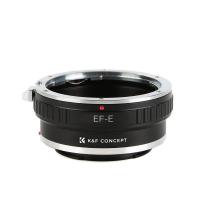
Identify the mount type of your lens. For example, if you want to use a Canon EF lens, you'll need an EF-to-E-mount adapter.
2. Adapter Features
Decide whether you need an active adapter for electronic communication or if a passive adapter suffices for manual lenses.
3. Budget and Build Quality
High-quality adapters from brands like Metabones or Sigma may be more expensive but often deliver better performance and durability. Budget adapters might have limitations, such as slower autofocus or vignetting.
4. Special Features
If you’re interested in speed boosters, look for models that are compatible with your lens collection and meet your creative needs.
---
Attaching a Lens Adapter to the Sony A6000
Once you have selected a suitable adapter, follow these steps to attach it to your Sony A6000:
1. Prepare the Camera and Lens
- Ensure the camera is powered off.
- Remove the existing lens or body cap from the camera.
- Inspect the adapter and lens for dust or debris, cleaning them if necessary.
2. Attach the Adapter to the Lens
- Align the adapter’s mounting ring with the lens mount.
- Rotate the adapter until it locks securely in place. Most adapters feature a click or visual indicator to confirm proper attachment.
3. Mount the Adapter-Lens Combo onto the Camera
- Align the adapter's camera-side mount with the A6000's E-mount.
- Rotate the adapter clockwise until it clicks into place.
4. Configure Camera Settings
- Turn on the camera and navigate to the settings menu.
- Enable the "Release w/o Lens" option under the custom settings. This allows the camera to operate without native lens communication.
- Adjust other settings like focus peaking and manual focus assist if using a passive adapter.
---
Optimizing Performance with Lens Adapters
While adapters are incredibly useful, they may introduce challenges that require some adjustments. Here’s how to get the most out of your adapted lenses:
1. Autofocus Performance
- Active adapters may experience slower autofocus compared to native lenses. Use focus modes like DMF (Direct Manual Focus) or MF (Manual Focus) for better precision.
- Update the firmware of your adapter if supported to improve autofocus compatibility.
2. Aperture and Exposure Control
- Active adapters allow aperture adjustments via the camera. For manual lenses on passive adapters, use the aperture ring on the lens.
- Take advantage of the A6000’s live view and histogram to fine-tune exposure.
3. Stabilization
- Lenses with built-in image stabilization may function through active adapters, depending on compatibility.
- If using a non-stabilized lens, rely on proper shooting techniques or use a tripod to minimize motion blur.
4. Crop Factor Awareness
- The APS-C sensor of the A6000 introduces a 1.5x crop factor. Consider this when framing shots or using speed boosters to reduce the crop effect.
---
Common Issues and Troubleshooting
1. Poor Autofocus Performance
- If autofocus is inconsistent, switch to manual focus for critical shots. Using focus peaking can help highlight sharp areas.
2. Vignetting or Image Quality Loss
- Some adapters may cause vignetting or degrade image quality at the edges. Test the lens and adapter combination before critical shoots to understand its limitations.
3. Adapter Fit and Build
- Loose-fitting adapters can cause light leaks or misalignment. Opt for well-reviewed brands to avoid these issues.
4. Compatibility Issues
- Not all lenses are fully compatible with adapters. Check online forums, reviews, or manufacturer specifications for detailed compatibility information.
---
Creative Applications of Lens Adapters
Using adapters expands your creative horizons by giving you access to a variety of lenses. Here are some popular use cases:
1. Vintage Lenses
Adapting vintage manual lenses like those from Minolta or Pentax provides a unique, nostalgic look that modern lenses often lack.
2. Specialized Lenses
Macro, tilt-shift, or ultra-telephoto lenses from other systems can be adapted to the A6000 for specific photographic needs.
3. Budget-Friendly Options
Adapting third-party lenses can be a cost-effective way to build a versatile lens collection.
---
Conclusion
Adding a lens adapter to your Sony A6000 opens the door to a world of creative possibilities, allowing you to use lenses from a wide array of brands and systems. Whether you’re an enthusiast looking to experiment with vintage glass or a professional seeking to maximize your lens investment, understanding how to choose and use an adapter effectively is key to a seamless experience.
While adapters come with some trade-offs in terms of functionality and performance, the flexibility they provide is often worth the effort. By following the steps outlined in this guide and optimizing your setup, you can unlock the full potential of your A6000 and elevate your photography to new heights.
Happy shooting!


