How To Adjust Tripod?
Adjusting a tripod is a fundamental skill for photographers, videographers, and anyone who uses a camera or other equipment that requires stable support. Whether you're a beginner or an experienced professional, knowing how to properly adjust your tripod can make a significant difference in the quality of your shots. In this article, we will delve into the various aspects of tripod adjustment, covering everything from setting up the tripod to fine-tuning its position for optimal performance.
Understanding the Components of a Tripod
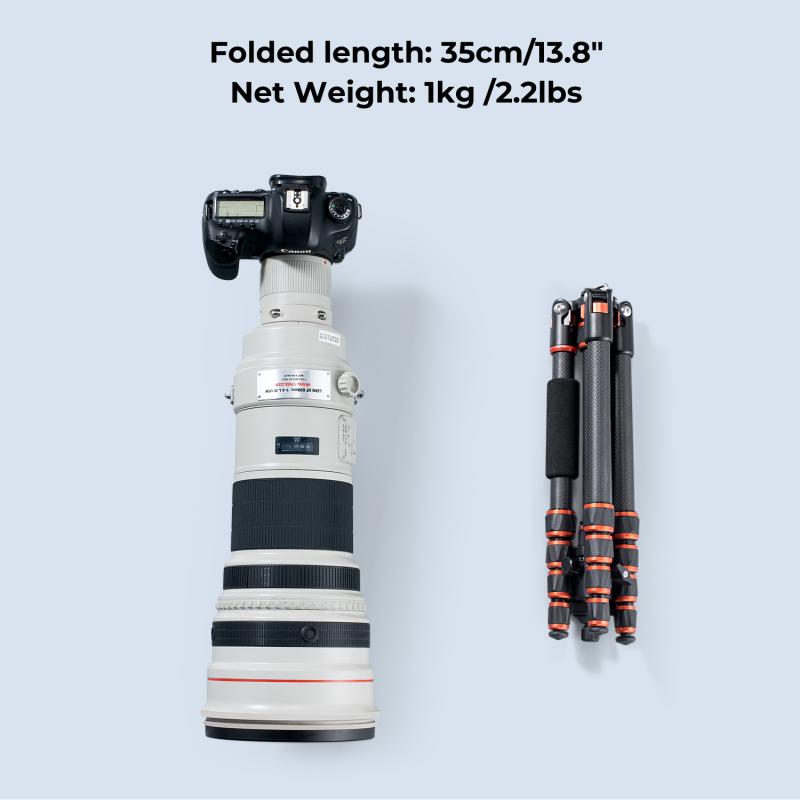
Before we dive into the adjustment process, it's essential to understand the basic components of a tripod:
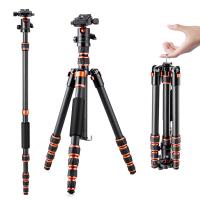
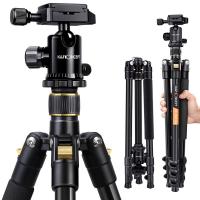
1. Legs: Most tripods have three legs, which can be extended or retracted to adjust the height.
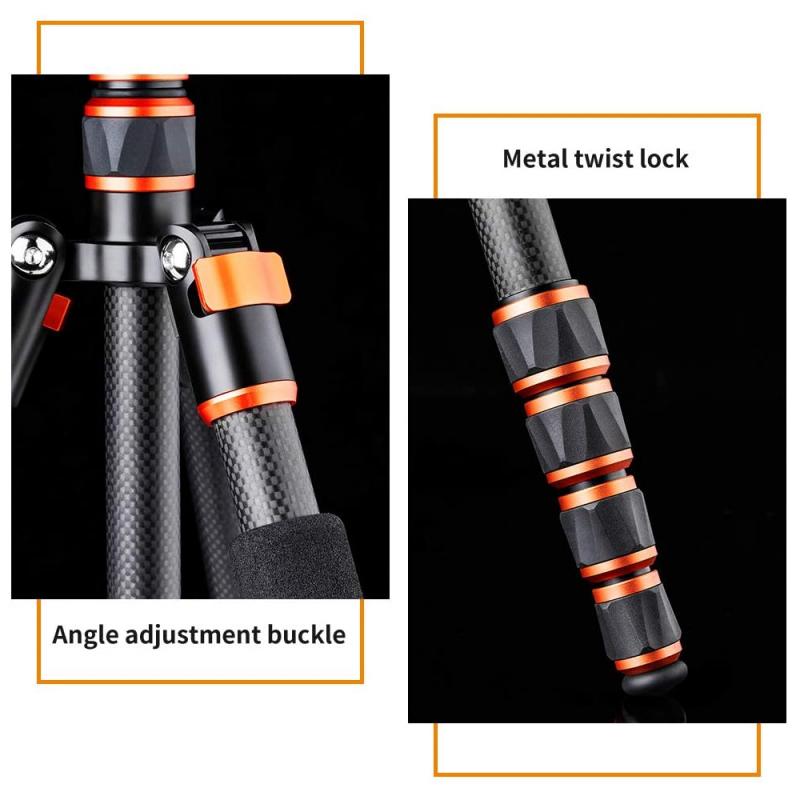
2. Leg Locks: These are mechanisms that secure the legs at a desired length. They can be flip locks, twist locks, or lever locks.
3. Center Column: This is a vertical column that can be raised or lowered to adjust the height further.
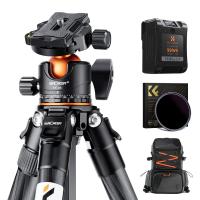
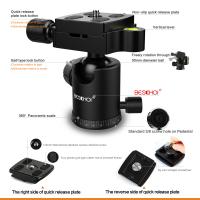
4. Head: The head is the part where the camera is mounted. It can be a ball head, pan-tilt head, or fluid head, depending on the type of tripod.
5. Quick Release Plate: This is a detachable plate that attaches to the camera and allows for quick mounting and dismounting.
Step-by-Step Guide to Adjusting a Tripod
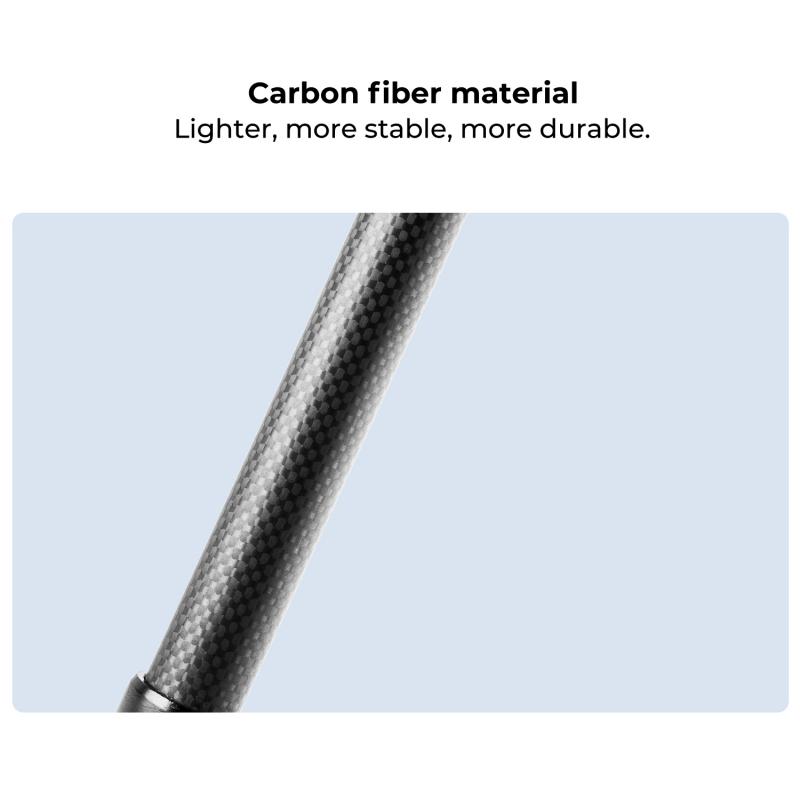
1. Setting Up the Tripod
Choose a Stable Surface: The first step in setting up your tripod is to find a stable, flat surface. Uneven or unstable ground can lead to shaky shots and potential damage to your equipment.
Spread the Legs: Fully spread the tripod legs to their widest position. This provides a stable base and reduces the risk of tipping over.
Adjust the Leg Length: Extend the legs to the desired height. Start with the thicker sections of the legs for better stability. Use the leg locks to secure the legs in place. Ensure that all legs are extended to the same length to keep the tripod level.
2. Adjusting the Center Column
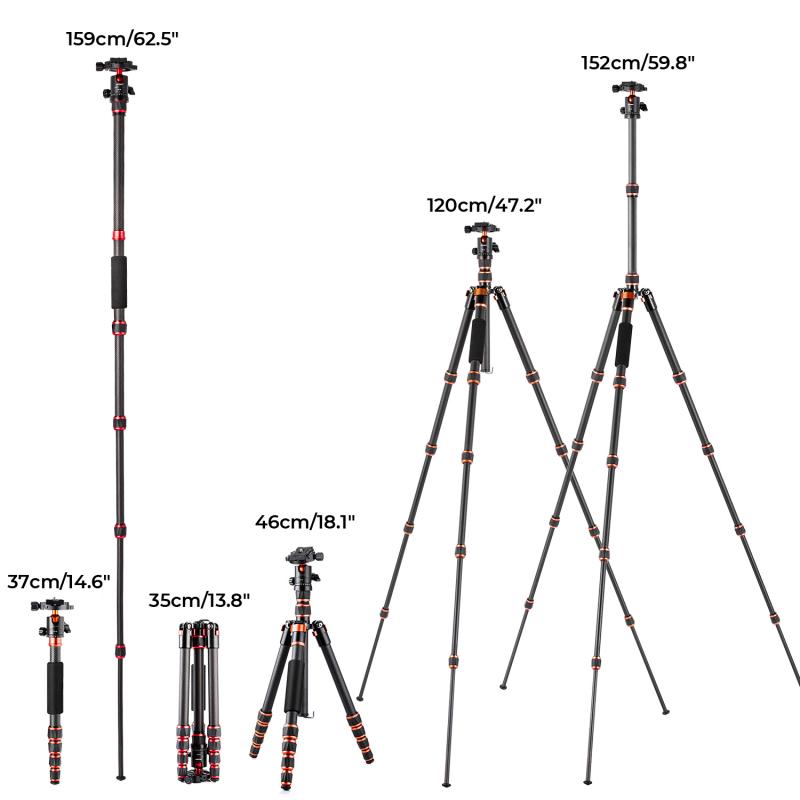
Raise or Lower the Center Column: If you need additional height, you can raise the center column. However, be cautious when doing this, as raising the center column too high can compromise stability. Lowering the center column can provide extra stability if needed.
Lock the Center Column: Once the center column is at the desired height, use the locking mechanism to secure it in place. Make sure it is tightly locked to prevent any movement.
3. Positioning the Tripod Head
Level the Tripod Head: Use the built-in bubble level (if available) to ensure that the tripod head is level. This is crucial for achieving straight and balanced shots.
Adjust the Head Angle: Depending on the type of head your tripod has, you can adjust the angle to suit your needs. For a ball head, loosen the knob to move the head freely and then tighten it to lock it in place. For a pan-tilt head, use the separate controls to adjust the horizontal and vertical angles.
Attach the Quick Release Plate: Attach the quick release plate to your camera and then mount it onto the tripod head. Ensure that it is securely locked in place to prevent any accidental falls.
4. Fine-Tuning the Position
Check the Stability: Once everything is set up, give the tripod a gentle shake to check for stability. If there is any wobbling, readjust the legs and locks until the tripod is stable.
Recheck the Level: Double-check the bubble level to ensure that the tripod head is still level after making adjustments.
Adjust the Camera Position: Use the tripod head controls to fine-tune the camera position. Make sure the camera is pointing in the desired direction and at the correct angle.
Tips for Optimal Tripod Use
1. Use a Remote Shutter Release: To minimize camera shake, use a remote shutter release or the camera's self-timer function.
2. Add Weight for Stability: If you're shooting in windy conditions, hang a weight (such as your camera bag) from the center column hook to add extra stability.
3. Avoid Extending the Center Column Fully: Extending the center column to its maximum height can reduce stability. Use it sparingly and only when necessary.
4. Regular Maintenance: Keep your tripod clean and check the leg locks and other mechanisms regularly to ensure they are functioning correctly.
Common Mistakes to Avoid
1. Ignoring the Bubble Level: Not using the bubble level can result in uneven shots, especially in landscape photography.
2. Overloading the Tripod: Ensure that your tripod can support the weight of your camera and any additional equipment. Overloading can lead to instability and potential damage.
3. Improper Leg Locking: Failing to secure the leg locks properly can cause the tripod to collapse unexpectedly.
4. Neglecting the Ground Surface: Setting up on an unstable or uneven surface can compromise the stability of your tripod.
Adjusting a tripod may seem straightforward, but it requires attention to detail and an understanding of the various components and mechanisms. By following the steps outlined in this article, you can ensure that your tripod is set up correctly and provides the stability needed for high-quality shots. Remember to choose a stable surface, adjust the legs and center column carefully, and fine-tune the tripod head for optimal performance. With practice, adjusting your tripod will become second nature, allowing you to focus on capturing the perfect shot.


