How To Back Focus A Camera Lens?
Back focusing a camera lens is a critical skill for photographers and videographers who want to ensure their images are sharp and clear. This process involves adjusting the lens to ensure that the focus point is accurate, which is particularly important for achieving precise focus in various shooting conditions. In this article, we will delve into the steps required to back focus a camera lens, the tools you need, and some practical tips to ensure you get the best results.
Understanding Back Focus
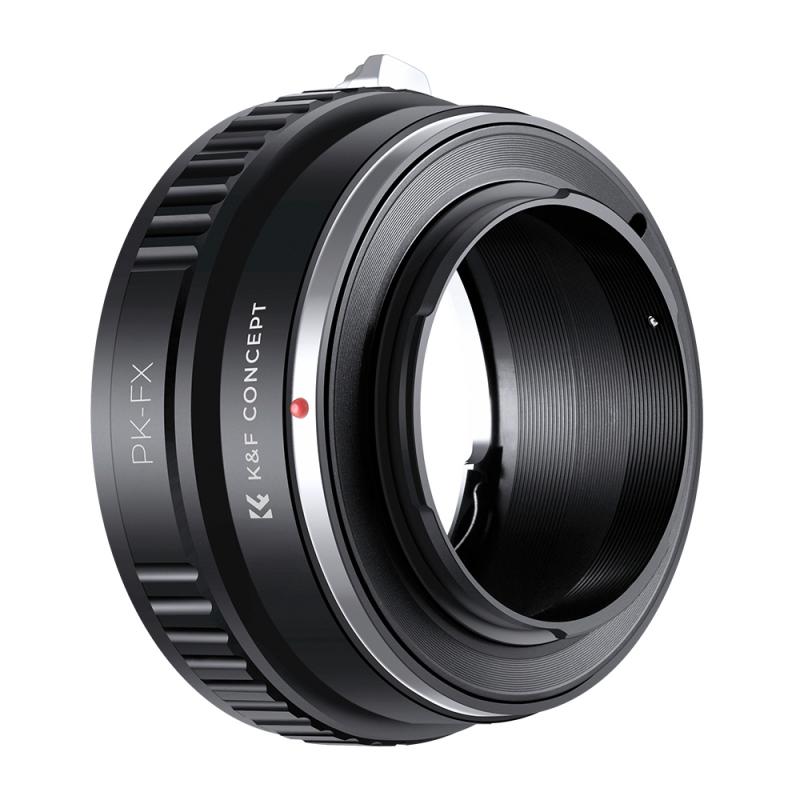
Back focus refers to the distance between the rear lens element and the camera's sensor or film plane. If this distance is not correctly set, the camera may not focus accurately, leading to blurry images. This issue is more common in video cameras and DSLRs with interchangeable lenses, where the lens mount and sensor alignment can vary slightly.
Tools You Need
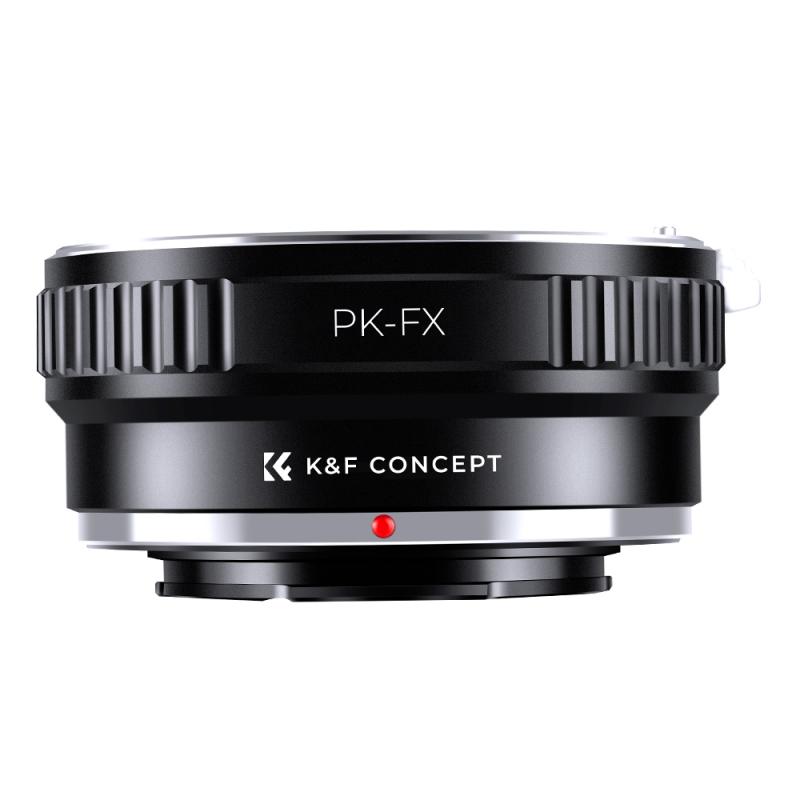
Before you start the back focusing process, gather the following tools:
1. Tripod: To keep the camera steady during adjustments.
2. Focus Chart: A printed or digital chart with clear, high-contrast patterns.
3. Screwdriver: For making physical adjustments on the lens or camera body.
4. External Monitor: Optional but helpful for better visibility of focus details.
5. Good Lighting: Ensure the area is well-lit to see the focus clearly.
Steps to Back Focus a Camera Lens
Step 1: Set Up Your Camera and Lens
Mount your camera on a tripod to ensure it remains stable throughout the process. Attach the lens you want to adjust and make sure it is securely fastened.
Step 2: Position the Focus Chart
Place the focus chart at a distance that you commonly shoot at. For general purposes, a distance of about 10 feet is a good starting point. Ensure the chart is parallel to the camera sensor to avoid any angle-induced focus errors.
Step 3: Adjust the Camera Settings
Set your camera to manual focus mode. This allows you to make precise adjustments without the camera's autofocus system interfering. Use the widest aperture available on your lens to minimize the depth of field, making it easier to see focus errors.
Step 4: Focus on the Chart
Look through the viewfinder or use the live view mode to focus on the chart. Adjust the focus ring until the chart appears as sharp as possible. If you have an external monitor, use it to get a clearer view of the focus.
Step 5: Check the Focus
Take a test shot or observe the live view to see if the focus is accurate. If the focus is off, you will need to make adjustments. This is where the process can vary depending on your camera and lens model.
Step 6: Make Adjustments
For cameras with back focus adjustment screws (common in professional video cameras), use a screwdriver to make small adjustments. Turn the screw slightly and recheck the focus. For DSLRs and mirrorless cameras, you may need to use the camera's micro-adjustment feature, often found in the settings menu.
Step 7: Recheck and Fine-Tune
After making adjustments, recheck the focus by taking another test shot or observing the live view. Repeat the process of adjusting and checking until the focus is accurate. This may take several iterations, so be patient.
Step 8: Lock the Settings
Once you are satisfied with the focus, lock the adjustment screw (if applicable) to prevent it from moving. For cameras with digital adjustments, save the settings in the camera's memory.
Practical Tips for Back Focusing
1. Use a High-Contrast Chart: A chart with clear, high-contrast patterns makes it easier to see focus errors.
2. Good Lighting: Ensure the area is well-lit to see the focus clearly.
3. External Monitor: If available, use an external monitor for better visibility.
4. Patience: The process can be time-consuming, so take your time to get it right.
5. Regular Checks: Periodically check the back focus, especially if you frequently change lenses or the camera undergoes physical shocks.
Common Issues and Solutions
Issue: Focus Still Off After Adjustment
Solution: Ensure the chart is parallel to the camera sensor. Check for any play in the lens mount that could affect focus.
Issue: Inconsistent Focus
Solution: This could be due to a faulty lens or camera body. Try using a different lens to see if the issue persists.
Issue: Difficulty Seeing Focus
Solution: Use an external monitor or magnify the live view to get a clearer view of the focus.
Back focusing a camera lens is an essential skill for photographers and videographers who want to ensure their images are sharp and clear. By following the steps outlined in this article and using the right tools, you can achieve precise focus and improve the quality of your work. Remember to be patient and methodical in your approach, and regularly check your focus to maintain optimal performance. With practice, back focusing will become a routine part of your camera maintenance, ensuring you always capture the best possible images.


