How To Build A Light Table For Photography?
Building a light table for photography can be a rewarding project that enhances your ability to view and edit negatives, slides, and other transparent materials. A light table provides a consistent and evenly distributed light source, which is crucial for accurate color correction and detailed examination. In this article, we will guide you through the process of building your own light table, covering the materials you need, the steps to assemble it, and tips for optimizing its use.
Materials Needed
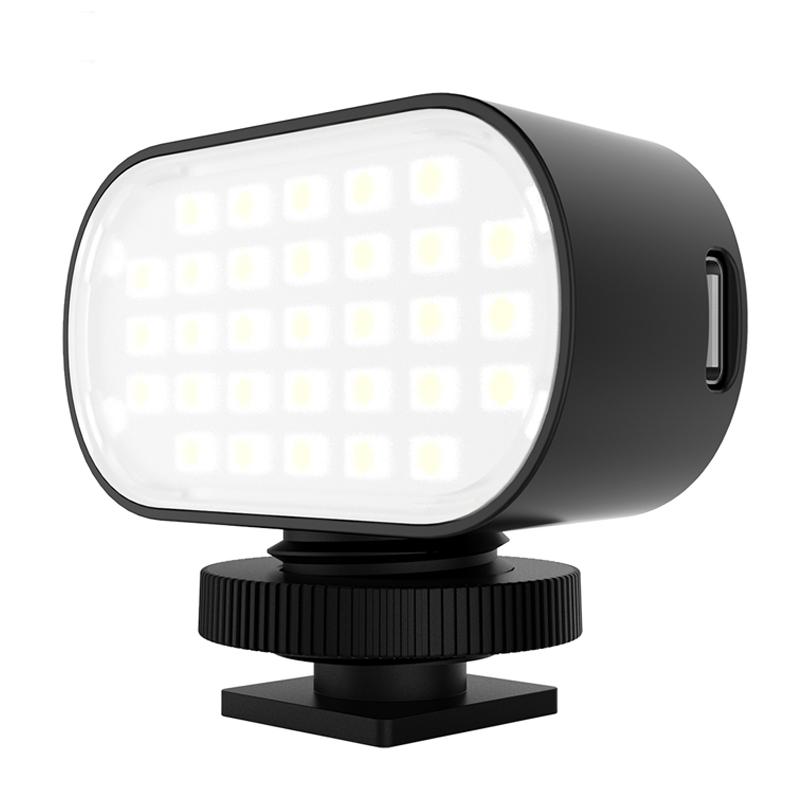
Before you start building your light table, gather the following materials:
1. Light Source: LED strips or fluorescent tubes are ideal due to their brightness and energy efficiency.
2. Diffuser: A sheet of frosted acrylic or plexiglass to diffuse the light evenly.
3. Frame: Wood or metal to construct the table's frame.
4. Power Supply: Appropriate power supply for your chosen light source.
5. Switch: An on/off switch to control the light.
6. Wiring and Connectors: Necessary electrical components to connect the light source to the power supply.
7. Tools: Screwdriver, saw, drill, measuring tape, and screws.
Step-by-Step Guide
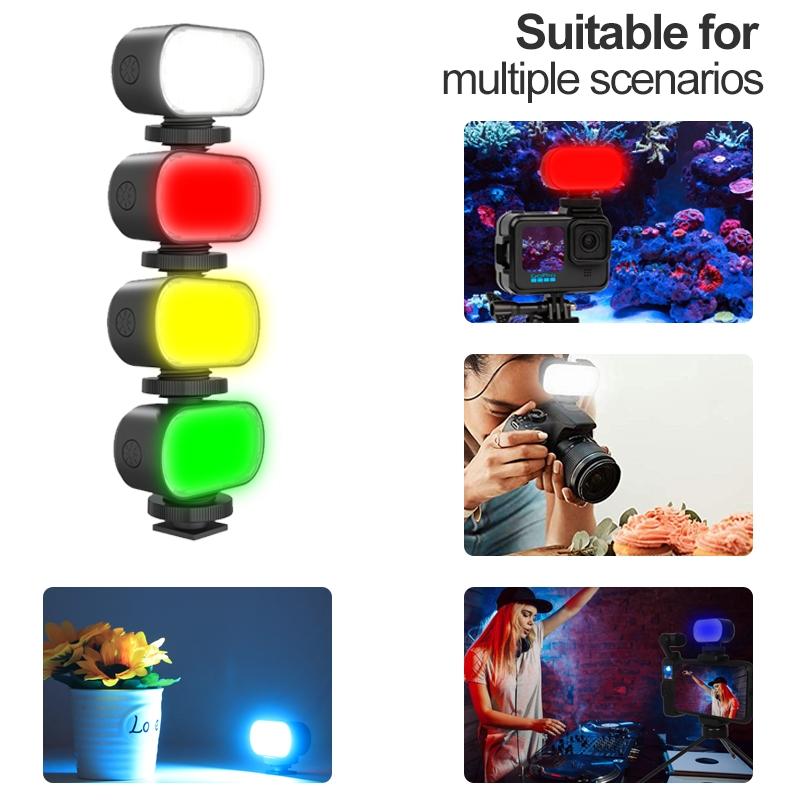
Step 1: Design Your Light Table
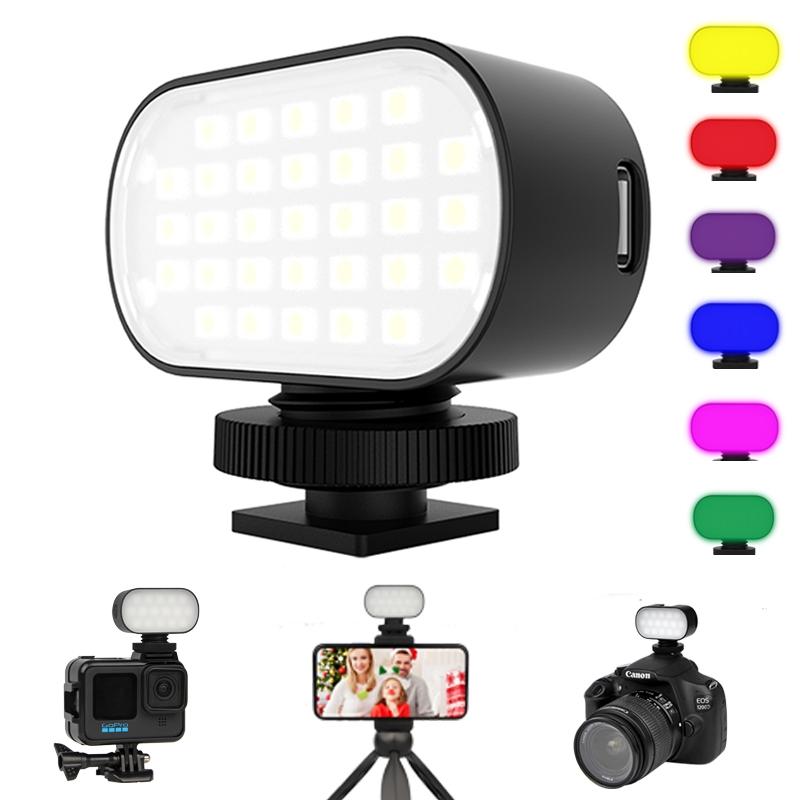
Start by deciding the dimensions of your light table. Consider the size of the materials you will be working with. A common size is around 24x18 inches, but you can adjust this based on your needs. Sketch a design that includes the frame, light source placement, and diffuser.
Step 2: Construct the Frame
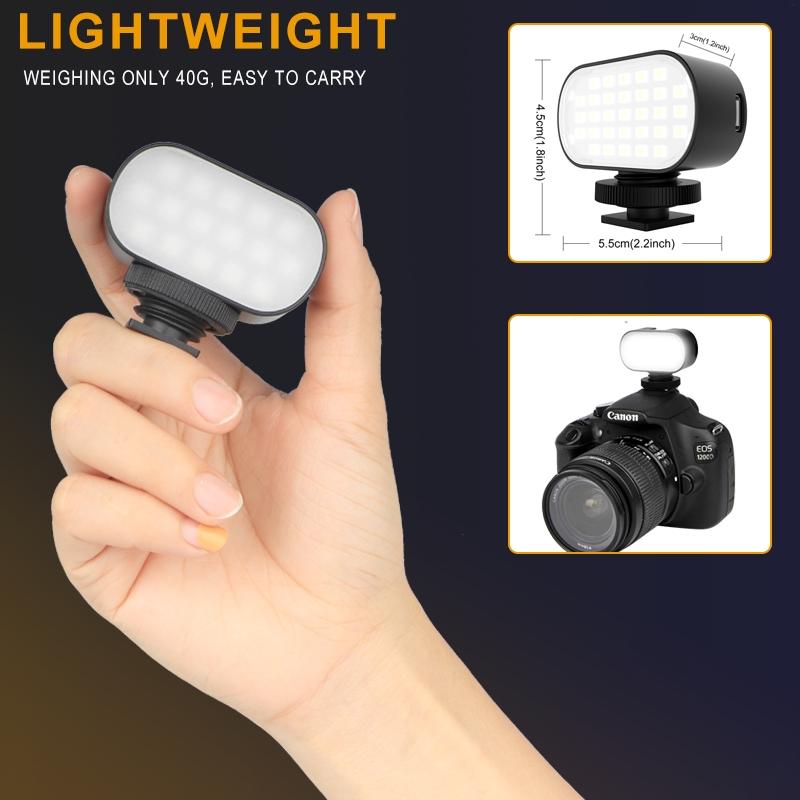
Using your chosen material (wood or metal), cut the pieces for the frame according to your design. If you are using wood, ensure the pieces are sanded smooth to avoid splinters. Assemble the frame using screws or nails, making sure it is sturdy and level.
Step 3: Install the Light Source
Attach the LED strips or fluorescent tubes to the inside of the frame. If you are using LED strips, you can stick them directly to the frame using their adhesive backing. For fluorescent tubes, you may need to install brackets to hold them in place. Ensure the light source is evenly distributed to avoid hotspots.
Step 4: Wire the Light Source
Connect the light source to the power supply using the appropriate wiring and connectors. If you are not comfortable with electrical work, consider consulting a professional. Install the on/off switch in a convenient location on the frame and connect it to the power supply.
Step 5: Add the Diffuser
Cut the frosted acrylic or plexiglass to fit the top of the frame. Place it over the light source, ensuring it is secure and evenly positioned. The diffuser will spread the light evenly across the surface, providing a consistent illumination.
Step 6: Test the Light Table
Plug in the power supply and turn on the light table. Check for any uneven lighting or hotspots. If necessary, adjust the placement of the light source or add additional diffusing material.
Tips for Optimizing Your Light Table
1. Brightness Control: Consider adding a dimmer switch to control the brightness of the light table. This can be useful for different types of materials and lighting conditions.
2. Portability: If you need to move your light table frequently, consider adding handles or making it lightweight.
3. Surface Protection: Place a clear, protective sheet over the diffuser to prevent scratches and damage.
4. Color Accuracy: Use daylight-balanced LEDs or fluorescent tubes to ensure accurate color representation.
Practical Applications
A light table is a versatile tool that can be used in various photography-related tasks:
1. Viewing Negatives and Slides: Easily examine and sort through your film negatives and slides.
2. Tracing and Drawing: Artists can use the light table for tracing and creating detailed drawings.
3. Editing and Retouching: Photographers can use the light table to spot and retouch imperfections in their prints.
4. Product Photography: Use the light table as a backlight for photographing transparent or translucent objects.
Building a light table for photography is a practical and cost-effective project that can significantly enhance your workflow. By following the steps outlined in this article, you can create a customized light table that meets your specific needs. Whether you are a professional photographer, an artist, or a hobbyist, a light table is an invaluable tool that can improve the quality and efficiency of your work. With careful planning and attention to detail, you can build a light table that provides consistent, even lighting for all your photographic and artistic endeavors.












There are no comments for this blog.