How To Change Wifi On Wyze Cameras ?
In today's era of connectivity, smart home devices have become part of our lives, and Wyze cameras are favoured by the majority of users due to their cost-effective and good performance. However, in the process of using it, it is inevitable that you will encounter situations where you need to change your WiFi network. This article will delve into how to change Wyze camera's WiFi and provide users with detailed steps and solutions.
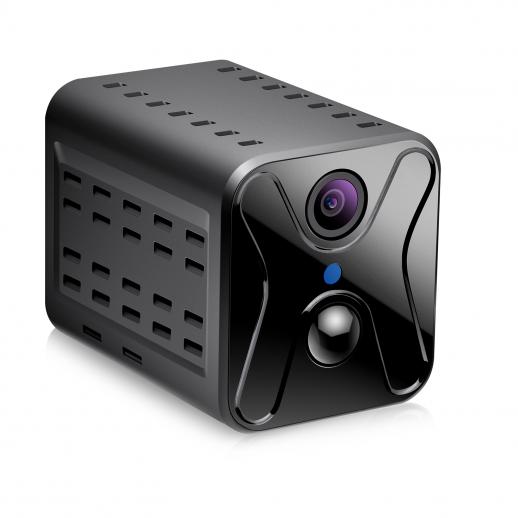
Reconnect Wyze camera to a new WiFi network
Changing Wyze camera's WiFi connection is the most common problem many users encounter, whether it's due to changing router or moving to a new place, here are the steps:
1. Preparation
Make sure the name (SSID) and password of your new WiFi network are available.
Open the Wyze app and make sure you're logged into your Wyze account.
2. Go to Camera Settings
In the main Wyze app screen, select the camera you need to change the WiFi for.
Tap the settings icon in the top right corner to enter the camera settings screen.
3. Start the WiFi change process
In the settings menu, select "Device Information".
Tap "Change WiFi Network".
4. Connect to the new WiFi
Follow the prompts of the app to select a new WiFi network and enter the password.
After confirming the connection, the camera will reboot and connect to the new WiFi network.
With the above steps, users can easily connect Wyze camera to a new WiFi network. However, sometimes we may encounter some unexpected situations that lead to connection failure, which requires troubleshooting.
Solve the problem of Wyze camera can't connect to WiFi
When Wyze camera can't connect to WiFi, it may be due to a variety of reasons. Here are some common solutions:
Check the WiFi signal
Make sure the camera is in an area with good WiFi signal strength.
If the signal is weak, consider using a WiFi signal amplifier.
Confirm the WiFi band
Wyze cameras only support the 2.4GHz WiFi band, not the 5GHz band.
Confirm that your router's settings support the 2.4GHz band.
Reboot the devices
Reboot your router and Wyze camera, this usually resolves most connectivity issues.
Update the firmware
Ensure that the firmware on the camera and app is the latest version.
Check for updates in the Wyze app and update as required.
Reset the camera
If the above doesn't work, try resetting the camera to factory settings.
Press and hold the reset button on the back of the camera until you hear a voice prompt.
Troubleshooting common Wyze camera WiFi connection problems
Even if you follow the correct steps, you may still encounter some connection failures. Here are some common faults and their solutions:
Unable to find WiFi network
Check if your router is working properly and make sure the WiFi network is not hidden.
Switch off and switch back on the WiFi network.
Wrong password
Make sure the WiFi password entered is correct and case sensitive.
Reset the router password and reconnect.
Camera not synchronised with apps
Make sure the phone and camera are connected to the same WiFi network.
Log out and log back into the Wyze app.
Connection timeout
Retry the connection close to the router to reduce interference.
Check if the network is stable and there are no frequent dropouts.
Steps to set up Wyze camera when changing WiFi
When changing WiFi, apart from the basic connection steps, there are a few more details you need to take care of to ensure the whole process goes smoothly:
Backup Settings
Before changing WiFi, record the current settings in case you need to restore them.
You can take a screenshot of the settings page in the Wyze app to save it.
Change devices one by one
If you have more than one Wyze camera at home, it is recommended to make changes one by one to avoid confusion caused by operating them at the same time.
Check other devices
After changing the WiFi, check whether other smart home devices are connected properly.
Make sure the router settings are compatible with all devices.
Setting Static IP Address
To avoid IP conflicts, you can set a static IP address for the Wyze camera.
Set it in the router management page and record the IP address.
Ensure the stability of Wyze camera WiFi connection
To ensure that Wyze camera works stably after changing WiFi, the following points are worth noting:
Regularly check the network
Regularly check the stability of your WiFi network to avoid frequent drops.
You can use a network monitoring tool to monitor the network status in real time.
Optimise router settings
Adjust the channel of your router to avoid interference with neighbouring WiFi signals.
Ensure the router firmware is the latest version to optimise performance.
Use high-quality network equipment
Choose routers and signal boosters with stable performance.
Avoid using cheap devices that affect network quality.
Reasonable layout of network equipment
Place the router and camera in a location with good signal coverage.
Avoid obstacles to block the signal, such as thick walls and metal objects.
With the above methods, you can not only change the Wyze camera's WiFi connection smoothly, but also ensure its stable operation. In practice, if you encounter any unsolvable problems, it is recommended to consult Wyze official customer service or check the help document on the official website.
Overall, the process of changing WiFi connection of Wyze camera is not complicated, just follow the steps and pay attention to some details. I hope this article will help users when changing WiFi and improve their experience.

