How To Check Filter Size Camera Lense?
When it comes to photography, understanding the various components of your camera and its accessories is crucial for capturing the perfect shot. One such component is the filter size of your camera lens. Knowing how to check the filter size of your camera lens is essential for purchasing the correct filters, which can enhance your photos by reducing glare, improving color saturation, and protecting your lens. In this article, we will delve into the steps to determine your camera lens filter size, the importance of using the correct filter, and some practical tips for photographers.
Understanding Filter Size
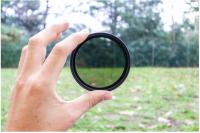
The filter size of a camera lens refers to the diameter of the front element of the lens, where the filter is attached. This size is usually measured in millimeters (mm) and is crucial for ensuring that any filters you purchase will fit your lens properly. Using the wrong filter size can result in vignetting (darkening of the corners of your photos) or simply not being able to attach the filter at all.
Steps to Check Filter Size
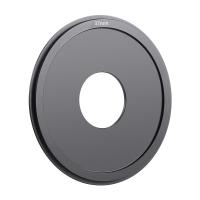
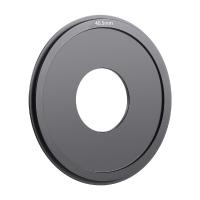
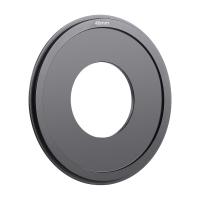
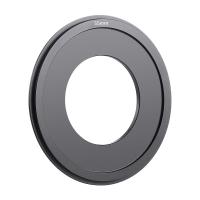
1. Check the Lens Cap or Lens Barrel: The easiest way to find the filter size is to look at the front of your lens. Most lenses have the filter size printed on the lens cap or around the front element of the lens barrel. It is usually denoted by a diameter symbol (Ø) followed by the size in millimeters. For example, you might see something like "Ø58mm."
2. Consult the Lens Manual: If the filter size is not visible on the lens itself, the next step is to consult the lens manual. The manual will provide detailed specifications, including the filter size.
3. Manufacturer’s Website: Another reliable source is the manufacturer’s website. By searching for your specific lens model, you can find all the technical details, including the filter size.
4. Use a Measuring Tool: If you cannot find the filter size through the above methods, you can use a caliper or a ruler to measure the diameter of the front element of the lens. This method is less precise but can give you a general idea of the filter size.
Importance of Using the Correct Filter Size
Using the correct filter size is essential for several reasons:
1. Optimal Performance: Filters are designed to fit snugly on the lens. Using the correct size ensures that the filter performs optimally without causing any unwanted effects like vignetting.
2. Lens Protection: Filters can protect the front element of your lens from dust, scratches, and other potential damage. A correctly sized filter will provide full coverage and protection.
3. Ease of Use: A filter that fits properly is easier to attach and remove. This is particularly important when you need to change filters quickly in different shooting conditions.
Types of Filters and Their Uses
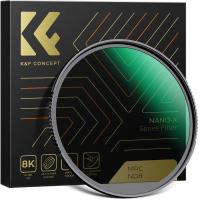
There are several types of filters available, each serving a different purpose. Here are some common types and their uses:
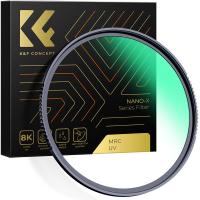
1. UV Filters: These filters block ultraviolet light and can reduce haze in your photos. They also serve as a protective layer for your lens.
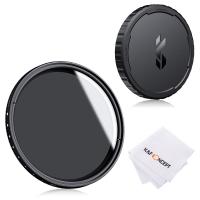
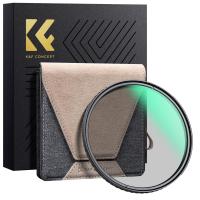
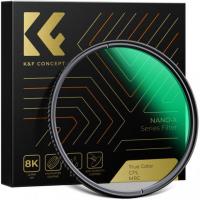
2. Polarizing Filters: Polarizers reduce reflections and glare from non-metallic surfaces like water and glass. They also enhance color saturation and contrast.
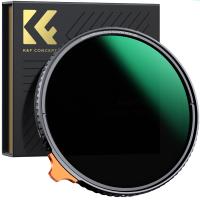
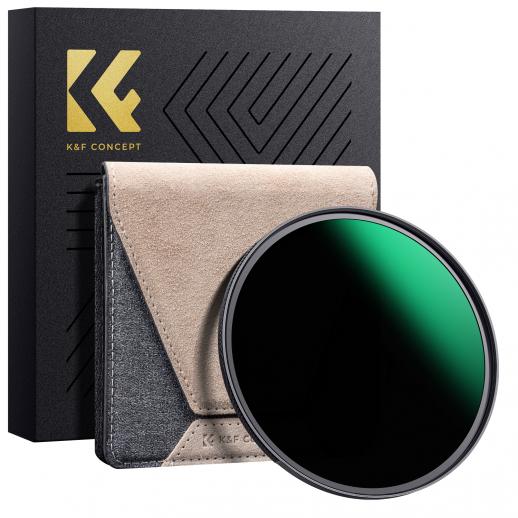
3. Neutral Density (ND) Filters: ND filters reduce the amount of light entering the lens, allowing for longer exposure times. This is useful for capturing motion blur in waterfalls or achieving a shallow depth of field in bright conditions.
4. Graduated ND Filters: These filters have a gradient that transitions from dark to clear. They are useful for balancing exposure in scenes with a bright sky and a darker foreground.
5. Color Filters: These filters can add a tint to your photos, enhancing certain colors or creating a specific mood.
Practical Tips for Photographers
1. Invest in Quality Filters: While it might be tempting to buy cheaper filters, investing in high-quality filters can make a significant difference in your photos. Poor-quality filters can degrade image quality and introduce unwanted artifacts.
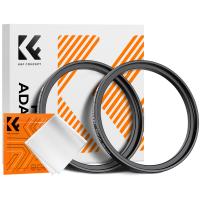
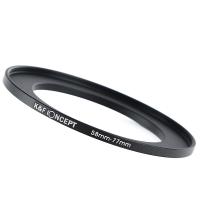
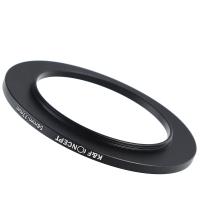
2. Use Step-Up Rings: If you have multiple lenses with different filter sizes, consider using step-up rings. These rings allow you to use a larger filter on a smaller lens, reducing the need to buy multiple filters.
3. Keep Filters Clean: Dirty filters can affect image quality. Use a microfiber cloth and lens cleaning solution to keep your filters clean.
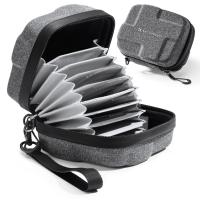
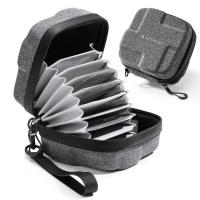
4. Store Filters Properly: When not in use, store your filters in a protective case to prevent scratches and damage.
5. Experiment with Different Filters: Don’t be afraid to experiment with different types of filters to see how they affect your photos. Each filter can bring a unique look and feel to your images.
Knowing how to check the filter size of your camera lens is a fundamental skill for any photographer. By following the steps outlined in this article, you can ensure that you purchase the correct filters for your lens, enhancing your photography and protecting your equipment. Remember to invest in quality filters, keep them clean, and experiment with different types to discover the full potential of your camera. With the right filters, you can take your photography to the next level, capturing stunning images that stand out.


