How To Clean Earphone Plug?
Cleaning your earphone plug is an essential maintenance task that can significantly enhance the longevity and performance of your earphones. Over time, earphone plugs can accumulate dirt, dust, and grime, which can lead to poor audio quality or even damage the device. In this article, we will explore various methods to clean your earphone plug effectively, ensuring that you can enjoy clear and uninterrupted sound.
Understanding the Importance of Cleaning Your Earphone Plug
Before diving into the cleaning methods, it's crucial to understand why maintaining a clean earphone plug is important. The earphone plug, also known as the jack, is the part that connects your earphones to your device. When this component is dirty, it can cause several issues, including:
1. Poor Audio Quality: Dirt and debris can interfere with the electrical connection, leading to static, muffled sound, or intermittent audio.
2. Device Damage: Accumulated grime can cause wear and tear on both the earphone plug and the device's headphone jack.
3. Hygiene Concerns: Earphones are often used in various environments, and the plug can pick up bacteria and other contaminants, posing a health risk.
Tools and Materials Needed
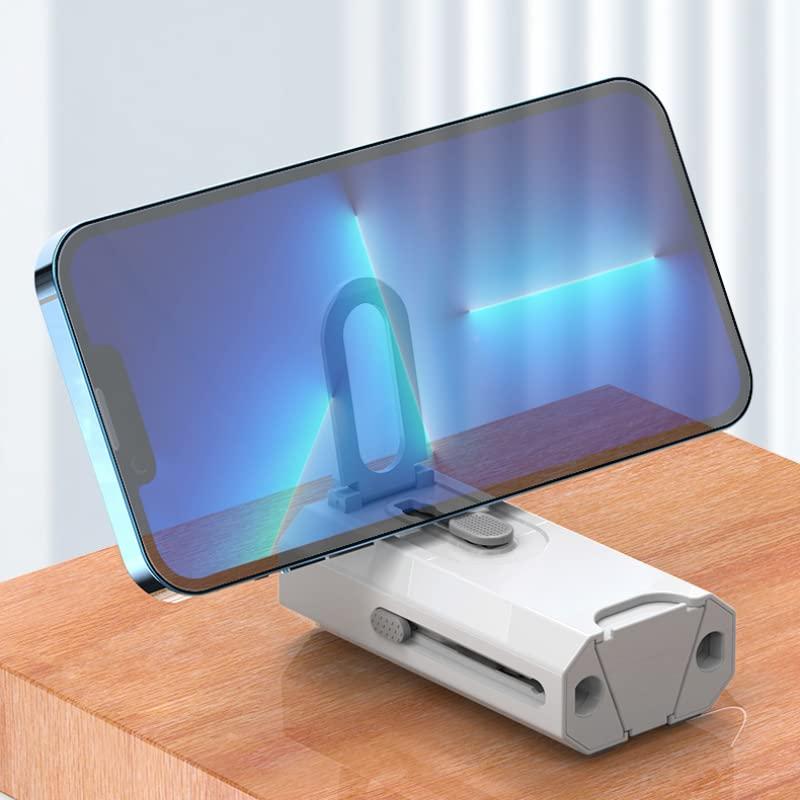
To clean your earphone plug, you will need the following tools and materials:
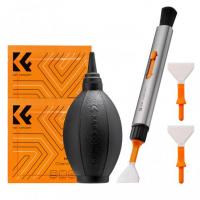
- Isopropyl alcohol (preferably 70% or higher)
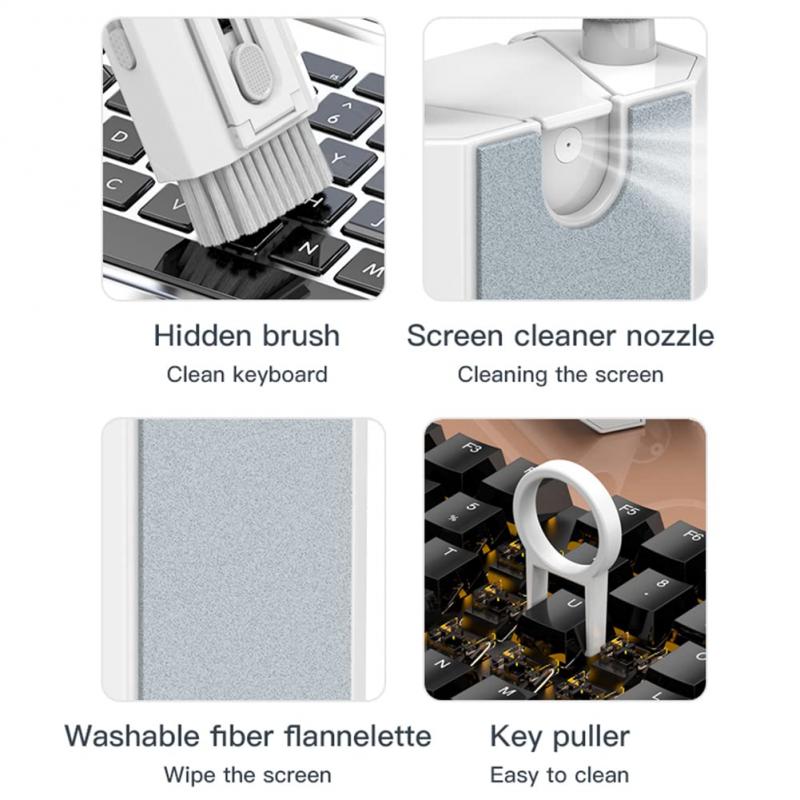
- Cotton swabs
- A soft, lint-free cloth
- Compressed air (optional)
- Toothpick or a small brush (optional)
Step-by-Step Guide to Cleaning Your Earphone Plug
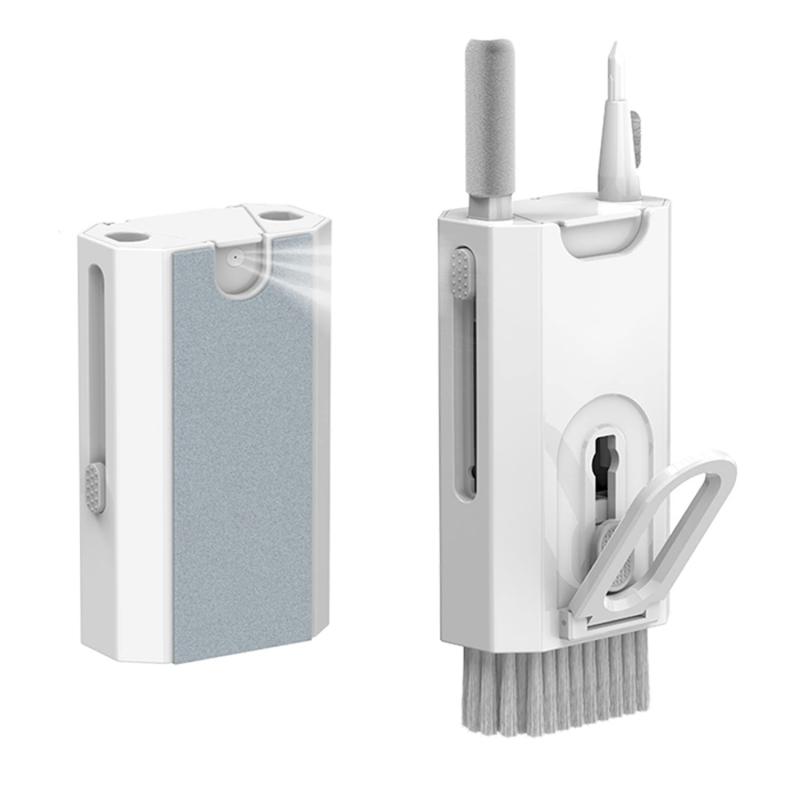
1. Power Off and Unplug
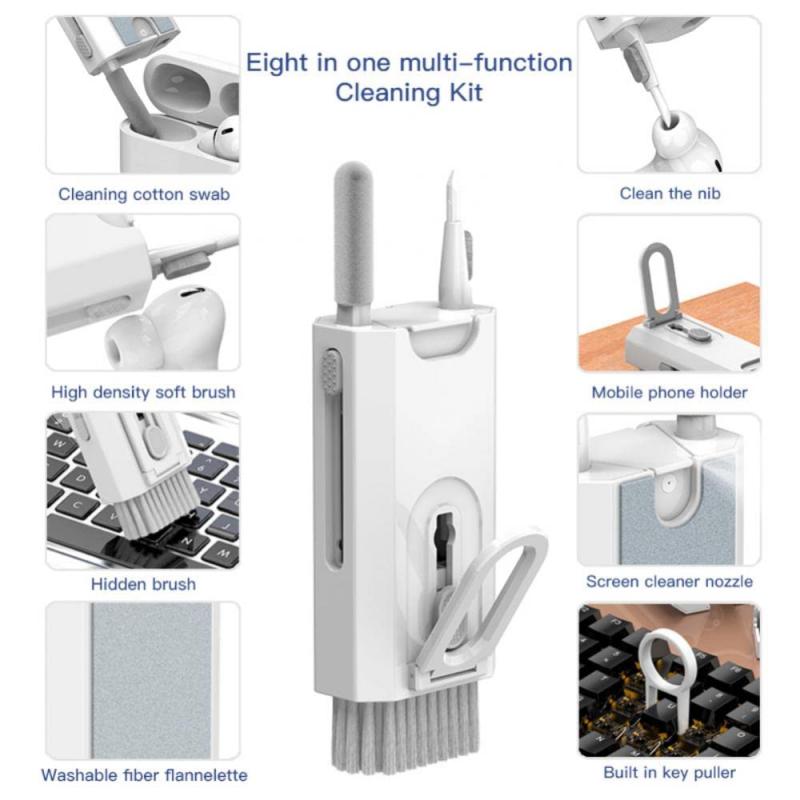
Before you start cleaning, ensure that your earphones are unplugged from any device and powered off. This step is crucial to avoid any electrical damage or short circuits.
2. Inspect the Plug
Take a close look at the earphone plug to identify any visible dirt, dust, or grime. This inspection will help you determine the extent of cleaning required.
3. Use Compressed Air
If you have compressed air available, use it to blow away any loose dust or debris from the earphone plug. Hold the canister upright and spray short bursts of air around the plug. This step is optional but can make the cleaning process easier.
4. Clean with Isopropyl Alcohol
Dip a cotton swab into the isopropyl alcohol, ensuring it is not overly saturated. Gently rub the cotton swab around the earphone plug, focusing on any areas with visible dirt. Isopropyl alcohol is effective in dissolving grime and evaporates quickly, reducing the risk of moisture damage.
5. Use a Toothpick or Small Brush
For stubborn dirt or grime that the cotton swab cannot reach, use a toothpick or a small brush. Be gentle to avoid scratching or damaging the plug. Carefully scrape away any remaining debris.
6. Wipe with a Lint-Free Cloth
After cleaning with isopropyl alcohol and removing any stubborn dirt, use a soft, lint-free cloth to wipe the earphone plug. This step ensures that any remaining moisture or residue is removed.
7. Allow to Dry
Before plugging your earphones back into your device, allow the earphone plug to dry completely. Isopropyl alcohol evaporates quickly, but it's essential to ensure there is no remaining moisture.
Additional Tips for Maintaining a Clean Earphone Plug
- Regular Cleaning: Make it a habit to clean your earphone plug regularly, especially if you use your earphones frequently or in dusty environments.
- Proper Storage: Store your earphones in a clean, dry place when not in use. Consider using a protective case to prevent dirt and dust accumulation.
- Avoid Moisture: Keep your earphones away from water and other liquids. If they do get wet, dry them thoroughly before use.
- Gentle Handling: Handle your earphones with care, especially when plugging and unplugging them from your device. Rough handling can cause damage to the plug and the device's headphone jack.
Troubleshooting Common Issues
Even with regular cleaning, you may encounter some common issues with your earphone plug. Here are a few troubleshooting tips:
- Intermittent Audio: If you experience intermittent audio, try rotating the plug slightly while it is connected to the device. This action can help establish a better connection. If the problem persists, inspect the plug and the device's headphone jack for damage.
- Static or Crackling Sound: Static or crackling sounds can be caused by dirt or a loose connection. Ensure the plug is clean and fully inserted into the device. If the issue continues, the problem may lie with the earphones or the device itself.
- No Sound: If there is no sound, check if the earphones work with another device. This test can help determine if the issue is with the earphones or the original device. Ensure the plug is clean and properly connected.
Maintaining a clean earphone plug is essential for optimal audio performance and the longevity of your earphones. By following the steps outlined in this article, you can effectively clean your earphone plug and prevent common issues caused by dirt and grime. Regular maintenance, proper storage, and gentle handling will ensure that your earphones continue to deliver high-quality sound for years to come. Remember, a little effort in cleaning can go a long way in preserving your audio experience.

