How To Clear A Write Protected Sd Card?
Encountering a write-protected SD card can be a frustrating experience, especially when you need to save, modify, or delete data from the card. Write protection can be thought of as a safeguard to prevent accidental modifications to valuable data, but when you need to make changes, it becomes an obstacle that needs removal. In this comprehensive guide, we will explore multiple methods to clear the write protection on an SD card and restore full functionality.
Understanding Write Protection

Before diving into the solutions, it's important to understand what write protection is and why it might be applied. Write protection can be hardware-based, software-based, or due to corrupted files. Here's a quick overview:
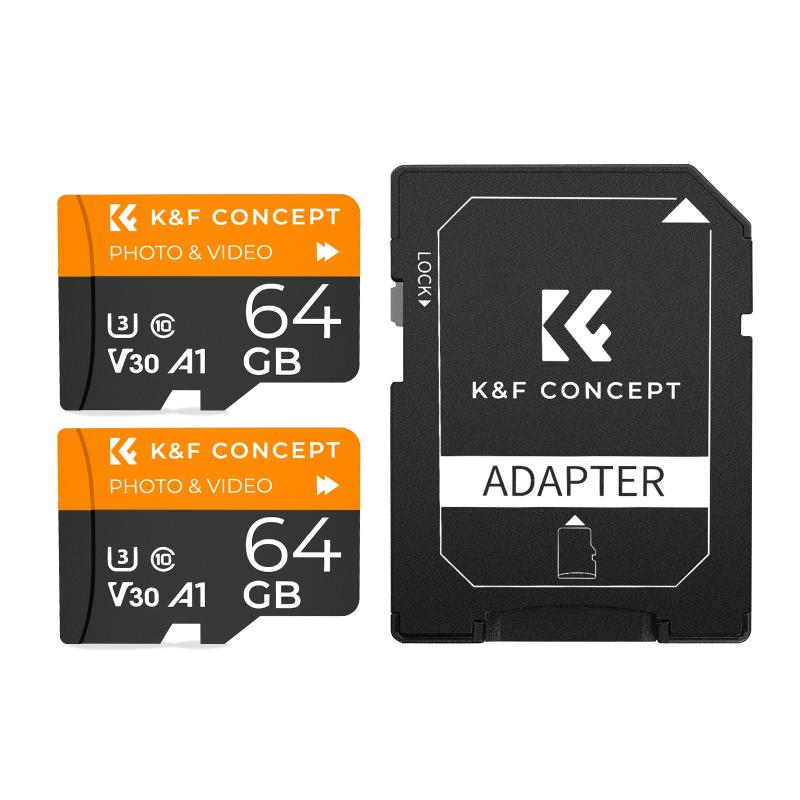
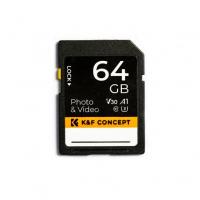
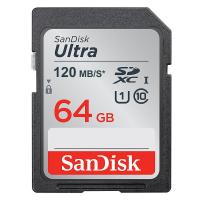
1. Hardware-Based Write Protection: Most SD cards come with a physical switch on the side. This switch can be toggled to enable or disable write protection.
2. Software-Based Write Protection: Sometimes, the operating system or specific settings within the card control its writable state. This might be enforced by security software or settings enabled by the user.
3. File System Corruption: If the SD card's file system is corrupted, the system might mark it as write-protected to preserve data integrity.
With this in mind, let's explore the various methods for clearing write protection.
Method 1: Check the Physical Lock

The simplest and often overlooked method involves checking the physical lock switch on the SD card. Here are steps to follow:
1. Remove the SD Card: Carefully eject the SD card from your device or card reader.
2. Locate the Lock Switch: On the side of the SD card, there should be a small switch labeled “Lock.”
3. Toggle the Switch: If the switch is in the "Lock" position, slide it to the "Unlock" position.
4. Insert and Test: Reinsert the SD card into your device and check if you can now write data onto it.
Method 2: Modify Registry Settings (Windows)
If your SD card is not physically locked, but your Windows system still detects it as write-protected, modifying the registry can help. Follow these steps carefully:
1. Open Registry Editor: Press `Win + R`, type `regedit`, and press Enter to open the Registry Editor. Caution: Improper changes to the registry can cause serious system issues, so proceed carefully.
2. Navigate to StorageDevicePolicies: In the Registry Editor, navigate to:
`HKEY_LOCAL_MACHINE\SYSTEM\CurrentControlSet\Control\StorageDevicePolicies`
3. Modify WriteProtect Value:
- If you see a `WriteProtect` entry in the right pane, double-click it.
- Change its value from `1` (write-protected) to `0` (not write-protected).
- If the `StorageDevicePolicies` folder doesn’t exist, you need to create it. Right-click on `Control`, select `New` > `Key`, and name it `StorageDevicePolicies`. Then inside this key, create a new DWORD value named `WriteProtect` and set it to `0`.
4. Close and Reboot: Close the Registry Editor and reboot your computer. Insert the SD card again to check if the write protection is cleared.
Method 3: Using DiskPart Command (Windows)

The `DiskPart` command-line utility in Windows can also be used to clear write protection. Here's a step-by-step guide:
1. Open Command Prompt:
- Press `Win + R`, type `cmd`, and press Enter to open Command Prompt as an Administrator.
- Type `diskpart` and press Enter.
2. List and Select Disk:
- In the DiskPart command line, type `list disk` and press Enter. This command lists all drives, including your SD card.
- Identify your SD card from the list, then type `select disk X` (replace `X` with the number corresponding to your SD card) and press Enter.
3. Clear Write Protection:
- Type `attributes disk clear readonly` and press Enter. This command will clear the write-protection attribute from the SD card.
- Type `exit` to close DiskPart, then close the Command Prompt window.
Method 4: Format the SD Card
If all else fails and you cannot remove the write protection, a last resort is formatting the SD card. Caution: This will erase all data on the card. Here’s how to proceed:
1. Backup Data: Before formatting, ensure you back up all important data from the SD card, if possible.
2. Open File Explorer: Open File Explorer and right-click on the SD card from the list of drives.
3. Format the Drive:
- Select `Format` from the context menu.
- Choose the file system (FAT32 is recommended for SD cards) and ensure `Quick Format` is checked.
- Click `Start` to begin the formatting process.
4. Check Functionality: Once the format completes, check if the write protection has been cleared.
Method 5: Using Third-Party Software
Numerous third-party tools are specifically designed to manage and repair drive attributes, including clearing write protection from SD cards. Some recommended tools include:
1. EaseUS Partition Master:
- Download and install the software.
- Use the tool to select the SD card and disable write protection using the software’s interface.
2. SD Formatter:
- Developed by the SD Association, this tool can format SD, SDHC, and SDXC cards effectively and may clear write protection issues in the process.
Preventative Measures
After successfully clearing the write protection, taking preventative measures can help avoid future issues:
1. Handle with Care: Always handle SD cards with care and ensure the lock switch is in the correct position before use.
2. Regularly Backup Data: Regularly backing up data can minimize losses if the card becomes corrupted again.
3. Avoid Unreliable Sources: Purchase SD cards from reputable manufacturers and avoid using old or worn-out cards for critical data storage.
Clearing the write protection from an SD card can be straightforward if the lock switch is the culprit, but resolving software-imposed write protection can require diving into system settings or using command-line tools. When confronted with persistent write-protection issues, formatting the SD card or using specialized software may provide a solution. By following the steps outlined in this guide, you can effectively regain full access to your SD card, ensuring you can save, modify, and delete files as needed.



















There are no comments for this blog.