How To Connect Wifi Camera To Android Phone ?
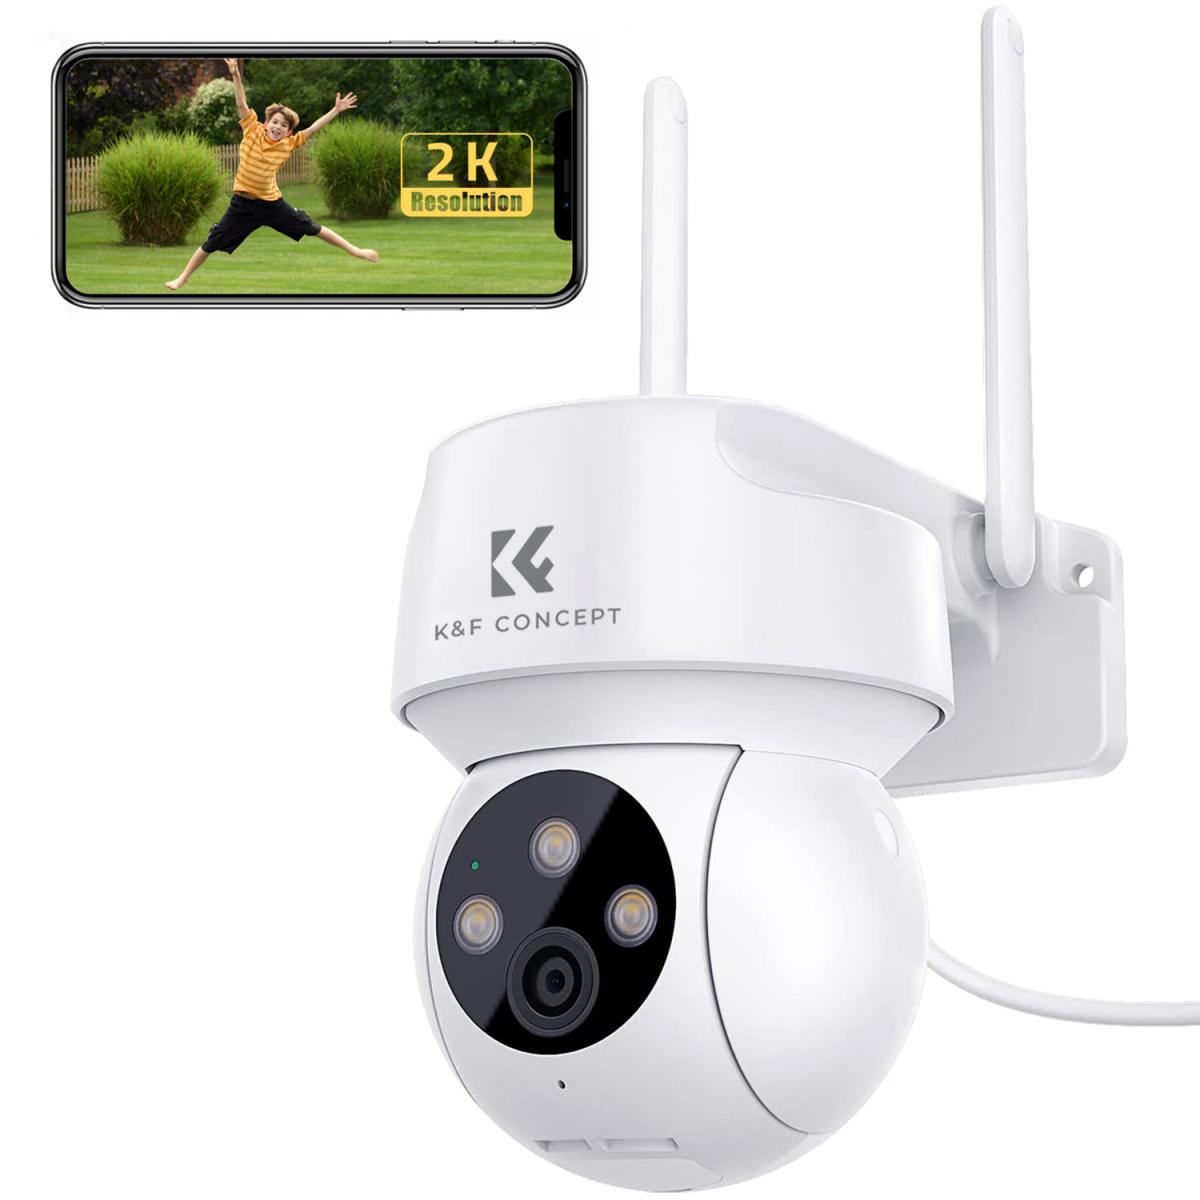 With the increasing demand for home security and surveillance, WiFi cameras have become the first choice for many users. Connecting a WiFi camera to an Android phone not only allows you to view the surveillance screen in real time, but also allows you to control and manage it remotely from your phone. In this article, we will introduce in detail how to connect WiFi camera to Android phone and solve the problems you may encounter in the connection process.
Understanding how to connect WiFi camera to Android phone
There are mainly several ways to connect WiFi camera to Android phone:
Connect through a dedicated application
Step 1: Download and install the dedicated application provided by the camera manufacturer (e.g. EZVIZ, Mi Home, etc.).
Step 2: Open the app, register and log in your account.
Step 3: Scan the QR code on the camera according to the prompts of the app to add devices and connect to the network.
Direct connection via WiFi
Step 1: Turn on the WiFi function of the camera to put it into the network mode.
Step 2: Connect to the camera's hotspot in your phone's WiFi settings.
Step 3: Open the camera app and complete the network allocation settings.
Connecting via Router
Step 1: Connect the camera to your home WiFi network.
Step 2: Open the camera app and follow the prompts to add the device and configure it.
Solve the problem of failed connection between WiFi camera and Android phone
During the connection process, you may encounter various problems leading to connection failure. Here are some common problems and their solutions:
Unstable WiFi signal
Check the WiFi signal strength: Make sure the camera and the phone are within the WiFi signal coverage and the signal strength is good.
Reboot the device: Reboot the camera and phone, clear the cache.
Apps can't recognize the camera
Check app permissions: Make sure the app has obtained the necessary permissions, such as location, storage and camera permissions.
Update apps: Make sure the app is the latest version to avoid compatibility issues.
Problems with network settings
Check network settings: Make sure the camera and phone are connected to the same WiFi network.
Reset network settings: If the connection problem is still not solved, you can try to reset the network settings of the camera and phone.
The common troubleshooting of WiFi camera and Android phone connection
Even if the connection is successful, sometimes you may encounter some faults that affect the use, the following are common problems and solutions:
No signal or black screen
Check the connection cable: If the camera is powered by cable, make sure the power cable is connected firmly.
Check the input source setting: Make sure the correct camera is selected in the application.
Delayed or Stuck Screen
Optimize network environment: Make sure there are no other high-traffic devices on the WiFi network taking up bandwidth.
Upgrade firmware: Make sure the camera and phone firmware are the latest version to improve performance and stability.
Sound is out of sync
Check audio settings: Adjust the audio output options in the application.
Use an audio cable: If the sound is out of sync on the wireless connection, try connecting using an audio cable.
Application crashes
Update app: Make sure you are using the latest version of the app.
Phone Performance: Make sure the phone performance is enough to run the monitoring app, close other background apps to free up resources.
Detailed steps and settings to connect WiFi camera to Android phone
Below are the detailed steps and settings for connecting WiFi camera to your Android phone:
Preparation
Make sure the camera and cell phone are fully charged.
Download and install the application provided by the camera manufacturer.
Turn on the camera WiFi feature
Find the WiFi settings option on the camera and turn on the WiFi feature to put it into the distribution mode.
Connect to WiFi
In your phone's WiFi settings, search for and connect to the camera's WiFi hotspot.
Open the app and follow the prompts for device addition and network configuration.
Complete Setup
Complete the network configuration of the camera in the app and make sure the camera is connected to the home WiFi network.
View the real-time monitoring screen through the app and make relevant settings, such as alarm settings, video recording settings, etc.
Improve the stability and picture quality of WiFi camera connecting with Android phone
In order to get a better using experience, here are some suggestions to improve connection stability and picture quality:
Use a high-quality WiFi network
Choose a stable, fast WiFi network and avoid public WiFi or networks with poor signals.
If possible, use a WiFi network in the 5GHz band to reduce interference and increase speed.
Optimize camera and phone settings
Turn off unnecessary background apps and features in your camera and phone settings to reduce resource usage.
Regularly check and update the firmware and software of your camera and phone to keep your devices performing optimally.
Reduce interference
Avoid obstacles blocking between the camera and cell phone, such as walls and metal objects.
Try to stay away from other electronic devices to reduce signal interference.
In short, it is not complicated to connect WiFi camera to Android phone to improve home security and monitoring experience. We hope this article can provide practical reference and help for users to enjoy the convenience and fun brought by smart technology.


