How To Do Telescope?
Building a telescope can be a rewarding and educational experience, whether you're an amateur astronomer or simply someone interested in optics and engineering. This article will guide you through the process of constructing a basic refracting telescope, which uses lenses to gather and focus light. We'll cover the materials you'll need, the steps to assemble the telescope, and some tips for getting the best performance out of your homemade instrument.
Understanding the Basics
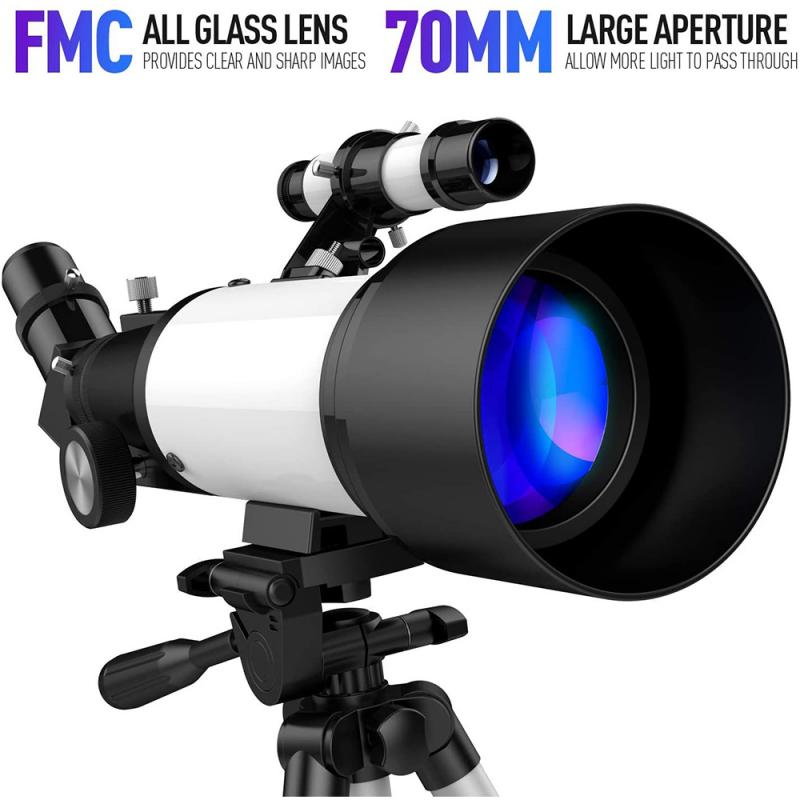
Before diving into the construction process, it's essential to understand the basic principles of how a telescope works. A refracting telescope uses two lenses: the objective lens and the eyepiece lens. The objective lens is responsible for gathering light from distant objects and bringing it to a focus. The eyepiece lens then magnifies this focused light, allowing you to see a larger image of the distant object.
Materials Needed
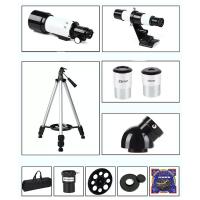
To build a simple refracting telescope, you'll need the following materials:
1. Objective Lens: A convex lens with a focal length of around 1000mm.
2. Eyepiece Lens: A convex lens with a focal length of around 25mm.
3. Tube: A long, sturdy tube to hold the lenses in place. PVC pipes or cardboard tubes work well.
4. Lens Holders: These can be made from cardboard or purchased from a hobby store.
5. Focusing Mechanism: A simple rack and pinion mechanism or a sliding tube system.
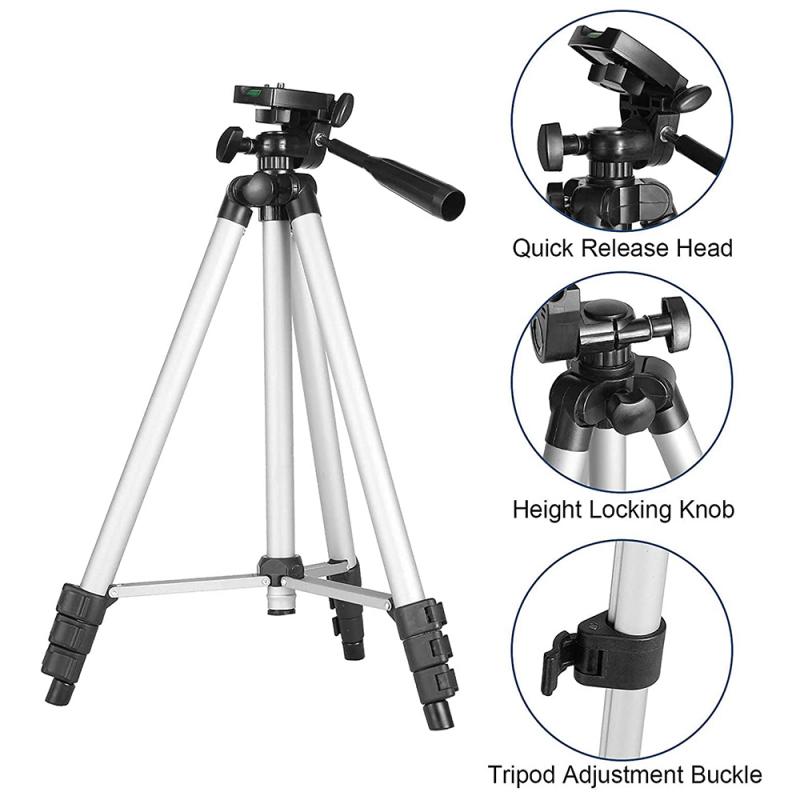
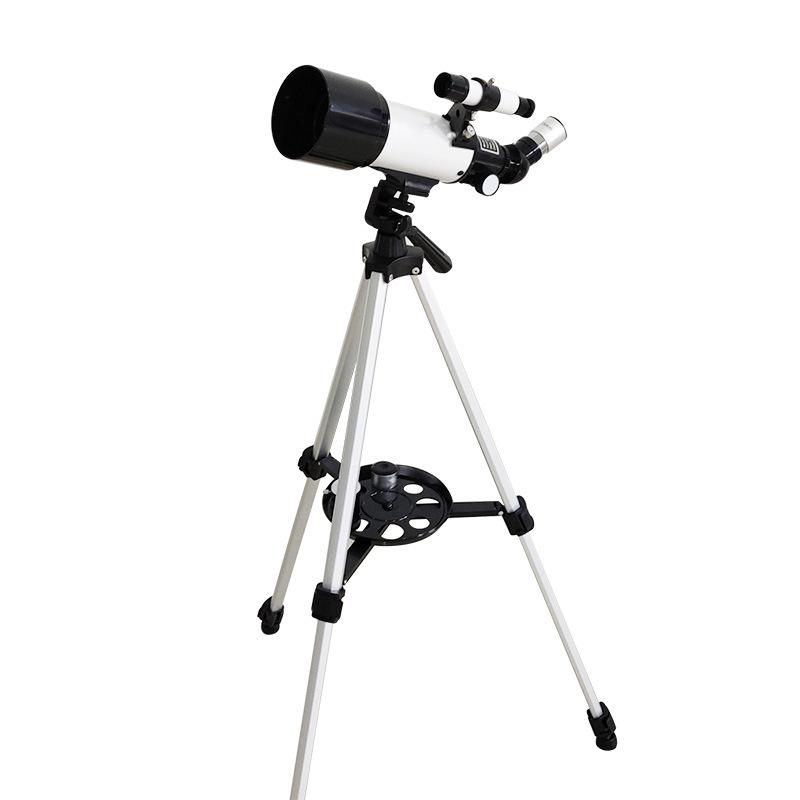
6. Mount: A stable mount or tripod to hold the telescope steady.
7. Miscellaneous: Tape, glue, screws, and other small tools for assembly.
Step-by-Step Construction
Step 1: Preparing the Tube
The first step is to prepare the tube that will hold your lenses. The length of the tube should be slightly longer than the focal length of the objective lens. For a 1000mm focal length lens, a tube length of around 1100mm is ideal. Ensure the tube is straight and sturdy, as any bending or warping can affect the telescope's performance.
Step 2: Mounting the Objective Lens
Next, mount the objective lens at one end of the tube. You can use a lens holder or create a simple mount using cardboard and tape. Ensure the lens is securely in place and centered within the tube. The objective lens should be positioned so that its focal point falls within the tube.
Step 3: Installing the Eyepiece Lens
The eyepiece lens needs to be mounted at the other end of the tube. The distance between the objective lens and the eyepiece lens should be adjustable to allow for focusing. You can achieve this by using a sliding tube mechanism or a rack and pinion focusing system. The eyepiece lens should be positioned so that it can move closer to or further from the objective lens to achieve a clear focus.
Step 4: Assembling the Focusing Mechanism
If you're using a sliding tube mechanism, insert a smaller tube into the main tube, ensuring it can slide smoothly. Attach the eyepiece lens to the end of the smaller tube. If you're using a rack and pinion system, install it according to the manufacturer's instructions. The focusing mechanism allows you to adjust the distance between the objective and eyepiece lenses to achieve a sharp image.
Step 5: Securing the Lenses
Once the lenses are in place and the focusing mechanism is installed, secure everything with tape or glue. Ensure that the lenses are aligned correctly and that there are no gaps or light leaks in the tube. Any misalignment or light leakage can degrade the quality of the image.
Step 6: Mounting the Telescope
Finally, mount your telescope on a stable tripod or mount. A wobbly or unstable mount can make it difficult to observe objects clearly. Ensure the mount allows for smooth movement and can be locked in place once you've found your target.
Tips for Optimal Performance
1. Collimation: Ensure that the lenses are perfectly aligned. Misalignment can cause blurry or distorted images.
2. Cleaning: Keep the lenses clean and free from dust and fingerprints. Use a soft, lint-free cloth to clean the lenses.
3. Environment: Use the telescope in a dark area away from city lights to reduce light pollution. Observing from a higher altitude can also improve visibility.
4. Cooling: Allow the telescope to cool down to the ambient temperature before use. This helps to reduce thermal currents that can distort the image.
Troubleshooting Common Issues
1. Blurry Images: If the image is blurry, try adjusting the focus. Ensure that the lenses are clean and free from dust.
2. Distorted Images: Distortion can be caused by misaligned lenses. Check the alignment and make any necessary adjustments.
3. Faint Images: If the image is too faint, try observing in a darker area or using a larger objective lens to gather more light.
Building a telescope is a fantastic way to learn about optics and astronomy. By following the steps outlined in this article, you can construct a simple refracting telescope that will allow you to observe the night sky in greater detail. Remember to take your time during the construction process and ensure that all components are aligned correctly for the best performance. Happy stargazing!


