How To Do Voice Recording On Macbook Air?
Voice recording on a MacBook Air is a straightforward process, yet users' needs and preferences can vary depending on their objectives, whether for podcasting, creating voice memos, or recording lectures and interviews. This article will serve as a comprehensive guide to address common scenarios and ensure you can efficiently record high-quality audio on your MacBook Air.
Setting Up: Understanding Built-In and External Options
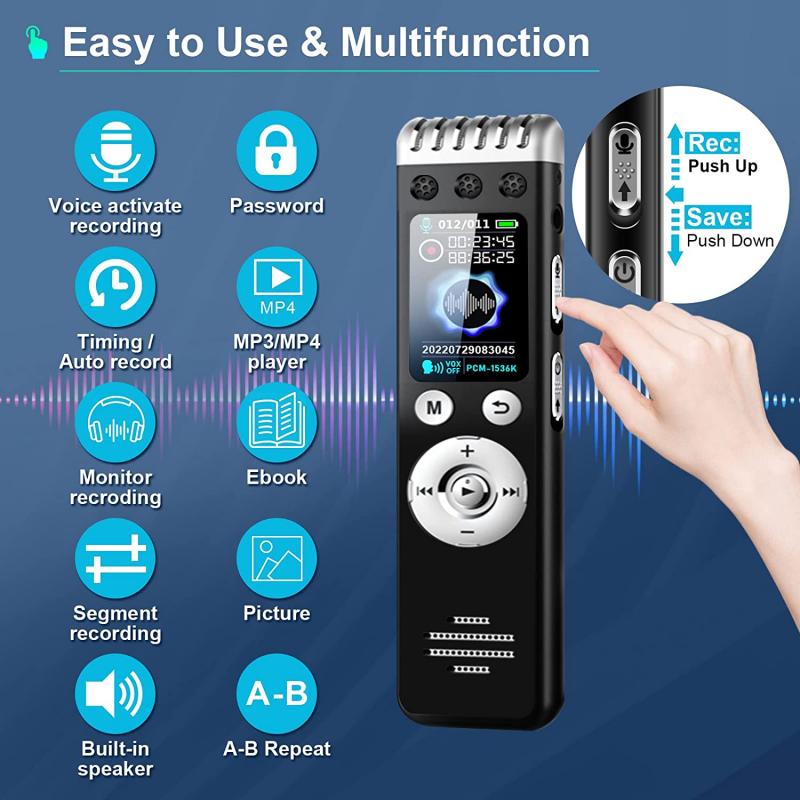
MacBook Air comes with a built-in microphone that is sufficiently good for casual recordings. However, for professional quality or clearer sound, an external microphone is a highly recommended investment. Here’s a brief comparison:
Built-In Microphone:

- Pros: Convenient, no additional cost.
- Cons: Limited audio quality, picks up a lot of background noise.
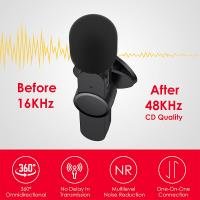
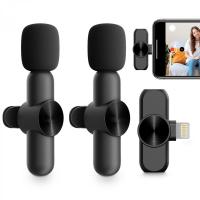
External Microphone:
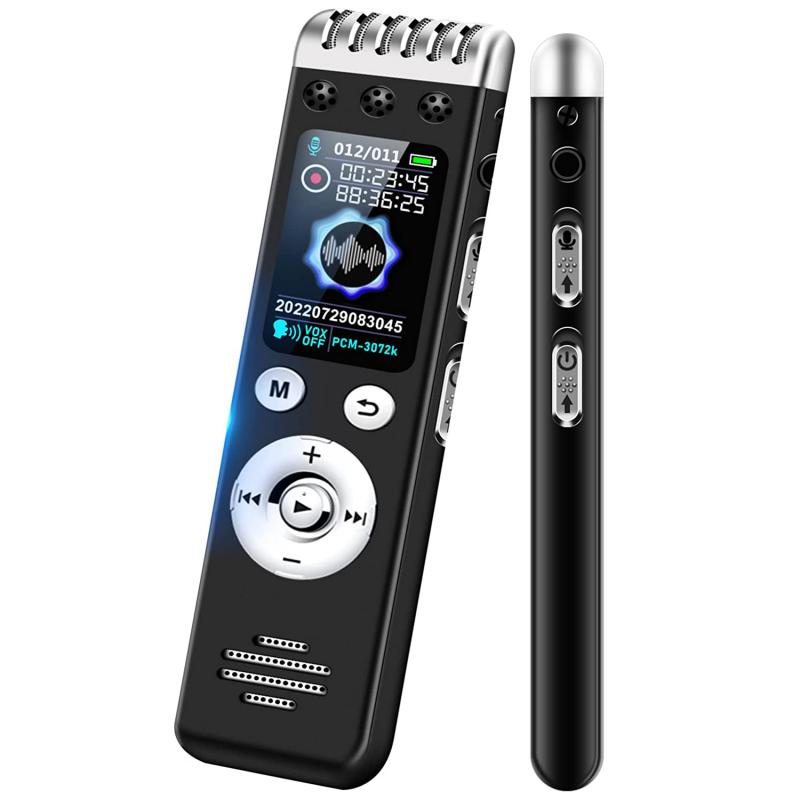
- Pros: Superior audio quality, often equipped with noise cancellation.
- Cons: Additional cost, requires setup.
Recommendation: If you aim for basic voice notes or casual conversations, the built-in mic should work adequately. For professional recordings, consider external options such as USB microphones like the Blue Yeti or Audio-Technica AT2020.
Using Voice Memos App for Simple Recordings
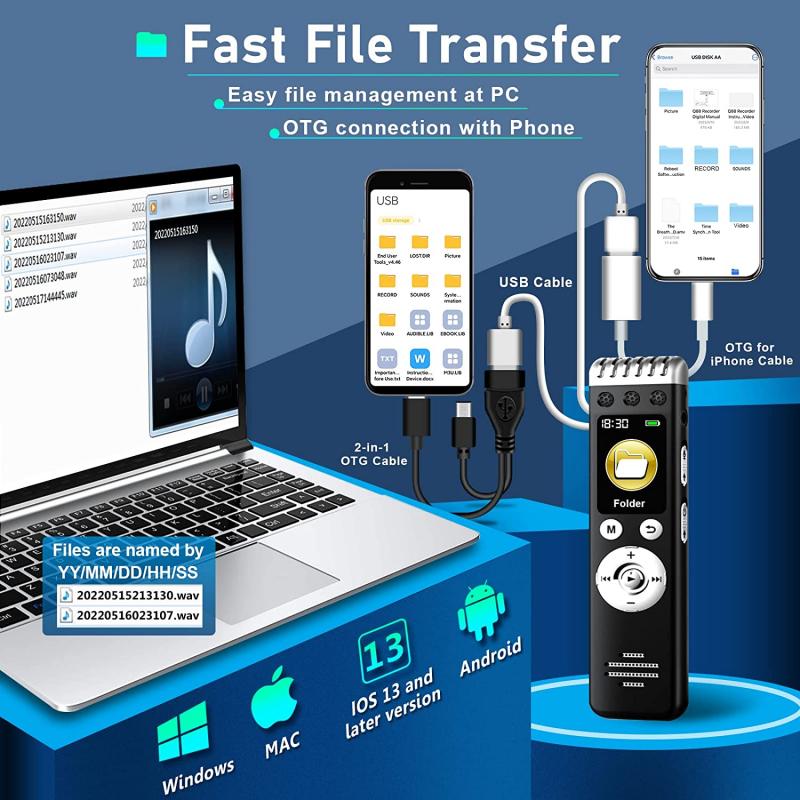
The Voice Memos app, pre-installed on macOS, is the easiest method to start recording audio without needing third-party software. Here’s how to use it:
1. Open Voice Memos App:
- You can find this by searching "Voice Memos" in Spotlight or locating it in the Applications folder.
2. Start Recording:
- Click on the red "Record" button to begin your recording.
3. Pause and Resume:
- You can pause the recording by clicking the "Pause" icon. Click "Resume" to continue recording.
4. Save and Edit:
- After finishing, press "Done" to save the audio file. You can rename the recording and use simple editing features like trimming.
Voice Memos store recordings in Apple's AAC format, which is efficient for sharing and storage.
Advanced Recording with GarageBand
For users looking to produce high-quality audio and incorporate multiple audio tracks, GarageBand is a powerful tool. While it may seem complex initially, it becomes manageable with practice. Follow these steps to get started:
1. Install GarageBand:
- Ensure GarageBand is installed via the Mac App Store.
2. Create a New Project:
- Open GarageBand, select "New Project," and choose the "Voice" template.
3. Set Up Microphones:
- Select your input device. For an external microphone, go to Preferences -> Audio/MIDI and choose your device.
4. Record:
- Click the red 'Record' button to start recording your voice. GarageBand offers multiple tracks, so you can layer different audio elements.
5. Edit:
- Utilize GarageBand’s suite of editing tools to cut, splice, add effects, and mix your recording until it's polished.
Recording with QuickTime Player
QuickTime Player offers another easy method to record voice, useful for screen recordings and voiceovers.
1. Open QuickTime Player:
- Search for QuickTime Player using Spotlight.
2. Select 'New Audio Recording':
- Under the "File" menu, choose "New Audio Recording."
3. Configure Settings:
- Click the drop-down arrow next to the record button to select your microphone and adjust quality settings.
4. Record:
- Hit the red record button to start. Press stop when finished and save the file.
Handling Background Noise
A critical factor in achieving quality recordings is managing background noise. Here are practical tips:
1. Choose a Quiet Location:
- Record in a small, quiet room with minimal ambient sound.
2. Use Pop Filters:
- If you have an external mic, pop filters help reduce plosive sounds.
3. Employ Noise Reduction Tools:
- Software like Audacity or GarageBand offers noise reduction features. Record a few seconds of ambient noise at the start, then use these tools to filter it out.
Additional Tips for High-Quality Recordings
1. Keep Distance Consistent:
- Maintain a consistent distance from the mic to ensure uniform volume.
2. Speak Clearly:
- Articulate your words clearly and consider a moderate speech pace.
3. Monitor Levels:
- Watch the input levels while recording to avoid clipping. Aim for green levels, occasionally yellow, but never red.
4. Practice:
- Record test clips to determine the best settings for your voice and environment.
Recording voice on a MacBook Air can range from simple voice memos to complex audio production. This guide provided comprehensive steps, from using built-in tools like Voice Memos and QuickTime Player to advanced options like GarageBand, and emphasized setting up both built-in and external microphones for different quality needs.
Ensuring a noise-free environment, consistent microphone setup, and using appropriate software for your needs can drastically improve the quality of your recordings. Whether for professional use or personal projects, these methods and tips will set you on the path to achieving clear, high-quality audio recordings on your MacBook Air.
By following these guidelines, you can harness the full potential of your MacBook Air for voice recording, addressing varied user needs from casual memos to professional-grade productions. Happy recording!















There are no comments for this blog.