How To Find Aperture On Camera?
Understanding how to find and adjust the aperture on your camera is a fundamental skill for any photographer, whether you're a beginner or a seasoned professional. The aperture, which is the opening in a lens through which light passes to enter the camera, plays a crucial role in determining the exposure and depth of field of your photographs. In this article, we will delve into the intricacies of aperture, how to locate it on your camera, and how to use it effectively to enhance your photography.
What is Aperture?
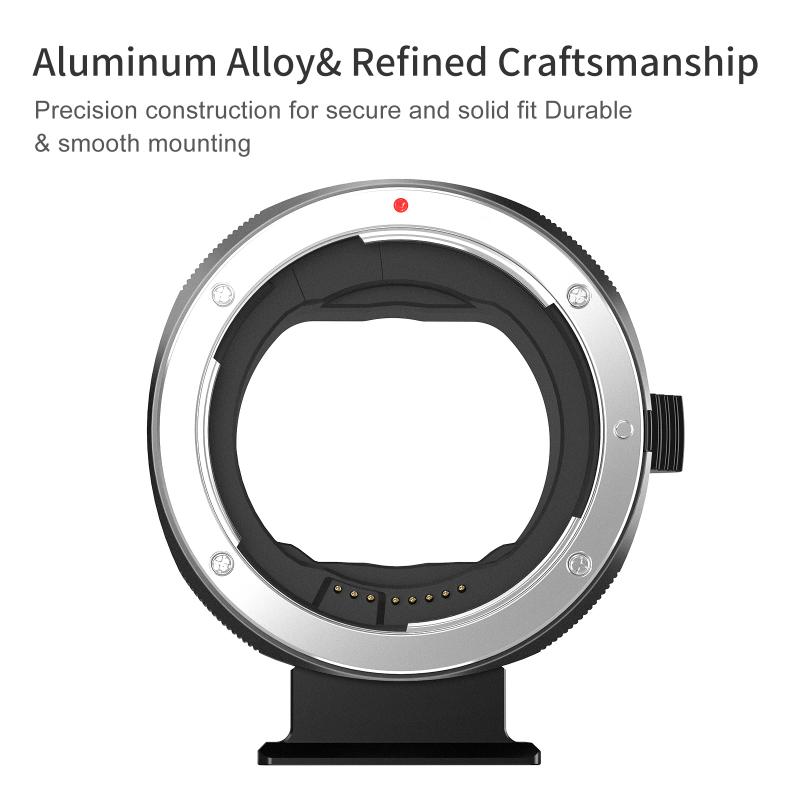
Aperture is one of the three pillars of photography, alongside shutter speed and ISO. It is measured in f-stops (e.g., f/2.8, f/4, f/5.6, etc.), and it controls the amount of light that reaches the camera sensor. A lower f-stop number indicates a larger aperture, which allows more light to enter, while a higher f-stop number indicates a smaller aperture, allowing less light to enter.
Why is Aperture Important?
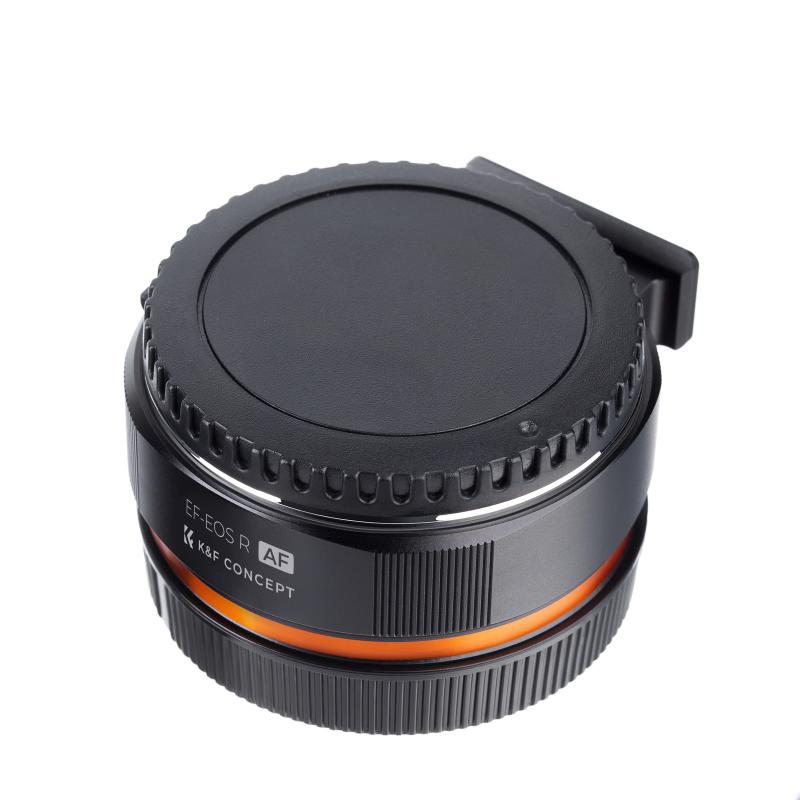
1. Exposure Control: Aperture directly affects the exposure of your image. A larger aperture (smaller f-stop number) lets in more light, which is useful in low-light conditions. Conversely, a smaller aperture (larger f-stop number) reduces the amount of light, which can be beneficial in bright conditions.
2. Depth of Field: Aperture also influences the depth of field, which is the range of distance within a photo that appears acceptably sharp. A larger aperture (smaller f-stop) results in a shallow depth of field, making the subject stand out against a blurred background. A smaller aperture (larger f-stop) increases the depth of field, keeping more of the scene in focus.
3. Image Sharpness: The aperture setting can affect the sharpness of your image. Most lenses have a "sweet spot" aperture, usually between f/8 and f/11, where they produce the sharpest images.
How to Find the Aperture on Your Camera
1. Check the Lens
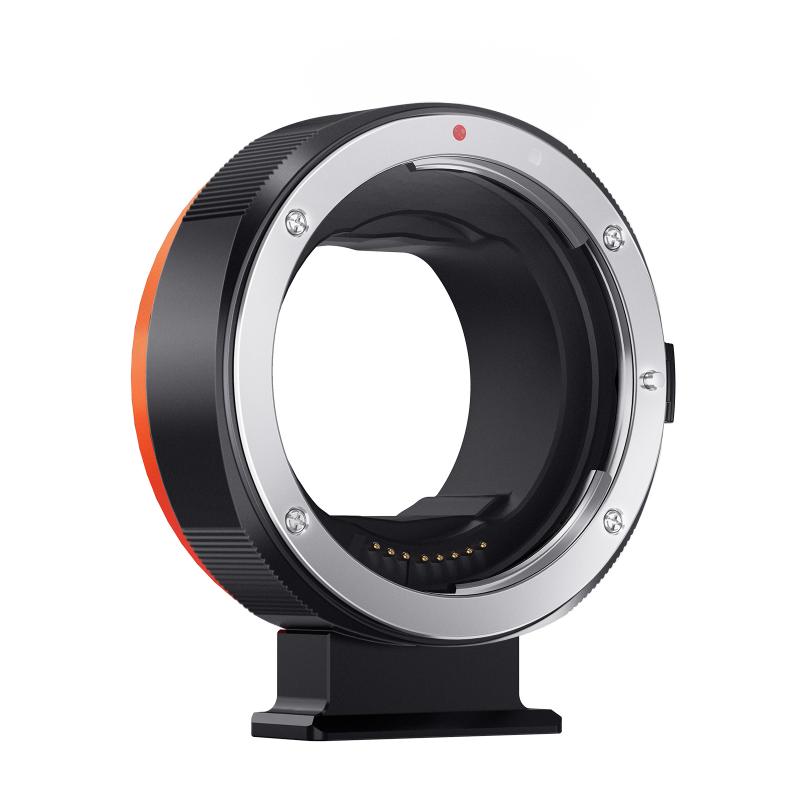
The aperture is controlled by the lens, not the camera body. Most lenses have an aperture ring or markings that indicate the available f-stop settings. If your lens has an aperture ring, you can manually adjust the aperture by rotating the ring to the desired f-stop.
2. Camera Settings
If your lens does not have an aperture ring, you can adjust the aperture through your camera's settings. Here’s how to do it on different types of cameras:
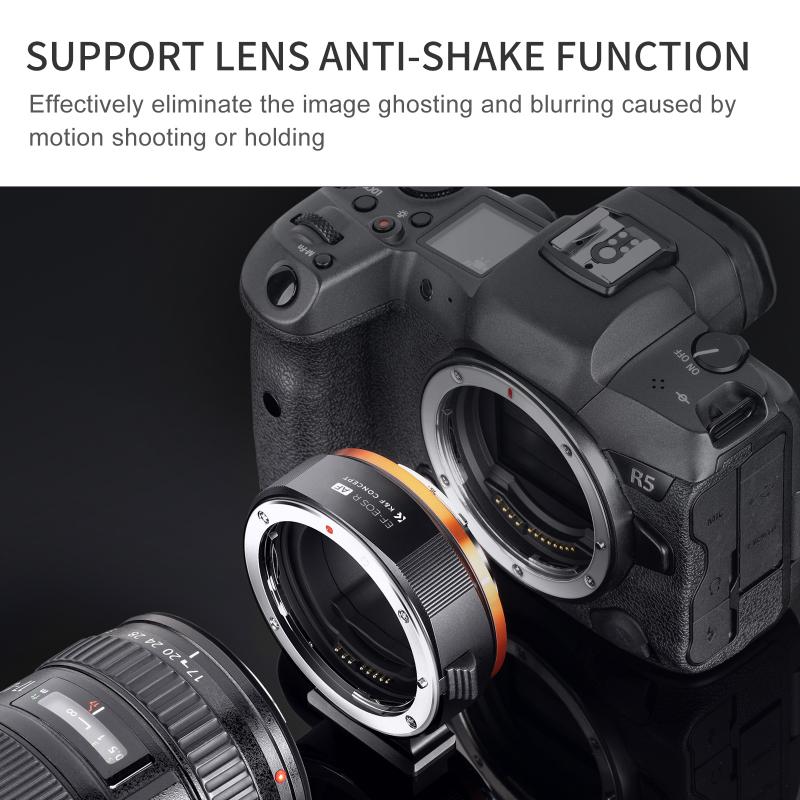
- DSLR Cameras: On most DSLR cameras, you can find the aperture setting in the manual (M), aperture priority (A or Av), or program (P) modes. Use the command dial to adjust the aperture value. The current aperture setting is usually displayed on the camera's LCD screen or viewfinder.
- Mirrorless Cameras: Similar to DSLRs, mirrorless cameras allow you to adjust the aperture in manual, aperture priority, or program modes. Use the command dial or touchscreen interface to change the aperture value.
- Compact Cameras: Some advanced compact cameras offer manual control over aperture. Look for the aperture priority mode (A or Av) or manual mode (M) in the camera’s menu. Use the control dial or buttons to adjust the aperture.
3. Electronic Viewfinder or LCD Screen
Many modern cameras, especially mirrorless models, provide real-time feedback on exposure settings through the electronic viewfinder (EVF) or LCD screen. As you adjust the aperture, you can see the changes in exposure and depth of field, helping you make more informed decisions.
Practical Tips for Using Aperture
1. Portrait Photography
For portraits, a larger aperture (e.g., f/1.8 or f/2.8) is often preferred to create a shallow depth of field. This technique isolates the subject from the background, making them stand out and giving the image a professional look. However, be mindful of the focus, as a very shallow depth of field can result in parts of the subject being out of focus.
2. Landscape Photography
In landscape photography, a smaller aperture (e.g., f/8 to f/16) is typically used to achieve a greater depth of field, ensuring that both the foreground and background are in sharp focus. This setting is ideal for capturing detailed and expansive scenes.
3. Low-Light Conditions
In low-light situations, a larger aperture (e.g., f/1.4 to f/2.8) allows more light to reach the sensor, enabling you to shoot at faster shutter speeds and lower ISO settings, which can reduce noise and improve image quality.
4. Macro Photography
Macro photography often requires a balance between a large aperture to gather enough light and a small aperture to achieve sufficient depth of field. Experiment with different f-stop settings to find the optimal balance for your macro shots.
5. Creative Effects
Aperture can be used creatively to achieve various effects. For example, a very large aperture can create a dreamy, soft-focus effect, while a very small aperture can produce starburst effects around light sources.
Common Mistakes to Avoid
1. Ignoring the Depth of Field: Always consider the depth of field when choosing your aperture. A shallow depth of field can be beautiful but may not be suitable for all types of photography.
2. Overlooking the Sweet Spot: Every lens has an aperture range where it performs best. Experiment with different apertures to find the sweet spot for your lens.
3. Not Using Aperture Priority Mode: Aperture priority mode (A or Av) allows you to set the aperture while the camera automatically adjusts the shutter speed. This mode is particularly useful for controlling depth of field without worrying about exposure.
4. Forgetting to Adjust ISO and Shutter Speed: Aperture is just one part of the exposure triangle. Don’t forget to adjust ISO and shutter speed to achieve the desired exposure.
Mastering aperture is essential for taking control of your photography and achieving the desired creative effects. By understanding how to find and adjust the aperture on your camera, you can enhance your images' exposure, depth of field, and overall quality. Whether you're shooting portraits, landscapes, or macro photography, the right aperture setting can make a significant difference in your results. Practice regularly, experiment with different settings, and soon you'll be able to use aperture to its full potential, elevating your photography to new heights.













There are no comments for this blog.