How To Find Camera On Laptop Windows 7?
In today's digitally connected world, having a functional camera on your laptop is almost a necessity. Whether you're using it for virtual meetings, taking pictures, or video chatting with family and friends, knowing how to locate and utilize your laptop's camera is essential. If you're using a Windows 7 operating system, finding and activating the camera can seem a bit daunting, especially if you're not particularly tech-savvy. This article aims to guide you step-by-step through the process of locating and using your laptop's camera effectively on Windows 7.
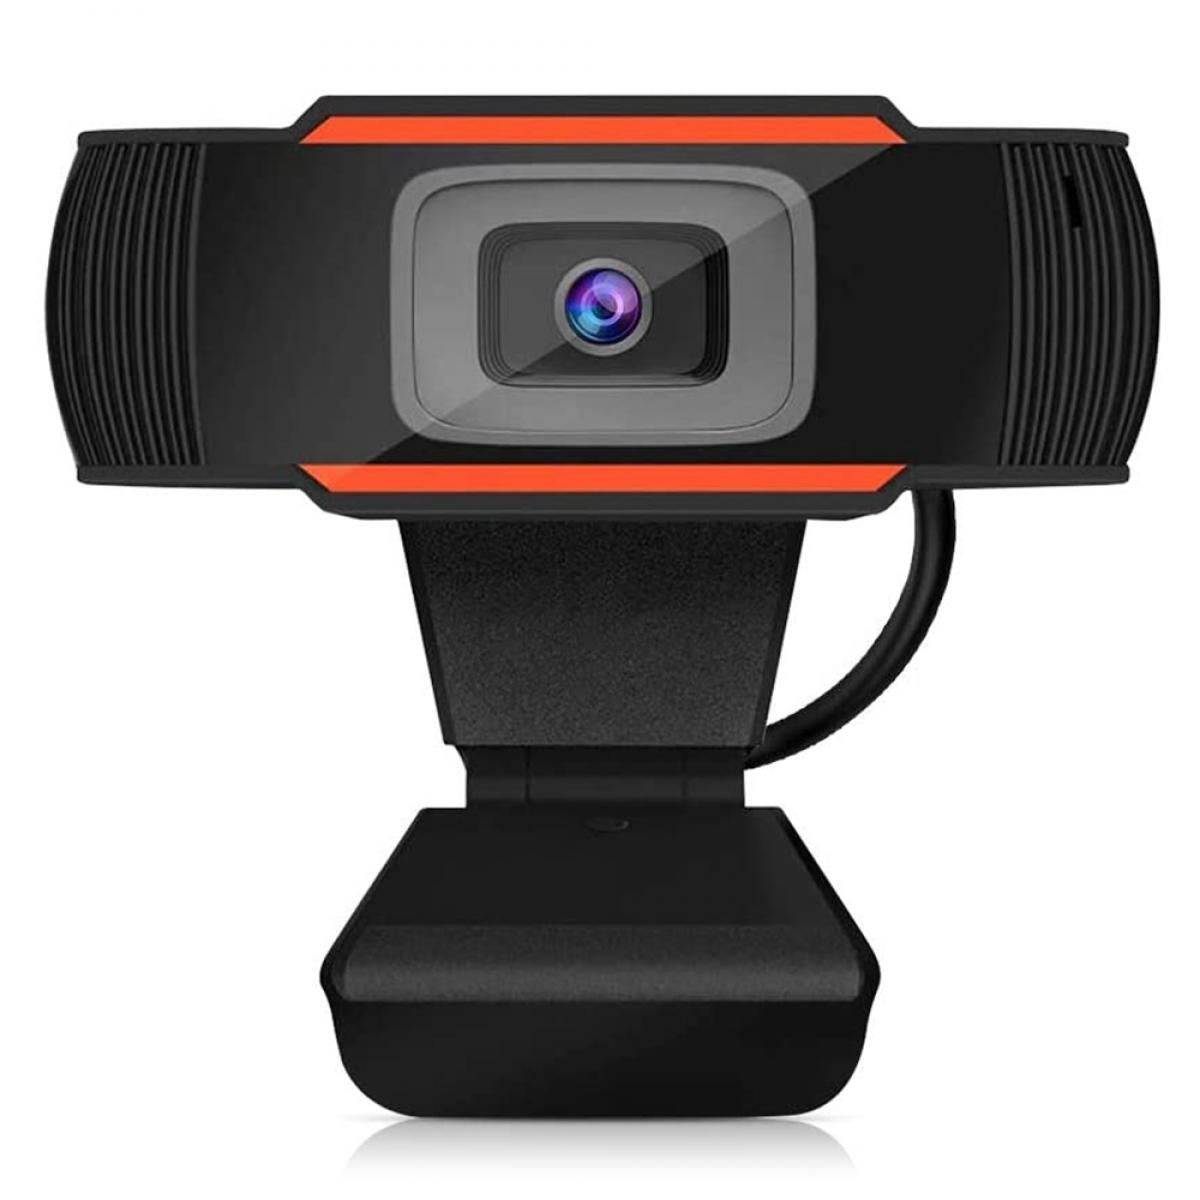
Preliminary Steps: Ensuring Your Camera is Installed
Before diving into the details of how to use the camera, it's important to ensure that your laptop actually has one and that it's properly installed.
1. Physical Check: Most laptops come with an integrated webcam, usually located at the top center of the screen. If you don’t see one, you might need to purchase an external webcam.
2. Device Manager: Open the Device Manager to confirm that your camera drivers are installed. You can do this by:
- Clicking on the “Start” button.
- Typing “Device Manager” in the search box.
- Expanding the “Imaging devices” section to ensure your camera appears in the list.
If the camera doesn’t appear in the Device Manager, it could indicate that the drivers are missing or the camera is not working. In such cases, you might have to download the appropriate drivers from your laptop manufacturer’s website.
Step-by-Step Guide to Find and Use Your Camera
Once you've confirmed that your camera is installed, follow these steps to start using it.
1. Using the Built-in Camera App
Windows 7 doesn’t come with a native camera app like Windows 10, but most laptop manufacturers include their own webcam software. Here’s how to find it:
- Open the Start Menu: Click on the “Start” button.
- Search for Camera Software: Type the name of the camera software provided by your laptop manufacturer. Common names include “HP Camera,” “Dell Webcam Central,” “Acer Crystal Eye,” etc.
- Launch the Application: Click on the application to open it. This software usually allows you to take pictures, record videos, and adjust camera settings.
If you don’t have any built-in camera software, you can download free webcam applications like "WebcamViewer" or "ManyCam" which are compatible with Windows 7.
2. Using Skype or Other Video Calling Software
Another way to access your camera is through video calling software like Skype, Zoom, or Microsoft Teams. Follow these steps:
- Install Skype: If you don’t already have Skype, download it from the official Skype website. The process is similar for other video calling software.
- Sign In: Open Skype and sign in with your credentials.
- Check Camera Settings: Go to Tools > Options > Video Settings to make sure your camera is selected. You should see a live video feed from your camera if it’s properly set up.
- Start a Call: Initiate a video call to see your camera in action.
3. Using Third-Party Webcam Software
Third-party webcam software often provides more advanced features and settings compared to built-in applications. Here’s how you can use them:
- Download Software: Choose a reputable third-party webcam software like "ManyCam," "WebcamMax," or "OBS Studio."
- Install the Software: Follow the on-screen instructions to install it on your laptop.
- Launch and Configure: Open the software and go to the settings to configure your camera. These applications often come with various settings to enhance video quality, add filters, and more.
Troubleshooting Common Issues
Despite following the steps above, you might encounter some issues when trying to use your camera. Here are some common problems and their solutions:
No Camera Detected
If your camera is not detected, try the following:
- Restart Your Laptop: Sometimes a simple restart can solve the problem.
- Reinstall Drivers: Go to the Device Manager, right-click on your camera, and select “Uninstall.” Then, restart your laptop which should prompt the drivers to reinstall.
- Check Connections: If you’re using an external webcam, ensure it’s properly connected to your laptop’s USB port.
Poor Video Quality
If the video quality is poor, consider these tips:
- Lighting: Ensure you have adequate lighting. Poor lighting conditions can significantly affect video quality.
- Clean the Lens: A dirty camera lens can result in unclear images. Use a soft cloth to gently clean the lens.
- Update Drivers: Outdated drivers can affect performance. Visit the laptop manufacturer’s website to download the latest drivers for your camera.
Software Conflicts
Sometimes, multiple applications trying to use the camera simultaneously can cause conflicts:
- Close Unnecessary Applications: Make sure no other software is using the camera.
- Check Permissions: Some applications might need permission to access the camera. Check the software settings to grant necessary permissions.
Finding and using the camera on a Windows 7 laptop might seem like a complex task, but by following the steps outlined above, it becomes considerably easier. Ensure your camera is properly installed and recognized by the system, utilize built-in or third-party software to access it, and troubleshoot any issues that may arise.
Whether it's for professional meetings, personal chats, or simply taking a quick snapshot, having a functional camera on your laptop can significantly enhance your digital experience. With this guide, you should now be equipped with the knowledge to navigate through any challenges related to using your camera on a Windows 7 laptop confidently.














There are no comments for this blog.