How To Find Camera Plugged Into Mac?
Finding a camera plugged into a Mac can be a straightforward process, but it can also present some challenges depending on the type of camera and the connection method used. Whether you are using a built-in camera, an external webcam, or a DSLR, knowing how to locate and troubleshoot your camera can save you time and frustration. In this article, we will explore various methods to find and troubleshoot a camera plugged into a Mac, ensuring that you can get your device up and running smoothly.
Understanding the Types of Cameras
Before diving into the steps, it’s essential to understand the different types of cameras you might be dealing with:
1. Built-in Camera: Most modern Macs come with a built-in camera, commonly referred to as the FaceTime HD camera.
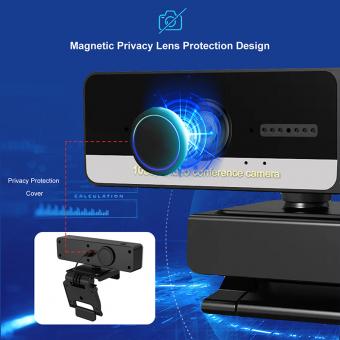
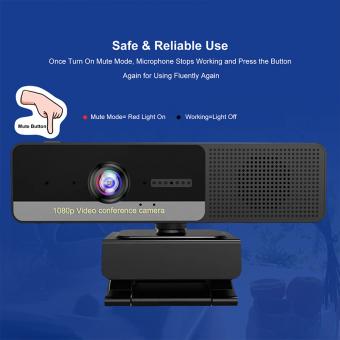
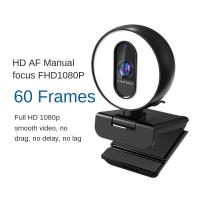
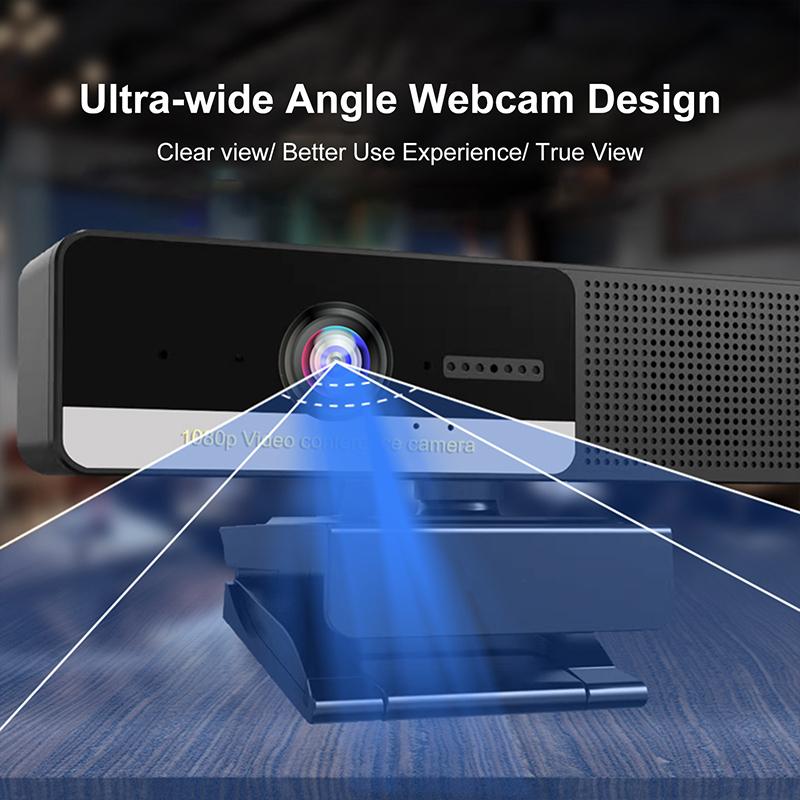
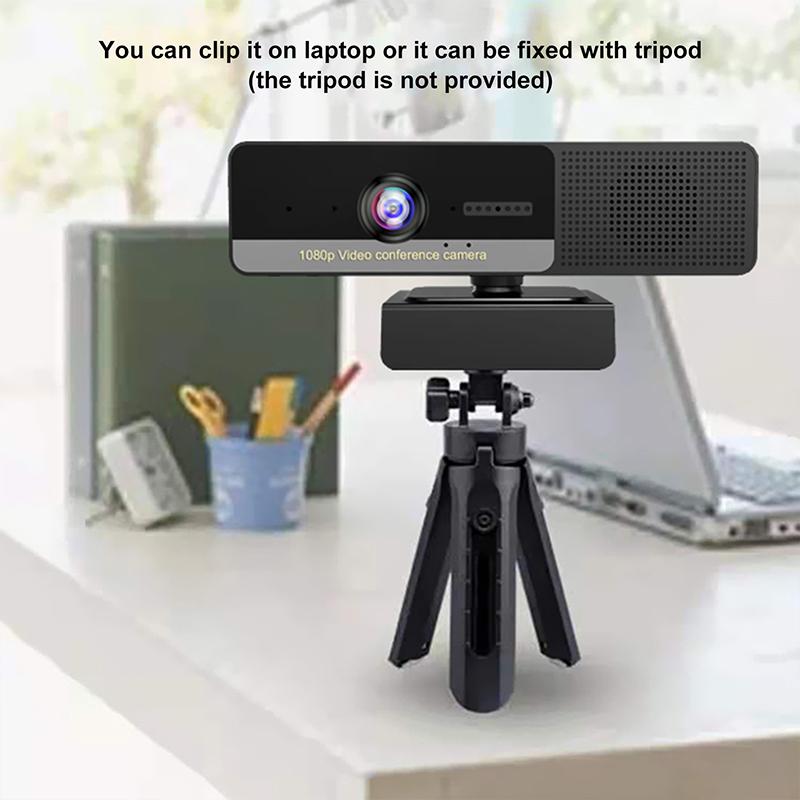
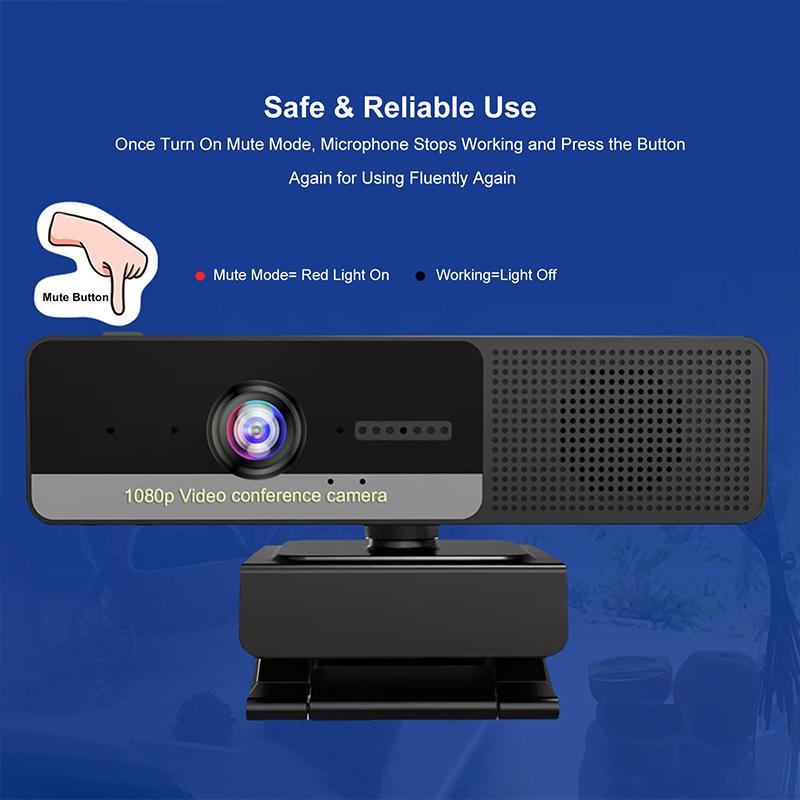
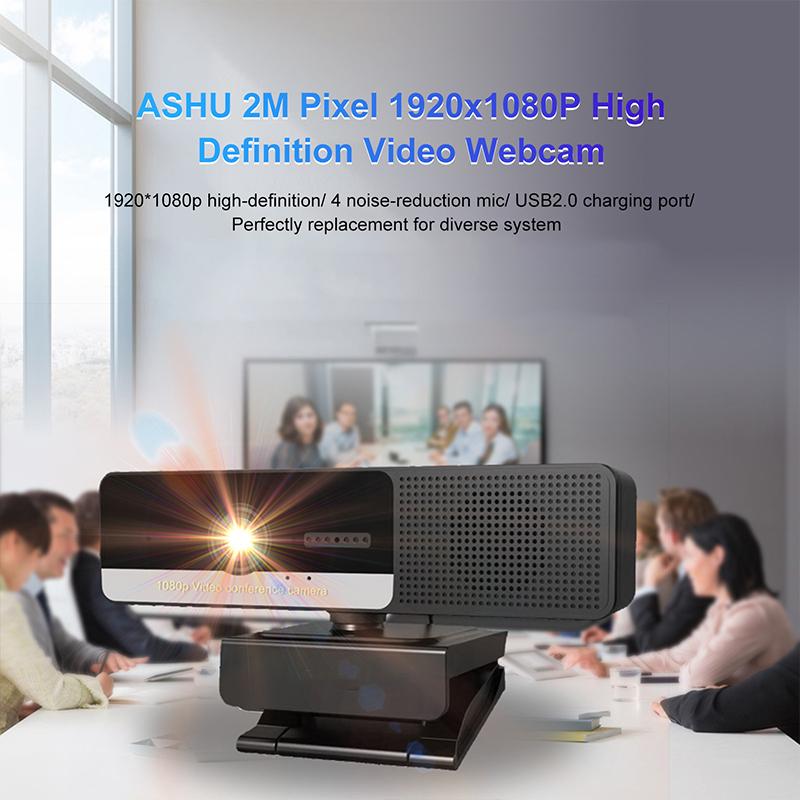
2. External Webcam: These are USB-connected cameras that you can attach to your Mac.
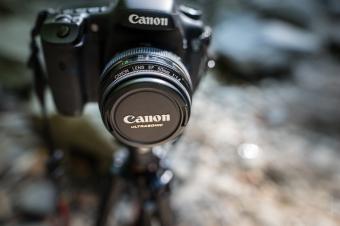
3. DSLR or Mirrorless Cameras: These cameras can be connected via USB or HDMI, often requiring additional software or adapters.
Checking for Built-in Camera
If you are using a Mac with a built-in camera, the process is relatively simple:
1. Open an Application: Open an application that uses the camera, such as FaceTime, Photo Booth, or Skype.
2. Check the Indicator Light: When the camera is active, a green indicator light should appear next to it.
3. System Preferences: Go to System Preferences > Security & Privacy > Camera to ensure that the application has permission to use the camera.
Finding an External Webcam
For external webcams, the process involves a few more steps:
1. Physical Connection: Ensure that the webcam is properly connected to a USB port on your Mac.
2. System Information: Go to the Apple menu > About This Mac > System Report. Under the "USB" section, you should see your webcam listed.
3. Application Access: Similar to the built-in camera, go to System Preferences > Security & Privacy > Camera to grant access to the application you are using.
Connecting a DSLR or Mirrorless Camera
Connecting a DSLR or mirrorless camera can be more complex, often requiring additional software or hardware:
1. USB or HDMI Connection: Connect your camera to your Mac using a USB cable or an HDMI capture device.
2. Camera Settings: Ensure that your camera is set to the correct mode for external use, often referred to as "PC Remote" or "Live View" mode.
3. Software: Install any necessary software, such as Canon EOS Utility, Sony Imaging Edge, or third-party applications like OBS Studio.
4. System Information: Check the System Report as mentioned earlier to ensure your Mac recognizes the camera.
Troubleshooting Common Issues
Even with the correct setup, you might encounter issues. Here are some common problems and their solutions:
1. Camera Not Recognized: If your camera is not recognized, try using a different USB port or cable. Restart your Mac and check for software updates.
2. Application Not Detecting Camera: Ensure that the application has the necessary permissions in System Preferences > Security & Privacy > Camera.
3. No Video Feed: Check the camera settings and ensure it is in the correct mode. For DSLRs, make sure the lens cap is removed and the camera is set to video mode.
4. Software Conflicts: Close any other applications that might be using the camera, as multiple applications cannot use the camera simultaneously.
Advanced Tips and Tricks
For those who need more advanced solutions, here are some additional tips:
1. Using Terminal: You can use Terminal commands to check for connected devices. Open Terminal and type `system_profiler SPCameraDataType` to get detailed information about connected cameras.
2. Third-Party Applications: Applications like iGlasses or ManyCam can provide additional functionality and troubleshooting options.
3. Firmware Updates: Ensure that your camera’s firmware is up to date, as manufacturers often release updates to improve compatibility and performance.
Finding and troubleshooting a camera plugged into a Mac can be a straightforward process if you follow the right steps. Whether you are using a built-in camera, an external webcam, or a DSLR, understanding the connection methods and potential issues can save you time and frustration. By following the guidelines outlined in this article, you can ensure that your camera is recognized and functioning correctly, allowing you to focus on your work or creative projects without unnecessary interruptions.

