How To Find Size For Camera Filter?
Choosing the right size for a camera filter is crucial for photographers who want to enhance their images with various effects or protect their lenses. The process can be somewhat confusing, especially for beginners, but understanding the key factors involved can make it much simpler. In this article, we will delve into the practical steps and considerations for finding the correct size for your camera filter, ensuring that you make an informed decision that meets your photographic needs.
Understanding Camera Filters
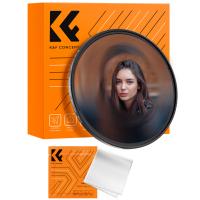
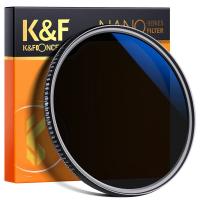
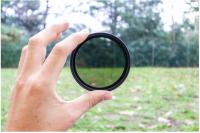
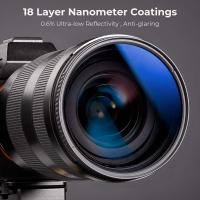
Camera filters are accessories that attach to the front of your camera lens. They serve various purposes, such as reducing glare, enhancing colors, or protecting the lens from dust and scratches. Common types of filters include UV filters, polarizing filters, and neutral density (ND) filters. Each type of filter comes in different sizes, which must match the diameter of your camera lens.
Step-by-Step Guide to Finding the Right Filter Size
1. Check the Lens Diameter
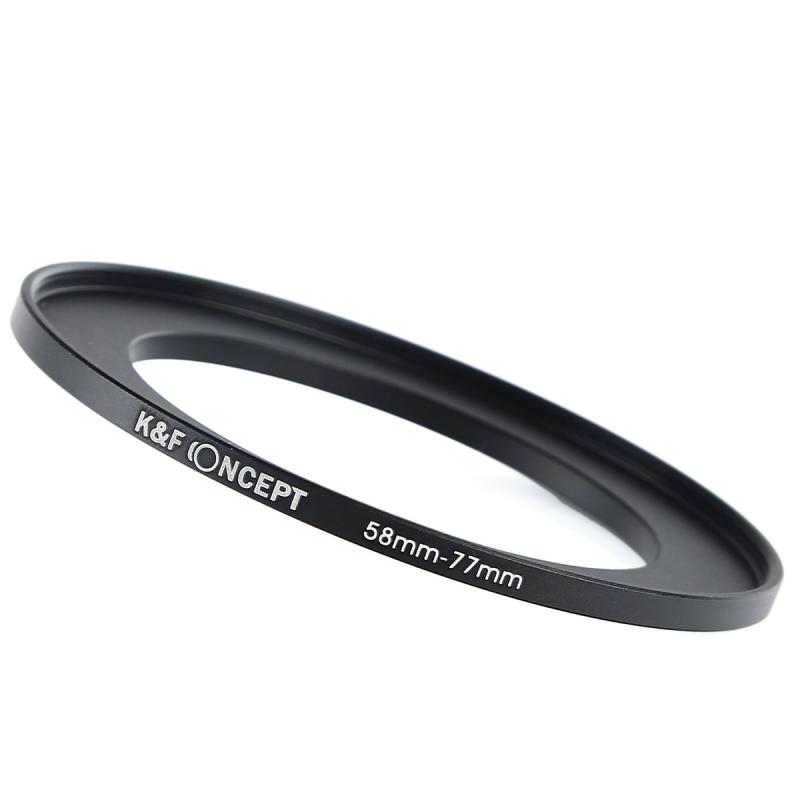
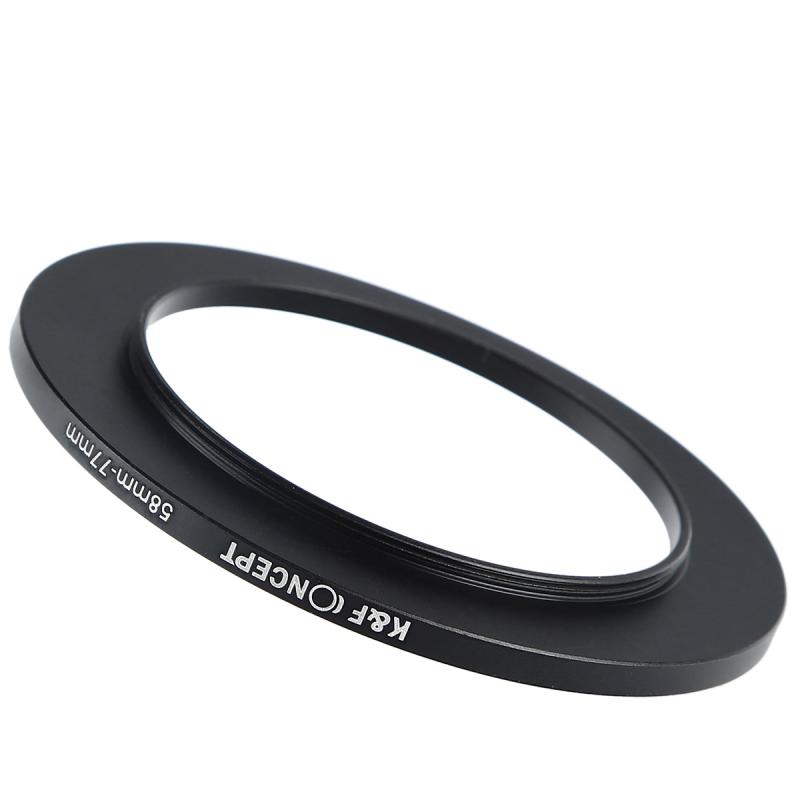
The first and most crucial step in finding the right filter size is to determine the diameter of your camera lens. This information is usually printed on the lens itself. Look for a number followed by the "Ø" symbol (which represents diameter). For example, you might see something like "Ø58mm" or "Ø77mm." This number indicates the diameter of the lens in millimeters and is the size you need for your filter.
2. Refer to the Lens Cap
If you can't find the diameter on the lens, another place to check is the lens cap. The diameter is often printed on the inside of the cap. This can be particularly useful if the markings on the lens have worn off or are difficult to read.
3. Consult the Lens Manual
The lens manual is another reliable source for finding the diameter. The specifications section of the manual will list the diameter along with other important details about the lens. If you have misplaced the manual, you can often find a digital copy on the manufacturer's website.
4. Use Online Resources
Several online databases and tools can help you find the diameter of your lens. Websites like LensHero or the manufacturer's official site often provide detailed specifications for various lenses, including the filter size.
Types of Filters and Their Uses
Understanding the different types of filters and their specific uses can help you decide which ones you need for your photography.
UV Filters
UV filters are primarily used to protect the lens from dust, scratches, and moisture. They also reduce the haziness caused by ultraviolet light, which can be particularly useful when shooting in bright sunlight.
Polarizing Filters
Polarizing filters are used to reduce reflections and glare from non-metallic surfaces like water and glass. They also enhance the colors and contrast in your photos, making skies appear bluer and foliage greener.
Neutral Density (ND) Filters
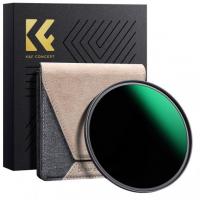
ND filters reduce the amount of light entering the lens, allowing for longer exposure times. This is useful for creating motion blur effects in waterfalls or achieving a shallow depth of field in bright conditions.
Practical Tips for Choosing Filters
1. Quality Matters
Investing in high-quality filters is essential for maintaining the optical performance of your lens. Cheap filters can degrade image quality, introducing unwanted artifacts like flares or color casts. Brands like B+W, Hoya, and Tiffen are well-regarded for their quality filters.
2. Consider a Filter System
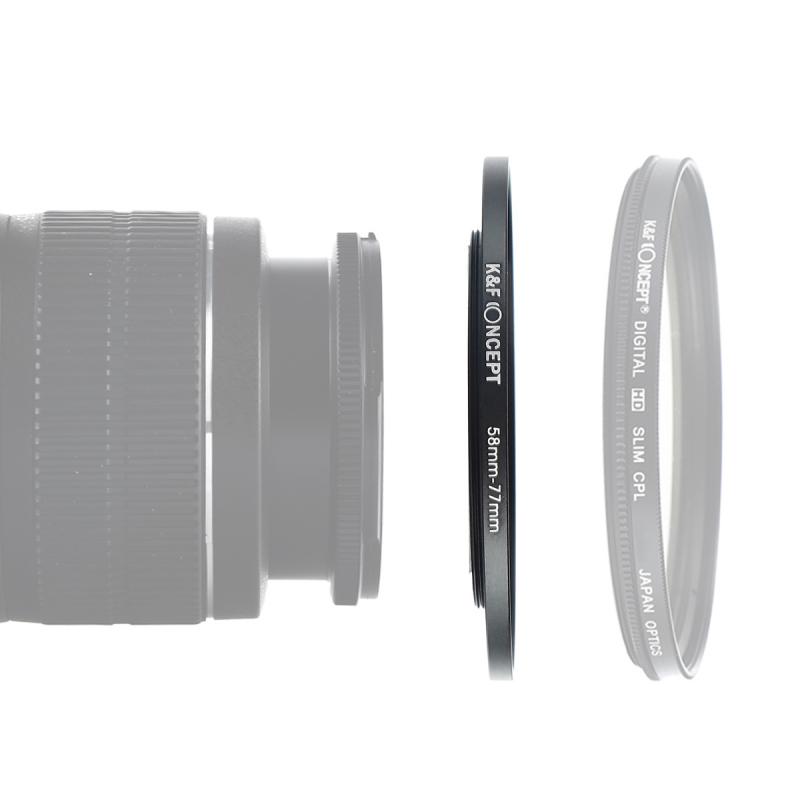
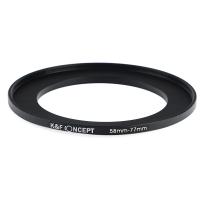
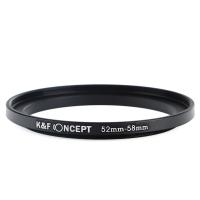
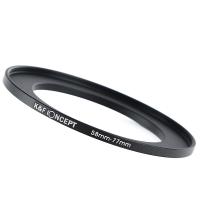
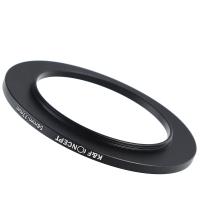
If you use multiple lenses with different diameters, consider investing in a filter system. Systems like the Cokin or Lee filter systems use a holder that attaches to the lens, allowing you to use square or rectangular filters with various lenses by simply changing the adapter ring.
3. Stackable Filters
Some filters are designed to be stackable, meaning you can attach multiple filters together. This can be useful for combining effects, such as using a polarizing filter with an ND filter. However, be cautious of vignetting, which can occur when too many filters are stacked, especially on wide-angle lenses.
Troubleshooting Common Issues
Vignetting
Vignetting is the darkening of the corners of an image, which can occur when using filters that are too thick or when stacking multiple filters. To avoid this, use slim or low-profile filters, especially with wide-angle lenses.
Cross Polarization
When using two polarizing filters together, you may encounter cross polarization, which creates a dark X pattern in your image. To avoid this, use only one polarizing filter at a time.
Filter Stuck on Lens
If a filter gets stuck on your lens, avoid using excessive force to remove it, as this can damage the lens. Instead, use a rubber jar opener or a filter wrench designed for this purpose. Applying a small amount of lens cleaning solution around the edge of the filter can also help loosen it.
Finding the right size for your camera filter is a straightforward process once you know where to look for the necessary information. By checking the lens diameter, referring to the lens cap, consulting the manual, and using online resources, you can easily determine the correct size. Understanding the different types of filters and their uses will help you choose the ones that best suit your photographic needs. Remember to invest in high-quality filters and consider a filter system if you use multiple lenses. By following these guidelines, you can enhance your photography and protect your valuable equipment effectively.













There are no comments for this blog.