How To Get Sound On Screen Recorded Videos?
Screen recording has become an essential tool for many professionals, educators, and content creators. Whether you're creating tutorials, recording gameplay, or capturing a video call, having sound in your screen recordings is crucial for delivering a complete and engaging experience. However, many users encounter issues with capturing audio during screen recordings. This article will guide you through the steps to ensure you get sound on your screen-recorded videos, addressing common problems and providing practical solutions.
Understanding the Basics
Before diving into the solutions, it's important to understand the basics of screen recording and audio capture. Screen recording software captures the visual output of your screen and, ideally, the audio output as well. The audio can come from different sources, such as system sounds, microphone input, or both. The key to successful screen recording with sound lies in correctly configuring these audio sources.
Common Issues and Solutions
1. No Audio Source Selected
One of the most common reasons for no sound in screen recordings is the failure to select an audio source. Most screen recording software allows you to choose the audio input source. Ensure that you have selected the correct source, whether it's the system audio, microphone, or both.
Solution:
- Open your screen recording software.
- Navigate to the audio settings.
- Select the appropriate audio source (system audio, microphone, or both).
2. Incorrect Audio Settings
Incorrect audio settings can also lead to no sound in your recordings. This includes settings within the screen recording software and your system's audio settings.
Solution:
- Check the audio settings in your screen recording software. Ensure that the audio input levels are set correctly and not muted.
- Verify your system's audio settings. Ensure that the correct playback and recording devices are selected and that they are not muted.
3. Outdated Software or Drivers
Using outdated screen recording software or audio drivers can cause compatibility issues, leading to no sound in your recordings.
Solution:
- Update your screen recording software to the latest version.
- Update your audio drivers. You can do this through your system's device manager or by visiting the manufacturer's website.
4. Permissions Issues
On some operating systems, screen recording software requires permission to access the microphone and system audio. If these permissions are not granted, the software will not be able to capture sound.
Solution:
- On Windows, go to Settings > Privacy > Microphone and ensure that your screen recording software has permission to access the microphone.
- On macOS, go to System Preferences > Security & Privacy > Privacy > Microphone and ensure that your screen recording software is checked.
Step-by-Step Guide for Popular Screen Recording Software
1. OBS Studio
OBS Studio is a popular, free, and open-source screen recording software. Here's how to ensure you get sound in your recordings:
- Step 1: Open OBS Studio.
- Step 2: In the "Sources" box, click the "+" button and select "Audio Input Capture" to add your microphone.
- Step 3: Click the "+" button again and select "Audio Output Capture" to add system audio.
- Step 4: Ensure that both audio sources are not muted and that the volume levels are set correctly.
- Step 5: Start recording.
2. Camtasia
Camtasia is a professional screen recording and video editing software. Follow these steps to capture audio:
- Step 1: Open Camtasia and start a new project.
- Step 2: Click on the "Record" button to open the recording toolbar.
- Step 3: Ensure that the "Audio" option is toggled on.
- Step 4: Select the audio source (microphone, system audio, or both).
- Step 5: Start recording.
3. QuickTime Player (macOS)
QuickTime Player is a built-in screen recording tool for macOS users. Here's how to capture audio:
- Step 1: Open QuickTime Player.
- Step 2: Go to File > New Screen Recording.
- Step 3: Click the drop-down arrow next to the record button.
- Step 4: Select the audio source (internal microphone or an external microphone).
- Step 5: Start recording.
Advanced Tips for Better Audio Quality
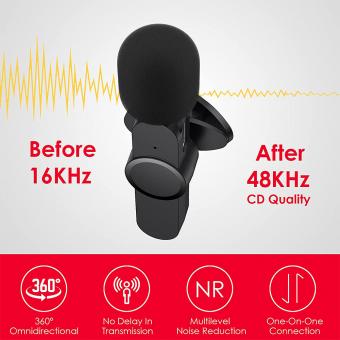
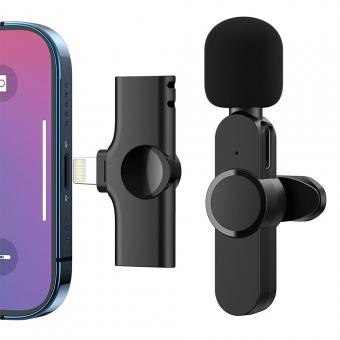
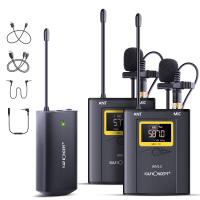
1. Use an External Microphone
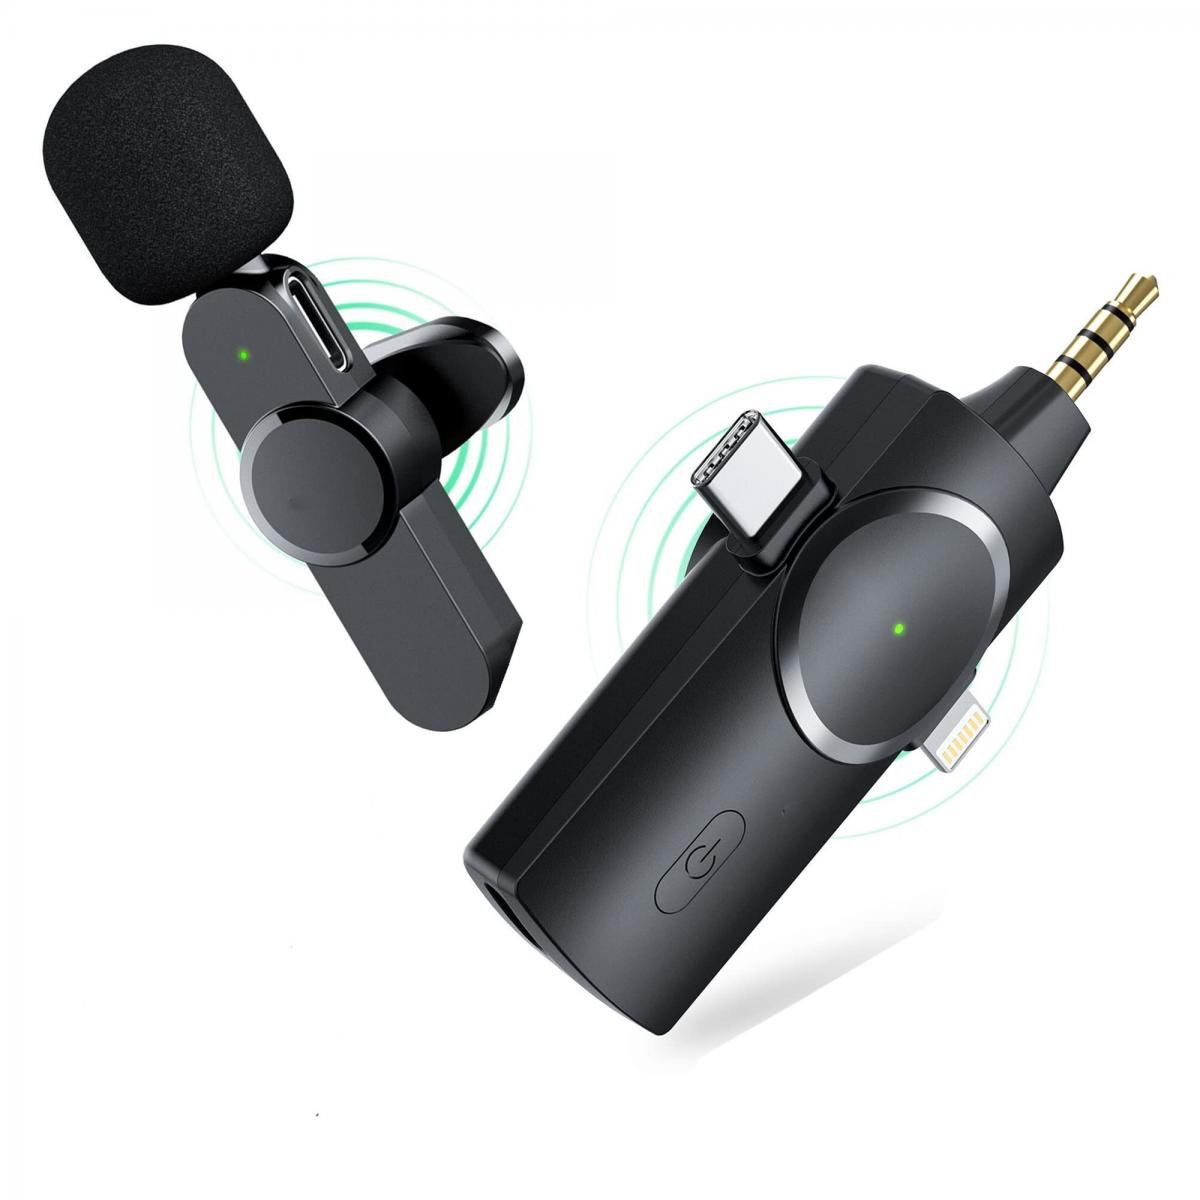
Built-in microphones on laptops and desktops often produce lower-quality audio. Using an external microphone can significantly improve the sound quality of your recordings.
2. Reduce Background Noise
Background noise can be distracting and reduce the clarity of your audio. Use noise reduction features available in your screen recording software or edit the audio in post-production to minimize background noise.
3. Monitor Audio Levels
Monitoring audio levels during recording can help you ensure that the sound is neither too low nor too high. Most screen recording software provides audio level meters to help you with this.
4. Use a Pop Filter
If you're using a microphone, a pop filter can help reduce plosive sounds (like "p" and "b" sounds) that can cause distortion in your recordings.
Troubleshooting Common Problems
1. Audio Out of Sync
If the audio is out of sync with the video, it can be due to a lag in processing. This can often be fixed in post-production by adjusting the audio track.
2. Distorted Audio
Distorted audio can be caused by high input levels or poor-quality microphones. Lower the input levels and consider using a higher-quality microphone.
3. No Audio in Playback
If there's no audio during playback, ensure that the playback device is set correctly and that the volume is not muted. Also, check the audio track in your video editing software to ensure it is not muted.
Capturing sound in your screen-recorded videos is essential for creating engaging and informative content. By understanding the basics of audio capture, configuring your settings correctly, and using the right tools, you can ensure that your screen recordings have high-quality sound. Whether you're using OBS Studio, Camtasia, QuickTime Player, or any other screen recording software, the steps outlined in this article will help you troubleshoot and resolve common audio issues. With these tips, you'll be well on your way to creating professional-quality screen recordings with clear and crisp audio.


