How To Get Voice In Screen Recording?
Screen recording has become an essential tool for many professionals, educators, and content creators. Whether you're creating tutorials, recording gameplay, or capturing a video call, adding voice to your screen recordings can significantly enhance the value and clarity of your content. In this article, we will explore various methods and tools to help you effectively capture voice in your screen recordings, ensuring that your audience receives a comprehensive and engaging experience.
Understanding the Basics
Before diving into the specifics, it's important to understand the basic requirements for capturing voice in screen recordings. The primary components include:
1. Screen Recording Software: This is the tool that captures the visual content on your screen.
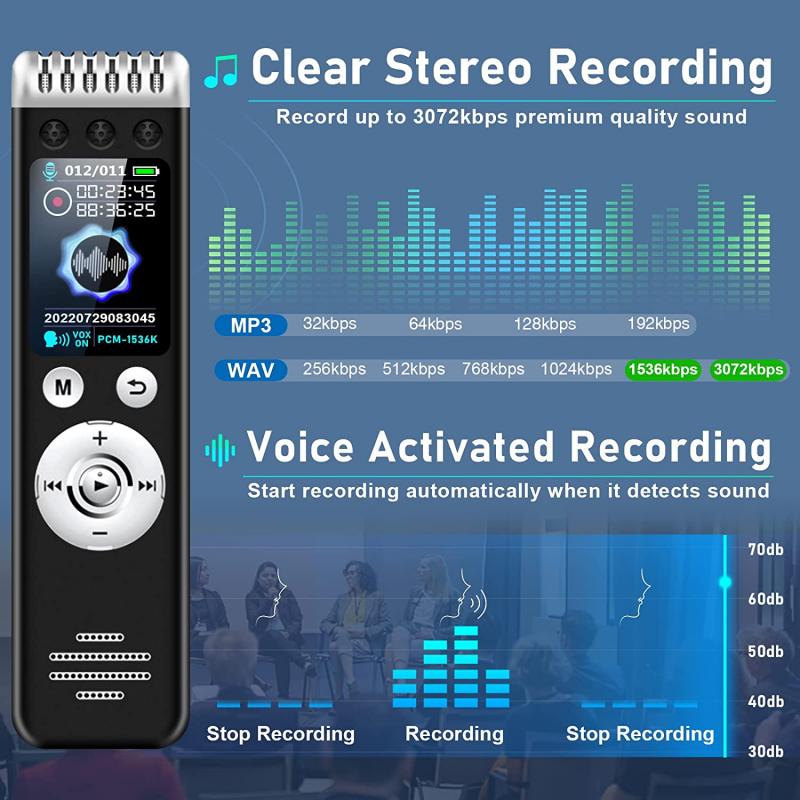
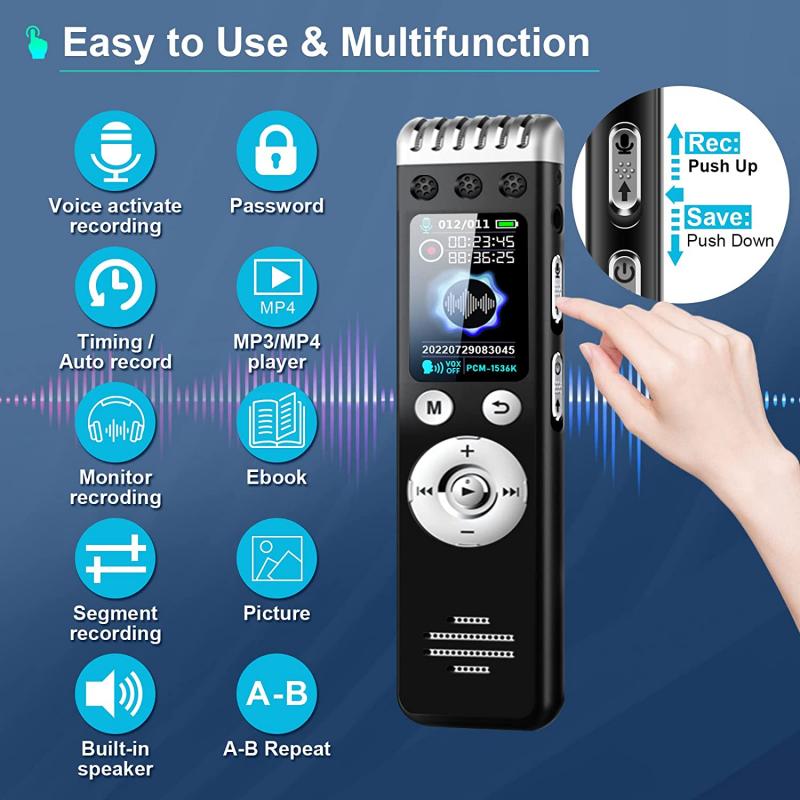
2. Microphone: An external or built-in microphone to capture your voice.
3. Audio Settings: Proper configuration of audio settings to ensure clear and synchronized voice recording.
Choosing the Right Screen Recording Software
The first step in capturing voice in your screen recordings is selecting the right software. There are numerous options available, each with its own set of features. Here are some popular choices:
1. OBS Studio: Open Broadcaster Software (OBS) is a free and open-source tool that offers extensive customization options. It supports multiple audio sources, making it ideal for capturing both system audio and microphone input.
2. Camtasia: A user-friendly screen recording and video editing software that allows you to record your screen and voice simultaneously. It also offers advanced editing features to enhance your recordings.
3. Screencast-O-Matic: A simple and affordable option that provides basic screen recording and voice capture capabilities. It’s suitable for quick and straightforward recordings.
4. QuickTime Player: For Mac users, QuickTime Player offers a built-in screen recording feature with the option to capture audio from your microphone.
5. ShareX: Another free and open-source tool that provides robust screen recording features along with the ability to capture audio from multiple sources.
Setting Up Your Microphone

Once you have chosen your screen recording software, the next step is to set up your microphone. Here are some tips to ensure optimal audio quality:
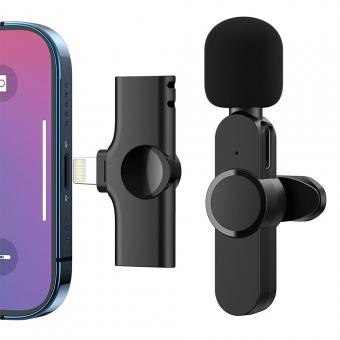
1. Choose the Right Microphone: While built-in microphones can suffice for basic recordings, investing in an external microphone can significantly improve audio quality. USB microphones like the Blue Yeti or Audio-Technica AT2020 are popular choices.
2. Position Your Microphone: Place your microphone at an appropriate distance from your mouth to avoid distortion and ensure clear audio. A pop filter can help reduce plosive sounds.
3. Check Your Environment: Record in a quiet environment to minimize background noise. Using soundproofing materials or recording in a smaller room can help achieve better audio quality.
4. Test Your Setup: Before starting your screen recording, test your microphone setup to ensure that the audio levels are appropriate and that your voice is being captured clearly.
Configuring Audio Settings
Properly configuring your audio settings is crucial for capturing high-quality voice recordings. Here’s how to do it in some of the popular screen recording software:
OBS Studio
1. Add Audio Source: In the OBS interface, click on the "+" button under the "Sources" panel and select "Audio Input Capture." Choose your microphone from the list of available devices.
2. Adjust Audio Levels: Use the audio mixer to adjust the volume levels of your microphone. Ensure that the levels are not too high to avoid clipping.
3. Enable Monitoring: If you want to hear your voice while recording, enable audio monitoring by right-clicking on the audio source and selecting "Advanced Audio Properties." Set the "Audio Monitoring" option to "Monitor and Output."
Camtasia
1. Select Audio Input: In the Camtasia recorder, click on the "Audio" button and select your microphone from the dropdown menu.
2. Adjust Volume: Use the volume slider to adjust the input level of your microphone. Make sure the levels are not peaking into the red zone.
3. Test Audio: Use the built-in audio test feature to ensure that your voice is being captured clearly.
QuickTime Player
1. Open Screen Recording: Launch QuickTime Player and select "New Screen Recording" from the "File" menu.
2. Select Microphone: Click on the dropdown arrow next to the record button and choose your microphone from the list of available audio sources.
3. Start Recording: Click the record button to start your screen recording with voice.
Recording Tips and Best Practices
To ensure that your screen recordings with voice are of the highest quality, consider the following tips and best practices:
1. Plan Your Content: Outline the key points you want to cover in your recording. This will help you stay organized and ensure that you don’t miss any important information.
2. Speak Clearly: Enunciate your words and speak at a moderate pace. This will make it easier for your audience to understand and follow along.
3. Use Headphones: If you’re recording system audio along with your voice, use headphones to prevent audio feedback and ensure that the system sounds don’t interfere with your voice recording.
4. Edit Your Recording: After capturing your screen and voice, use video editing software to trim any unnecessary parts, enhance audio quality, and add annotations or captions if needed.
5. Practice: Like any skill, practice makes perfect. The more you record, the more comfortable you will become with the process, leading to better quality recordings over time.
Troubleshooting Common Issues
Even with the best preparation, you may encounter some common issues when recording voice in screen recordings. Here are some troubleshooting tips:
1. Audio Sync Issues: If your voice is not synchronized with the video, try adjusting the audio delay settings in your recording software. OBS Studio, for example, allows you to set an audio delay to match the video.
2. Background Noise: If you’re experiencing background noise, consider using noise reduction features available in your recording or editing software. Additionally, recording in a quieter environment can help.
3. Low Audio Quality: If your voice sounds muffled or distorted, check your microphone settings and ensure that it is properly positioned. Using an external microphone can also improve audio quality.
4. Software Crashes: If your recording software crashes frequently, ensure that you are using the latest version and that your computer meets the software’s system requirements. Closing unnecessary applications can also help improve performance.
Capturing voice in screen recordings is a valuable skill that can enhance the effectiveness and engagement of your content. By choosing the right software, setting up your microphone correctly, configuring audio settings, and following best practices, you can create high-quality screen recordings with clear and synchronized voice. Whether you’re a professional, educator, or content creator, these tips will help you deliver compelling and informative recordings to your audience. Happy recording!

