How To Hard Wire A Dash Cam?
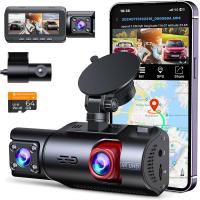
Hardwiring a dash cam can provide a seamless and reliable power source that ensures your dash cam is always operational, whether your vehicle is running or not. Below, we'll explore the intricacies of hardwiring a dash cam, detailing the necessary tools, the step-by-step process, and common pitfalls to avoid.
Understanding the Benefits of Hardwiring a Dash Cam
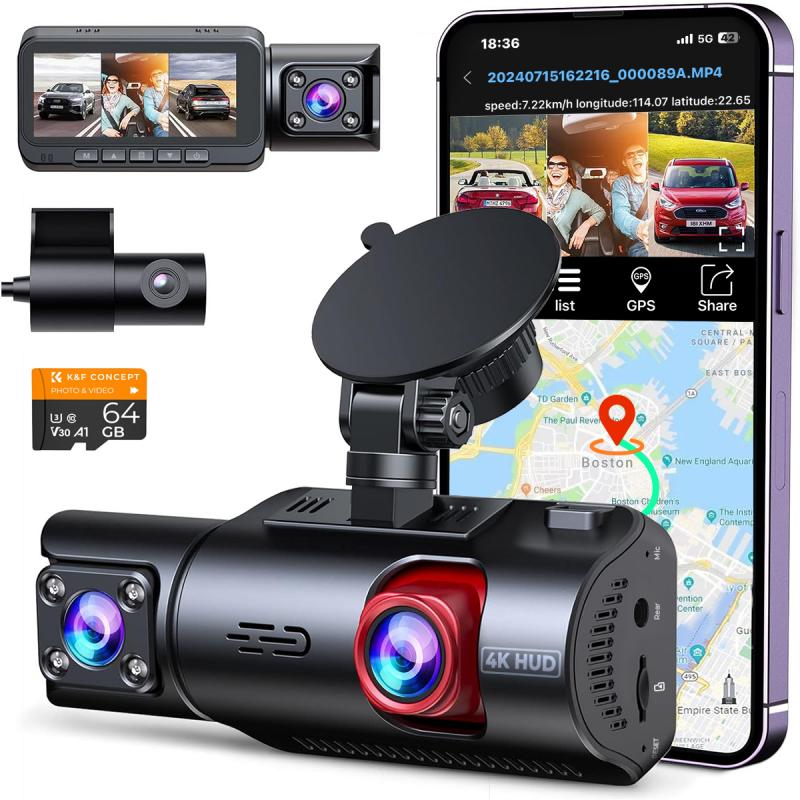
Continuous Power Supply: Unlike using a cigarette lighter socket or USB port, hardwiring allows you to keep your dash cam powered even when the ignition is off, essential for features like parking mode.
Cleaner Setup: Hardwiring eliminates dangling cables, creating a more professional and clean look in your vehicle's interior.
Unused Power Outlets: By not relying on your car's auxiliary power sources, you free up these outlets for other accessories.
Tools and Components Required
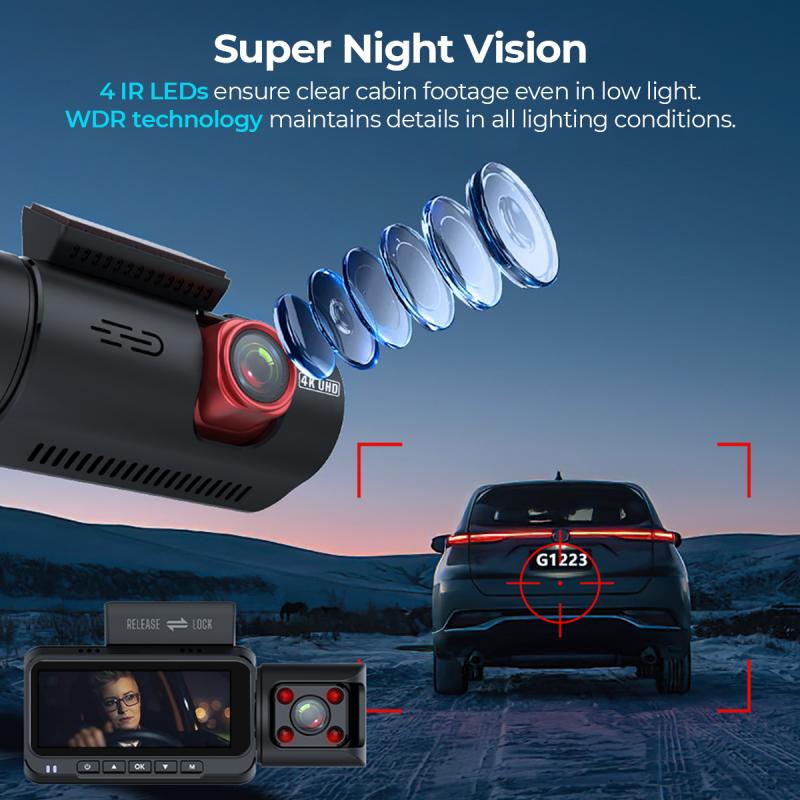
To hardwire a dash cam, you'll need the following tools and components:
- Dash Cam with Hardwiring Kit: Ensure your dash cam is compatible with hardwiring and comes with the appropriate kit, usually including a fuse tap, voltage converter, and appropriate cables.
- Fuse Tap: This allows you to tap into your car’s fuse box to draw power for the dash cam.
- Fuse Puller: Handy for safely removing fuses from the fuse box.
- Circuit Tester: Essential for identifying fuses that provide constant or switched power.
- Trim Removal Tool: Helps you safely detach trim pieces without damaging your car's interior.
- Wire Crimper/Stripper: For preparing the wires for connection.
- Electrical Tape or Heat Shrink Tubing: To insulate any exposed wires.
- Cable Ties: For securing the wires and keeping your installation tidy.
Choosing the Right Fuse
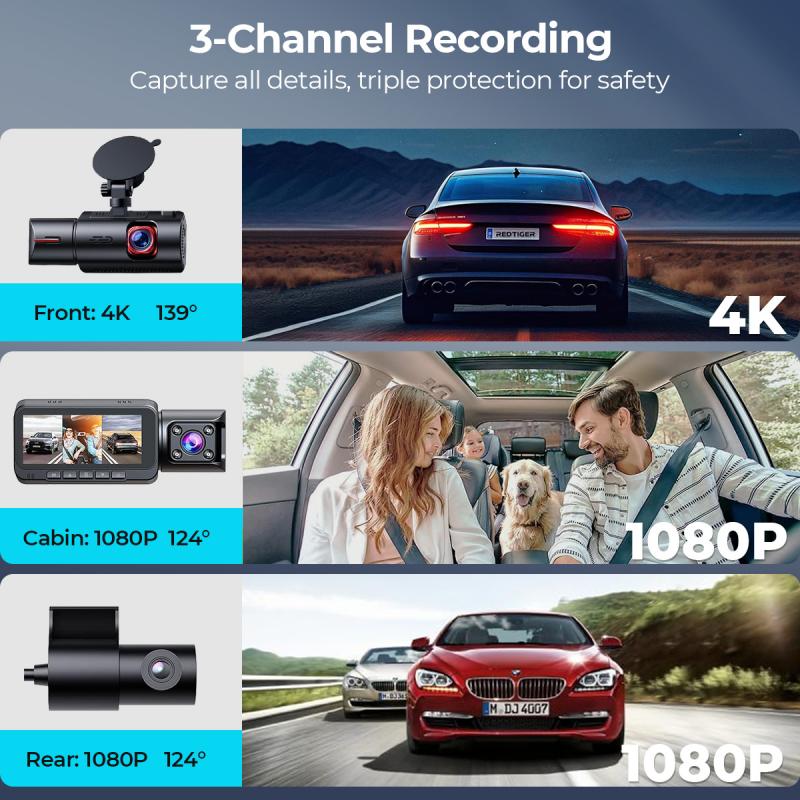
Before diving into the installation process, it's crucial to identify which fuse to use in your car. Generally, you will need:
- Constant Power Fuse: Supplies power at all times, even when the car is off. Ideal for dash cams with parking mode.
- Switched Power Fuse: Only supplies power when the ignition is on. This prevents the dash cam from draining your battery when the car is off.
Using your circuit tester, find the fuses that meet these requirements in your vehicle's fuse box.
Step-by-Step Hardwiring Process
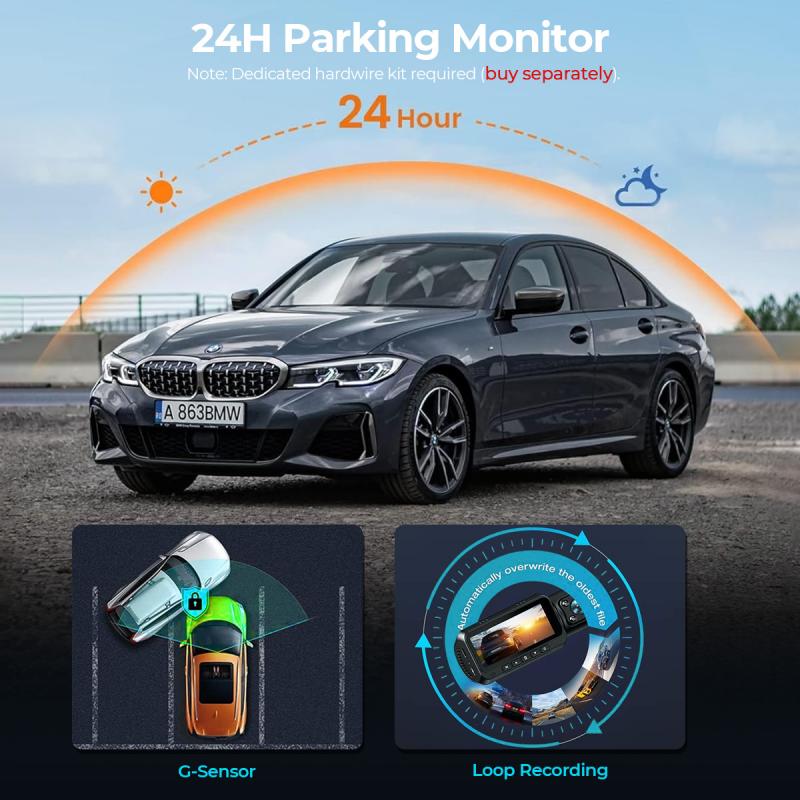
1. Locate the Fuse Box:
- Consult your car’s manual to identify the fuse box’s location. Common places are under the dashboard, in the glove compartment, or in the engine bay.
2. Identify the Appropriate Fuses:
- Using a circuit tester, identify fuses that provide switched and constant power.
- Note the fuse amperage that your dash cam’s hardwiring kit requires.
3. Prepare the Dash Cam:
- Mount the dash cam to your desired location, typically behind the rearview mirror for optimal view and minimal obstruction.
4. Run the Power Cable:
- Conceal the power cable along the headliner, down the A-pillar, and towards the fuse box, using a trim removal tool to tuck the cable neatly.
5. Install the Fuse Tap:
- Remove the identified fuse using a fuse puller, then insert it into the slot in the fuse tap. Finally, insert the fuse tap back into the fuse slot.
6. Connect the Dash Cam's Hardwiring Kit:
- Connect the ground wire to a metal bolt or grounding point on the car’s chassis.
- Attach the power wire from the hardwiring kit to the fuse tap.
7. Insulate and Secure:
- Insulate any exposed wires with electrical tape or heat shrink tubing.
- Use cable ties to secure the wire harness, preventing loose wires.
8. Test the Installation:
- Turn on your car’s ignition to ensure the dash cam powers up correctly.
- Test for both constant and switched power functionality, depending on your installation.
Common Pitfalls to Avoid
1. Incorrect Fuse Selection: Always ensure you are using the correct type of fuse (constant or switched) as per your dash cam’s requirements.
2. Inadequate Grounding: Looping the ground wire around a bolt without proper contact may result in a poor connection. Ensure a secure, metal-to-metal connection.
3. Loose Connections: Ensure all connections are firmly secured and insulated to prevent short circuits or power loss.
4. Ignoring Vehicle Specifics: Different cars have unique configurations and grounding points. It is crucial to understand your specific vehicle’s setup.
5. Draining Battery: If parking mode is unnecessary, avoid connecting to a constant power source to prevent battery drain.
Benefits and Impact
Hardwiring a dash cam isn't just about aesthetic appeal or freeing up power outlets; it's fundamentally about enhancing the functionality of your dash camera. Features like parking mode can provide an added layer of security by recording incidents that occur when the vehicle is parked. This can be invaluable for insurance claims or personal safety.
Additionally, a hardwired dash cam can seamlessly integrate into your vehicle's electrical system, reducing the likelihood of power interruptions that could cause loss of crucial footage. This reliability is particularly crucial for professional drivers, fleet operators, or anyone who spends a considerable amount of time on the road.
Hardwiring your dash cam is a sound investment in both functionality and aesthetics. Through careful preparation, the right tools, and an understanding of your vehicle’s electrical system, this task can be accomplished with relative ease. Moreover, the benefits extend beyond a neat installation; they provide continuous surveillance which could prove essential in many situations.
By following the outlined steps and avoiding common pitfalls, you can ensure a smooth, effective, and rewarding installation process. Not only does this give you peace of mind on the road, but it also empowers you with a continuous vigil against unforeseen incidents.

















There are no comments for this blog.