How To Have Good Lighting For A Video?
Creating high-quality videos often requires good lighting to ensure that the footage looks professional and visually appealing. Whether you're creating content for YouTube, recording a corporate video, or shooting a film, proper lighting can make a significant difference. Poor lighting can result in grainy footage, unflattering shadows, and a lack of visual interest. In this article, we will dive deep into various aspects of achieving good lighting for your videos. By the end of this guide, you'll have all the knowledge needed to elevate your video production quality significantly.
Understanding the Basics of Lighting
Before delving into the techniques and equipment, it's important to understand the basic principles of lighting:
1. Intensity: Refers to the brightness of the light. High-intensity light can wash out your subject, while low-intensity light may result in a lack of detail.
2. Color Temperature: Measured in Kelvin (K), it dictates the color of the light. Natural sunlight has a color temperature of about 5600K, while indoor lighting typically ranges from 2700K to 3200K.
3. Direction: The angle at which light hits the subject can dramatically change the look and feel of the video. Different angles can create depth, highlight features, or cast unflattering shadows.
4. Softness: Hard light creates sharp shadows, while soft light creates a more diffused glow. The softness of the light can affect the mood and overall aesthetic of the video.
Types of Lighting
Several types of lighting can be used depending on your requirements and the environment in which you’re filming:
1. Natural Lighting: Utilizes the sun as the primary light source. It's cost-effective but can be unpredictable and difficult to control.
2. Artificial Lighting: Comprises three key light types: key light, fill light, and backlight. Using these lights can give you complete control over the lighting environment.
3. Practical Lighting: Refers to light sources that are visible within the scene such as lamps, screen displays, and candles.
Essential Lighting Equipment
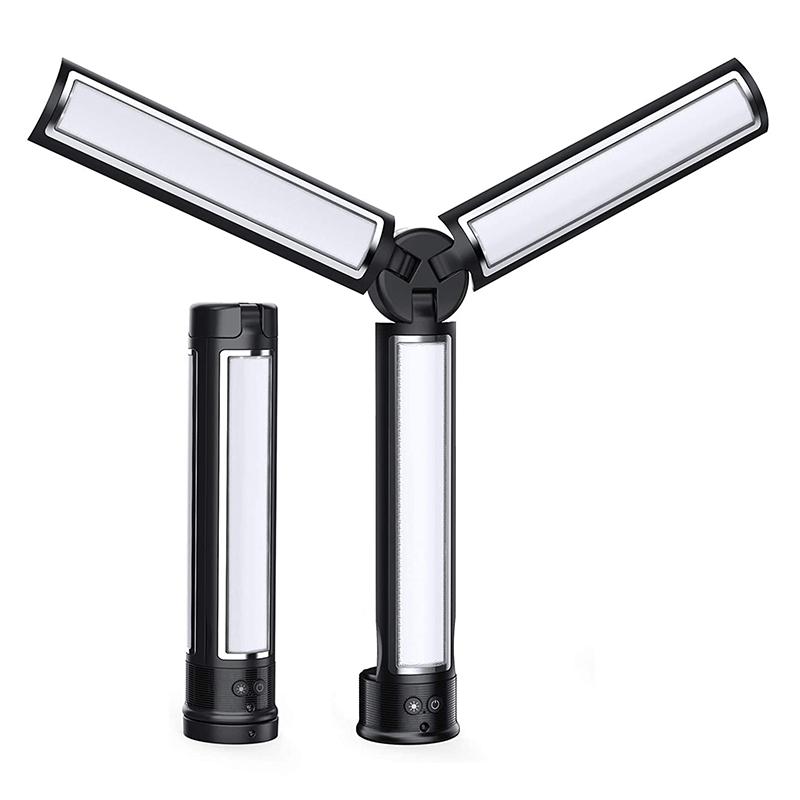
Having the right tools is essential for achieving great lighting. Here are some must-have lighting equipment:
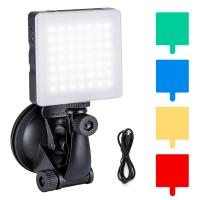
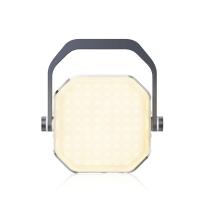
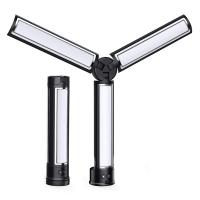
1. Key Light: This is your primary light source. It is usually placed to one side of the camera to create depth and make the subject stand out. LED panels are popular choices for key lights due to their versatility and adjustable brightness and color temperature.
2. Fill Light: Used to reduce shadows created by the key light. This light is softer and less intense than the key light. Reflectors or additional LED panels can be used as fill lights.
3. Backlight (or Hair Light): This light is placed behind the subject to help separate them from the background by creating a subtle rim of light around them.
4. Softboxes and Umbrellas: These are used to soften the light, reducing harsh shadows and creating a more flattering image. They help in diffusing hard light sources.
5. Reflectors: A more budget-friendly option to fill in shadows, reflectors bounce existing light back onto your subject. They come in different colors like white, silver, and gold, each offering different properties.
Techniques for Effective Lighting
Once you have the equipment, knowing how to set them up correctly is crucial. Here are some techniques to get the best results:
1. Three-Point Lighting: This is a standard method involving three types of lights: key light, fill light, and backlight. The key light illuminates the subject, the fill light softens the shadows created by the key light, and the backlight adds depth by creating a rim of light around the subject.
2. Rembrandt Lighting: Named after the painter Rembrandt, this technique involves placing the key light at a high angle to create a triangle of light under one eye of the subject. It's popular for its dramatic effect and is often used in portraits.
3. High-Key Lighting: Creates a bright and cheerful look by using multiple light sources to eliminate shadows. It's ideal for comedies, advertisements, and any video that requires an upbeat mood.
4. Low-Key Lighting: Involves minimal lighting to create high contrast and deep shadows. It's often used in dramas, thrillers, and horror films to create a moody, atmospheric feel.
5. Natural Lighting Enhancement: If you're relying on natural light, make sure to shoot during the golden hours—just after sunrise or just before sunset—when the light is soft and flattering. Use reflectors to bounce natural light onto your subject and fill in shadows.
Common Mistakes to Avoid
To ensure your lighting setup is professional, avoid the following common pitfalls:
1. Ignoring Background Lighting: A well-lit subject with a poorly lit background looks unbalanced. Use additional lights to enhance the background and add depth to the scene.
2. Inconsistent Color Temperature: Mixing different light sources can result in a jarring look. Ensure all your lights have a consistent color temperature to maintain a cohesive look.
3. Flat Lighting: Avoid placing lights directly in front of your subject, as this can make the image look flat and uninteresting. Use angled light to create depth and dimension.
4. Overexposure and Underexposure: Always check the exposure levels to ensure that your subject is neither too bright (overexposed) nor too dark (underexposed). Use the camera's histogram or a light meter to monitor exposure.
Practical Tips for Specific Scenarios
Different kinds of video content require different lighting setups. Here are some tips for specific scenarios:
1. Interviews and Talking Head Videos: Use soft lighting to ensure the subject looks natural and inviting. A three-point lighting setup works well in this context.
2. Product Reviews: Highlight the product by using directional lighting. Softboxes and reflectors can help in reducing harsh shadows on the product for a clean look.
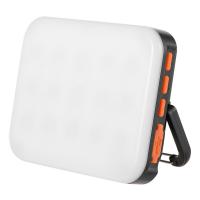
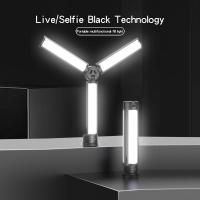
3. Outdoor Filming: Utilize natural light to your advantage. Time your shoots during golden hours and use reflectors to fill in shadows. Carry portable LED lights for additional lighting if necessary.
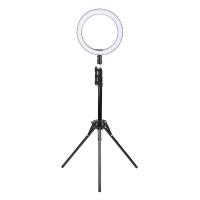
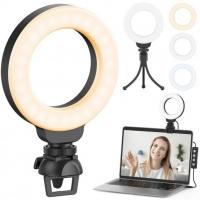
4. Live Streaming: Ensure even lighting across your setup. Softbox lights can help eliminate harsh shadows, and a ring light can be particularly effective for illuminating your face evenly.
Achieving good lighting for your video requires careful planning, the right equipment, and an understanding of basic lighting principles. By mastering these elements, you can significantly enhance the quality of your videos, making them more professional and visually appealing. Remember that good lighting not only improves the visual quality but also enhances the storytelling by setting the mood and focusing attention where it's needed. Make sure to practice different setups and continuously experiment to find the best lighting arrangements that work for your specific needs.













There are no comments for this blog.