How To Insert Micro Sd Card Into Pc?
When dealing with the task of inserting a micro SD card into a PC, users often encounter a variety of questions and concerns. In this article, we will delve into the specifics of this seemingly simple yet sometimes perplexing procedure. By the end, you’ll have a clear understanding of the steps required and the potential issues you might face, ensuring that your experience is both seamless and efficient.
Understanding Micro SD Cards and Their Adapters

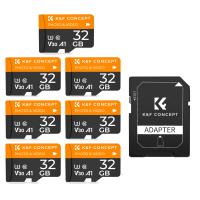
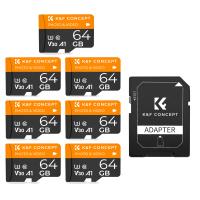
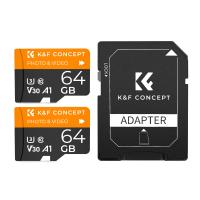
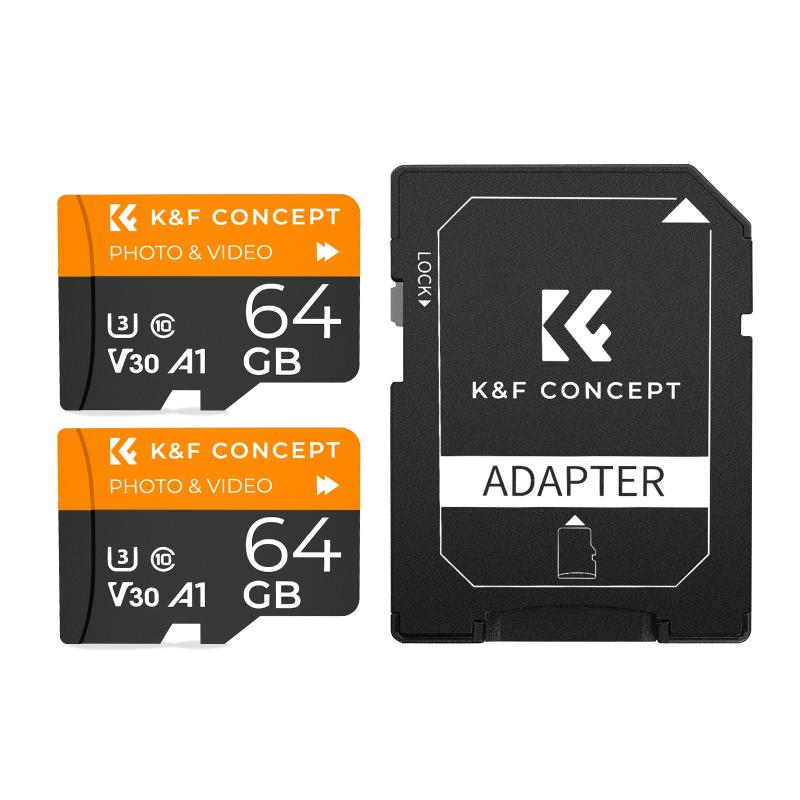
Micro SD cards are diminutive in size but incredibly versatile, often used in devices like smartphones, cameras, and tablets for additional storage space. One common challenge arises when you need to access the contents of a micro SD card on a PC which does not have a direct micro SD slot. Typically, this process involves the use of a micro SD adapter, often included with the card during purchase.
Step-by-Step Guide to Insert a Micro SD Card into a PC
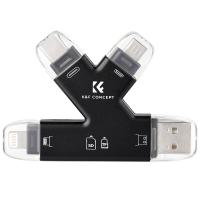
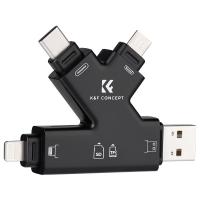
Firstly, it's crucial to identify whether your PC has a built-in SD card reader. This can usually be found alongside other peripheral inputs such as USB ports. If your PC doesn’t possess one, you will need an external card reader, often connected via USB.
1. Preparation: Gathering Necessary Equipment
- Micro SD card: Ensure it’s free from dust and debris to avoid damaging the card or reader.
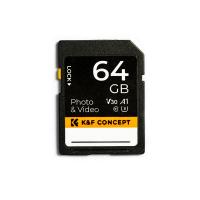
- Micro SD adapter (if required): This is essential for converting the micro SD card to a standard SD card size.
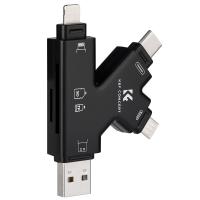
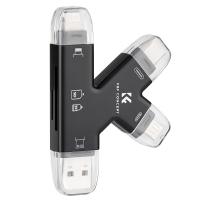
- External card reader (if the PC lacks a built-in reader): These are affordable and widely available in electronics stores or online.
2. Inserting the Micro SD Card Into the Adapter
- Insert the micro SD card into the corresponding slot on the adapter. The card usually has a clear indication of which side should face up – ensure you align it correctly to avoid damage.
3. Inserting the Adapter into the Card Reader
- For Built-in Readers:
- Locate the SD card slot on your PC.
- Gently slide the adapter into the slot. You should feel slight resistance as the card engages with the reader.
- Ensure the adapter is fully inserted but avoid force; forcing the card could damage both the adapter and the reader.
- For External Readers:
- Connect the reader to an available USB port.
- Insert the adapter with the micro SD card into the external reader.
- The computer should recognize the reader and the card within a few moments.
Troubleshooting Common Issues

- Card Not Recognized by PC:
- Driver Issues: Ensure that the drivers for the card reader are installed and up to date. This can usually be managed through the Device Manager on Windows PCs or the System Preferences on macOS.
- Improper Connection: Verify that the card and adapter are properly connected. Remove and re-insert the card to ensure a solid connection.
- Card Reader Not Detected:
- USB Port Problems: Try a different USB port if using an external card reader. Sometimes, certain ports may have issues or be less reliable.
- Faulty Reader: Test the external reader on another device to rule out the possibility of a malfunctioning reader.
- Data Corruption Issues:
- Backup Data: Before inserting the card into any device, it's wise to back up the data. This can prevent data loss in the event the card gets corrupted.
- Use Reliable Software: Utilize reliable disk management and file recovery software if you encounter data corruption.
- Compatibility Issues:
- File System Limitations: Ensure the file system of the micro SD card is compatible with your operating system. For example, macOS might have trouble with NTFS-formatted drives without additional software.
- Card Size Limitations: Older computers or readers may have limitations regarding the size of SD cards they can recognize. Check the manufacturer specifications.
Formatting Micro SD Cards

There may come a time when you need to format the micro SD card. Perhaps you're preparing it for first-time use or clearing out old data. Here’s a brief guide on formatting your card safely.
- Windows:
- Open File Explorer.
- Right-click the micro SD card in the list of drives and select Format.
- Choose the desired file system (commonly exFAT for SD cards over 32GB).
- Click Start and wait for the process to complete.
- macOS:
- Open Disk Utility.
- Select the micro SD card from the sidebar.
- Click Erase, choose the file system, and then click Erase again to confirm.
Best Practices and Safety Tips
- Safely Eject: Always use the 'Safely Remove Hardware' option on Windows or 'Eject' option on macOS before physically removing the card. This prevents data corruption.
- Regular Backups: Regularly back up data to ensure you don’t lose important files in case of card failure.
- Avoid Physical Damage: Handle the micro SD cards carefully to prevent bends, scratches, and exposure to static electricity or moisture.
Inserting a micro SD card into a PC doesn't have to be a daunting task. By following the steps outlined, gathering the necessary equipment, and handling the card with care, you can easily access and manage your card's contents. Remember, troubleshooting is part of the process, so be patient and methodical. This straightforward guide should equip you with the knowledge and confidence to manage your micro SD cards efficiently, ensure data integrity, and maximize your PC's storage capabilities.


