How To Insert Micro Sd Card Switch?
The process of inserting a microSD card into a Nintendo Switch is a common question among console users. Gaming enthusiasts often seek ways to expand their storage capacity to accommodate a growing library of games. To address this need, we will provide a detailed guide that not only explains the procedures but also ensures that the process is carried out safely and correctly. By following these steps, you can avoid potential issues and fully enjoy the extended storage capacity.
---
Comprehensive Guide to Inserting a MicroSD Card into a Nintendo Switch

Nintendo Switch is celebrated for its versatility and portability, making it a favorite among gamers. However, one of the significant limitations is its internal storage capacity, which can quickly fill up with game downloads, screenshots, and other digital content. Fortunately, the Switch allows users to expand storage via microSD cards. This guide provides a step-by-step process to correctly insert a microSD card into your Nintendo Switch.
Step-by-Step Guide

Step 1: Selecting the Right MicroSD Card

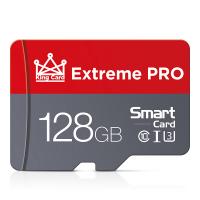
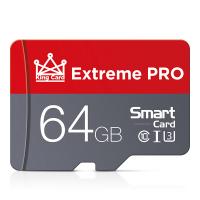
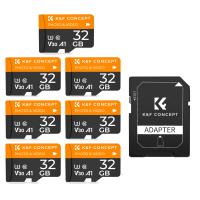
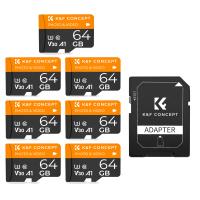
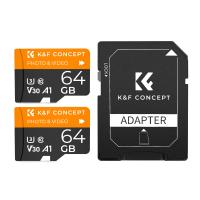
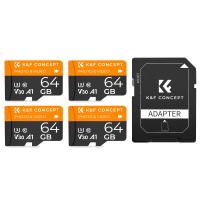
First and foremost, ensure you have a compatible microSD card. The Nintendo Switch supports microSD, microSDHC, and microSDXC cards.
- MicroSD: Up to 2GB capacity.
- MicroSDHC: 4GB to 32GB capacity.
- MicroSDXC: 64GB and above, with the current maximum supported capacity being 2TB.
For optimal performance, it's recommended to use a microSDXC card with a high read speed. Look for cards labeled with UHS-I speed class (U3).
Step 2: Power Down the Switch

The importance of this step cannot be overstated. Always power down the Nintendo Switch before inserting or removing a microSD card to avoid data corruption or hardware damage.
To power down:
1. Hold the power button located on the top left edge of the console.
2. Navigate to the Power Options menu.
3. Select “Turn Off” to completely shut down the device.
Step 3: Locate the MicroSD Card Slot
Once the Switch is powered off, locate the microSD card slot:
1. Turn the console over to the back.
2. You will find a small rectangular flap located underneath the kickstand.
Open the kickstand gently to reveal the slot where the microSD card will be inserted.
Step 4: Insert the MicroSD Card
Insert the microSD card gently into the slot with the label side facing down (toward the back of the console). Push it in until you hear or feel a slight click, which signals the card is securely in place.
Avoid forcing the card into the slot, as this can damage the card or the console's internal components.
Step 5: Close the Kickstand and Power On the Console
After ensuring the microSD card is correctly seated, close the kickstand. Proceed to power on the Nintendo Switch by pressing the power button.
When the console powers up, it should automatically recognize the inserted microSD card. If it’s a brand new card, the system may prompt you to format it. Follow the on-screen instructions to complete the formatting process.
Troubleshooting Common Issues
Despite following the steps meticulously, users occasionally encounter issues. Here's how to troubleshoot some common problems:
Problem: The Switch Doesn’t Recognize the MicroSD Card
If your Switch doesn’t recognize the microSD card:
- Verify the card compatibility: Ensure the microSD card meets the Switch specifications.
- Reinsert the card: Power down the console, remove the card, and reinsert it carefully.
- Format the card: Sometimes formatting the card on a computer to FAT32 or exFAT file system can resolve the issue.
Problem: Error Messages
If you receive error messages:
- Check for system updates: Make sure your Nintendo Switch firmware is up to date.
- Test the card on another device: Insert the microSD card into another device, like a computer, to see if it functions correctly. This helps isolate if the issue is with the card or the Switch.
Problem: Data Corruption
In cases of data corruption:
- Always back up data regularly to avoid losing information.
- Use trusted brands that have a lower risk of corruption and offer warranties.
By following these carefully outlined steps, you can seamlessly expand the storage capacity of your Nintendo Switch. The convenience of having additional storage means you can download and play more of your favorite games without worrying about running out of space.
Remember, handling electronic devices with care and following the recommended guidelines ensures longevity and optimal performance. Enjoy your enhanced gaming experience on your Nintendo Switch with your newly added microSD card.
Feel free to reach out with any further queries or feedback about this process. Happy gaming!


