How To Insert Sd Card Into Macbook Air?
The MacBook Air, a flagship device in Apple’s lightweight and portable laptop lineup, has become a go-to for students, professionals, and casual users alike. However, one limitation for some is the absence of a dedicated SD card slot on newer models. This poses a challenge for users who need to transfer photos, videos, or other files from their SD card to their MacBook Air. If you’re wondering how to efficiently and safely insert an SD card into a MacBook Air and manage its data, this article is here to guide you.
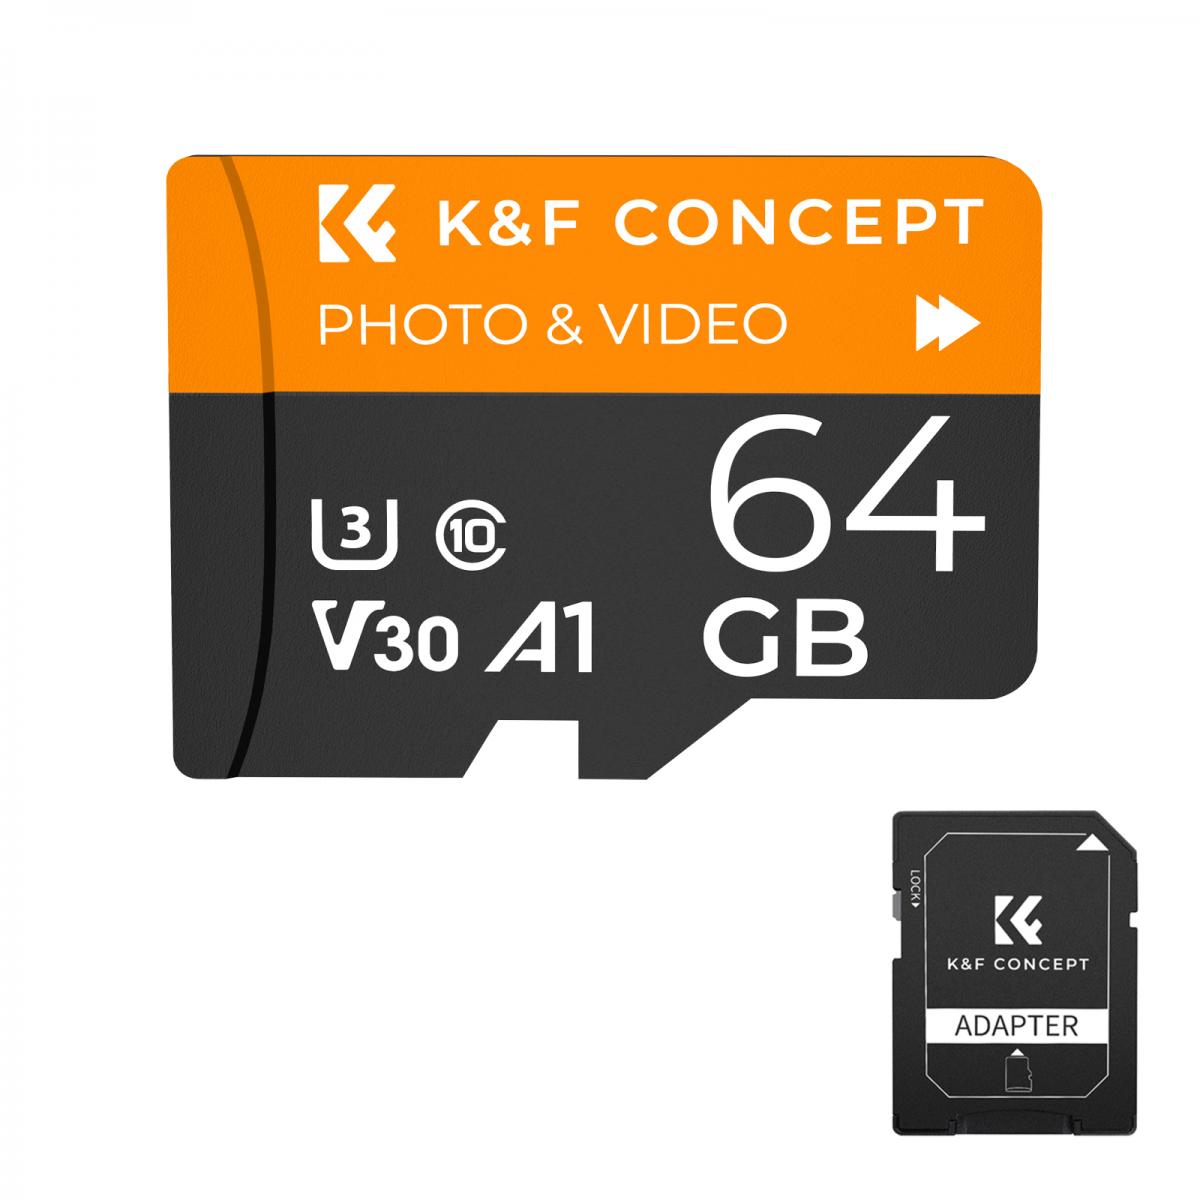
Understanding the MacBook Air’s SD Card Compatibility
The SD card insertion process varies depending on the MacBook Air model. Older models (pre-2018) often came with an SD card slot, making it easy to directly insert the card. However, newer models, including those with M1 and M2 chips, have foregone the SD card slot for a more streamlined design, requiring an adapter or dock for SD card use.
Let’s walk through the detailed process, catering to different scenarios based on your MacBook Air model and setup.
---
Step 1: Determine Your MacBook Air Model
First, identify your MacBook Air model to know whether it has a built-in SD card slot or if you’ll need an external device. To do this:
1. Click on the Apple menu in the top-left corner of your screen.
2. Select “About This Mac.”
3. Note the year and specifications of your MacBook Air.
If your model is from 2017 or earlier, it likely has an SD card slot. If it’s from 2018 or later, you’ll need an external adapter.
---
Step 2: Gather the Necessary Tools
Depending on your MacBook Air’s design, here’s what you’ll need:
1. For Models with Built-In SD Card Slots:
- The SD card (ensure it’s compatible—standard SD, SDHC, or SDXC).
2. For Models Without SD Card Slots:
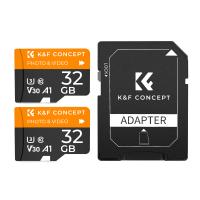
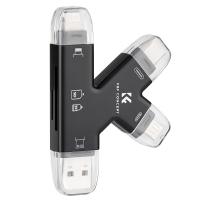
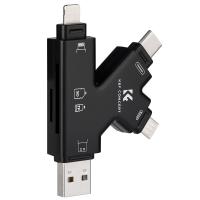
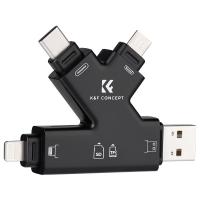
- A USB-C to SD card adapter or a multi-port hub with an SD card slot.
- Ensure the adapter supports the format of your SD card. Some adapters might only read standard SD cards and not SDHC/SDXC cards, which are more commonly used in cameras and smartphones.
---
Step 3: Insert the SD Card
For MacBook Air Models with an SD Card Slot
1. Locate the SD card slot on the right-hand side of your MacBook Air.
2. Insert the SD card with the metal contacts facing down and the label facing up.
3. Push it gently until it clicks into place.
The SD card should now appear on your desktop or in the Finder sidebar under "Devices." If it doesn’t, ensure it’s seated properly and check for any compatibility issues.
For MacBook Air Models Without an SD Card Slot
1. Connect your USB-C adapter or multi-port hub to one of the MacBook Air’s USB-C ports.
2. Insert the SD card into the adapter or hub.
3. Once connected, the SD card should appear on your desktop or Finder sidebar.
If the SD card doesn’t show up:
- Ensure the adapter is properly connected.
- Verify the SD card is functioning correctly by testing it on another device.
---
Step 4: Manage Files on the SD Card
Once your SD card is recognized by the MacBook Air, you can manage your files as you would with any external storage device. Here are a few tips:
1. Accessing Files:
- Open Finder and click on the SD card under "Devices."
- You can view, copy, move, or delete files as needed.
2. Copying Files to Your MacBook Air:
- Drag and drop files from the SD card to a folder on your MacBook Air.
- Alternatively, right-click on a file or folder and select "Copy," then paste it into your desired location.
3. Transferring Photos to the Photos App:
- Open the Photos app.
- Select "Import" in the top-right corner.
- Choose the photos you want to import from the SD card.
4. Ejecting the SD Card:
- Before physically removing the SD card, always eject it properly to avoid data corruption. Right-click on the SD card icon and select "Eject," or drag the icon to the Trash.
---
Step 5: Troubleshooting Common Issues
Sometimes, the process doesn’t go as smoothly as planned. Here’s how to resolve common issues:
1. SD Card Not Showing Up:
- Ensure the card is inserted correctly.
- Check if the adapter or hub is securely connected.
- Test the SD card on another device to confirm it’s functional.
2. Corrupted or Unreadable SD Card:
- Use macOS’s Disk Utility to check for and repair disk errors:
1. Open Disk Utility (search for it using Spotlight).
2. Select the SD card in the sidebar.
3. Click "First Aid" and follow the prompts.
3. Adapter Compatibility Issues:
- Ensure the adapter supports macOS and is compatible with your SD card type.
- Update macOS to the latest version to ensure compatibility with external devices.
4. Slow Transfer Speeds:
- Check if the SD card’s speed matches the adapter’s specifications.
- Avoid using hubs with multiple devices connected simultaneously, as this can throttle bandwidth.
---
Choosing the Right Accessories
If your MacBook Air doesn’t have an SD card slot, selecting the right adapter is crucial. Consider the following factors:
1. Compatibility: Look for USB-C adapters specifically designed for macOS.
2. Port Availability: Some adapters come with additional USB, HDMI, or Ethernet ports, offering greater versatility.
3. Build Quality: Durable adapters with reinforced cables are less likely to fail.
4. Brand Reputation: Opt for trusted brands like Anker, Belkin, or Apple’s official adapters for reliability.
---
Maximizing Efficiency with SD Cards
If you frequently use SD cards with your MacBook Air, here are some tips to streamline the process:
1. Create a Dedicated Folder: Designate a folder on your MacBook Air for SD card transfers. This simplifies organization and backup processes.
2. Backup Regularly: SD cards are prone to wear and tear. Regularly backup your data to iCloud or an external drive.
3. Label Your Cards: If you use multiple SD cards, labeling them can help you quickly identify their contents.
4. Invest in High-Quality SD Cards: Low-quality cards are more likely to fail. Choose cards from reputable brands like SanDisk, Lexar, or Samsung.
---
Conclusion
Using an SD card with your MacBook Air is straightforward, whether your model has a built-in slot or requires an adapter. By following the steps outlined above, you can ensure a smooth and efficient file transfer process. Understanding your device’s capabilities and selecting the right tools are key to maximizing productivity and safeguarding your data.
Whether you’re a photographer transferring photos, a student moving projects, or a professional handling large files, this guide equips you with the knowledge to use SD cards seamlessly with your MacBook Air. Happy transferring!














There are no comments for this blog.