How To Install Cameras On House?
Installing security cameras on your house is a practical and effective way to enhance the safety and security of your home. Whether you are looking to deter potential intruders, monitor activities around your property, or simply have peace of mind, a well-installed camera system can be a valuable addition. This article will guide you through the process of installing cameras on your house, covering everything from planning and selecting the right equipment to the actual installation and setup.
Planning Your Camera System
Before you start drilling holes and mounting cameras, it's crucial to plan your camera system carefully. Here are the key steps to consider:
1. Assess Your Security Needs
Determine the primary purpose of your security cameras. Are you looking to monitor entry points, such as doors and windows, or do you want to cover the entire perimeter of your property? Identifying your security needs will help you decide the number and type of cameras required.
2. Choose the Right Camera Types
There are various types of security cameras available, each with its own set of features. Some common types include:
- Bullet Cameras: These are long and cylindrical, ideal for outdoor use. They are typically weatherproof and can cover long distances.
- Dome Cameras: These are dome-shaped and often used indoors. They offer a wide field of view and are less obtrusive.
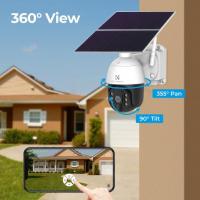
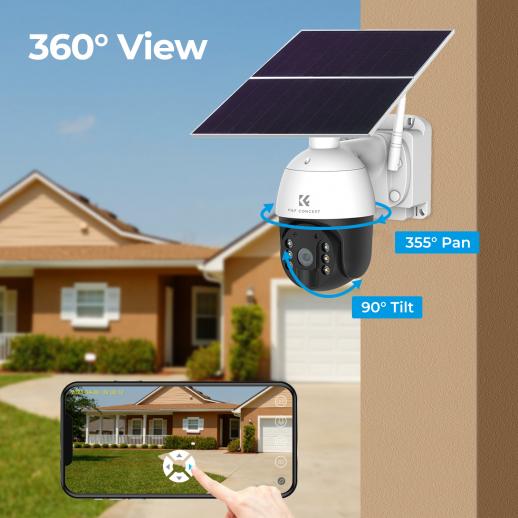
- PTZ Cameras: Pan-Tilt-Zoom cameras can be remotely controlled to pan, tilt, and zoom, providing flexible coverage.
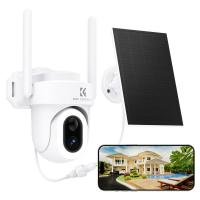
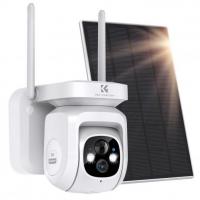
- Wireless Cameras: These cameras connect to your Wi-Fi network, making installation easier without the need for extensive wiring.
3. Determine Camera Placement
Strategically placing your cameras is essential for optimal coverage. Consider the following locations:
- Entry Points: Place cameras at all main entry points, including front and back doors, garage doors, and windows.
- Perimeter: Install cameras around the perimeter of your property to monitor any suspicious activity.
- High Traffic Areas: Cover areas with high foot traffic, such as driveways, walkways, and common areas.
4. Plan for Power and Connectivity
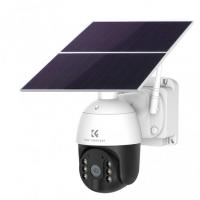
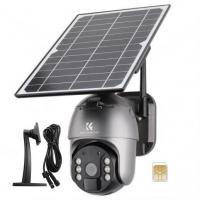
Decide how you will power your cameras. Options include wired (using electrical outlets), battery-powered, or solar-powered cameras. Additionally, ensure that your cameras can connect to your home network, either through Wi-Fi or Ethernet cables.
Selecting the Right Equipment
Once you have a clear plan, it's time to select the right equipment for your security camera system. Here are some factors to consider:
1. Resolution and Image Quality
Higher resolution cameras provide clearer and more detailed images. Look for cameras with at least 1080p resolution for good image quality. For even better clarity, consider 4K cameras.
2. Night Vision
Ensure your cameras have night vision capabilities to monitor your property effectively in low-light conditions. Infrared (IR) LEDs are commonly used for night vision.
3. Field of View
The field of view determines how much area a camera can cover. Wide-angle lenses provide broader coverage, reducing the number of cameras needed.
4. Storage Options
Decide how you will store the footage. Options include:
- Local Storage: Using a DVR (Digital Video Recorder) or NVR (Network Video Recorder) to store footage on a hard drive.
- Cloud Storage: Storing footage on a cloud server, which can be accessed remotely.
5. Motion Detection and Alerts
Look for cameras with motion detection capabilities. These cameras can send alerts to your smartphone or email when motion is detected, allowing you to respond promptly.
Installation Process
With your equipment ready, follow these steps to install your security cameras:
1. Gather Tools and Materials
Before you start, gather the necessary tools and materials, including:
- Drill and drill bits
- Screws and anchors
- Screwdriver
- Ladder
- Ethernet cables (if using wired cameras)
- Power cables or batteries
2. Mount the Cameras
Follow these steps to mount your cameras:
- Mark the Mounting Points: Use a pencil to mark the spots where you will mount the cameras.
- Drill Holes: Drill holes at the marked points for screws and anchors.
- Install Anchors: Insert anchors into the drilled holes to provide a secure base for the screws.
- Attach the Mounting Bracket: Secure the mounting bracket to the wall using screws.
- Mount the Camera: Attach the camera to the mounting bracket and adjust its angle for optimal coverage.
3. Run Cables (if applicable)
If you are using wired cameras, you will need to run Ethernet or power cables to each camera. Follow these steps:
- Plan the Cable Route: Determine the best route for running cables from the cameras to the recording device or power source.
- Drill Holes for Cables: Drill holes through walls or ceilings as needed to run the cables.
- Run the Cables: Feed the cables through the drilled holes and secure them along the route using cable clips or ties.
- Connect the Cables: Connect the Ethernet or power cables to the cameras and the recording device or power source.
4. Connect to the Network
For wireless cameras, follow these steps to connect them to your home network:
- Power On the Cameras: Insert batteries or plug in the power cables to turn on the cameras.
- Connect to Wi-Fi: Use the camera's app or web interface to connect the cameras to your Wi-Fi network. Follow the manufacturer's instructions for this process.
- Test the Connection: Ensure that each camera is connected to the network and can be accessed remotely.
5. Configure the System
Once all cameras are installed and connected, configure the system settings:
- Set Up Recording: Configure the recording settings, such as continuous recording, motion-triggered recording, or scheduled recording.
- Adjust Camera Settings: Fine-tune the camera settings, including resolution, frame rate, and field of view.
- Set Up Alerts: Enable motion detection and set up alerts to receive notifications when motion is detected.
Testing and Maintenance
After installation, it's essential to test your camera system to ensure everything is working correctly. Here are some steps to follow:
1. Test Each Camera
Check the live feed from each camera to ensure it provides a clear and stable image. Adjust the camera angles if necessary.
2. Test Motion Detection
Trigger the motion detection feature by walking in front of each camera. Verify that you receive alerts and that the camera records the motion events.
3. Check Night Vision
Test the night vision capabilities by viewing the camera feed in low-light conditions. Ensure that the cameras provide clear images in the dark.
4. Regular Maintenance
Perform regular maintenance to keep your camera system in good working condition:
- Clean the Lenses: Wipe the camera lenses regularly to remove dust and debris.
- Check Connections: Ensure that all cables and connections are secure and free from damage.
- Update Firmware: Keep the camera firmware up to date to benefit from the latest features and security patches.
Installing security cameras on your house is a worthwhile investment in the safety and security of your home. By carefully planning your camera system, selecting the right equipment, and following the installation steps, you can create a robust surveillance system that meets your needs. Regular testing and maintenance will ensure that your cameras continue to provide reliable protection for years to come. With the right approach, you can enjoy peace of mind knowing that your home is well-protected.


