How To Install Car Video Recorder?
Installing a car video recorder, commonly known as a dash cam, can be a valuable addition to your vehicle for various reasons, including recording evidence in case of accidents, monitoring driving habits, and even capturing scenic drives. This article will guide you through the process of installing a car video recorder, ensuring that you can do it efficiently and correctly.
Why Install a Car Video Recorder?
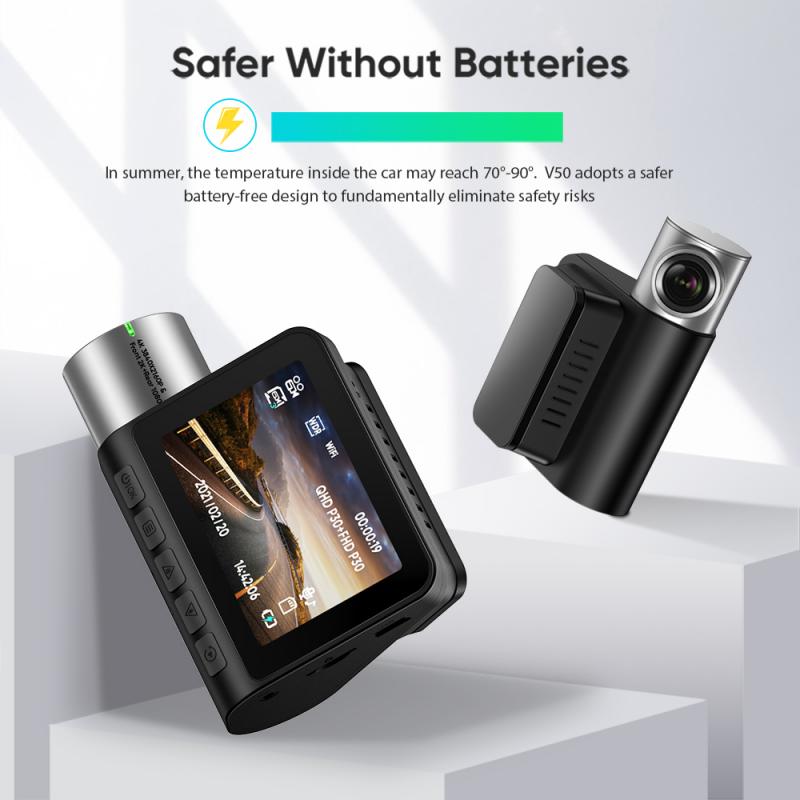
Before diving into the installation process, it's essential to understand why you might want to install a dash cam in the first place. Here are some key benefits:
1. Accident Evidence: In the unfortunate event of an accident, a dash cam can provide crucial evidence to determine fault.
2. Insurance Claims: Video footage can expedite the insurance claim process and protect you from fraudulent claims.
3. Monitoring: If you share your car with other drivers, a dash cam can help you monitor their driving habits.
4. Security: Some dash cams offer parking mode, which records any activity around your car when it's parked.
5. Capturing Moments: Record scenic drives or unexpected events on the road.
Choosing the Right Dash Cam
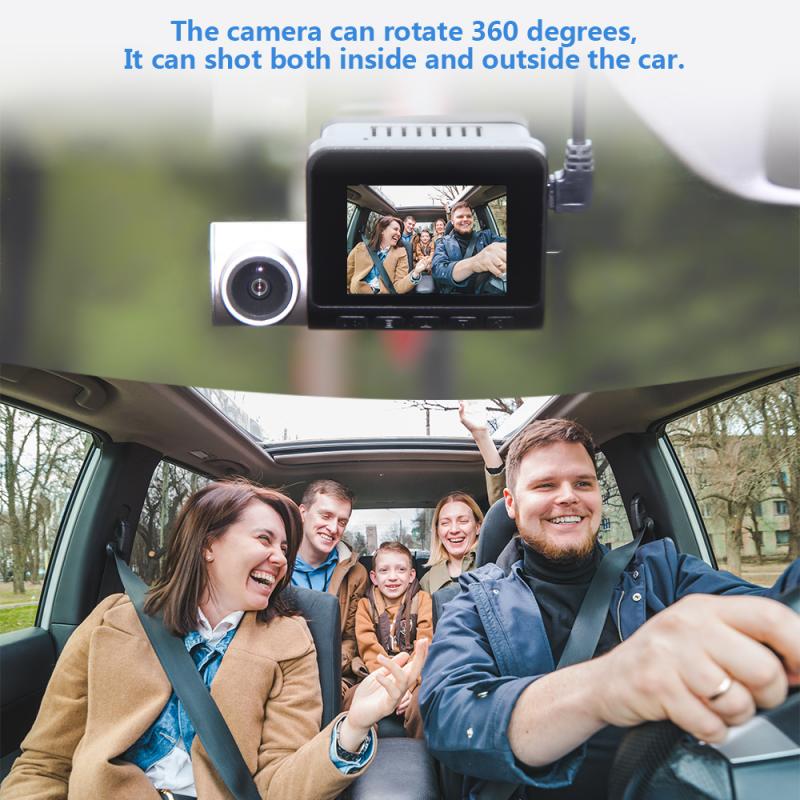
Before you start the installation, you need to choose the right dash cam for your needs. Here are some factors to consider:
1. Video Quality: Look for a dash cam with at least 1080p resolution for clear footage.
2. Field of View: A wider field of view (FOV) will capture more of the road.
3. Night Vision: Ensure the dash cam has good low-light performance.
4. Storage: Check the maximum supported memory card size and whether it supports loop recording.
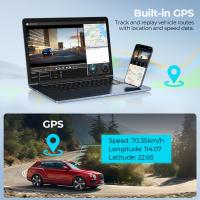
5. Additional Features: Consider features like GPS, Wi-Fi, and parking mode.
Tools and Materials Needed
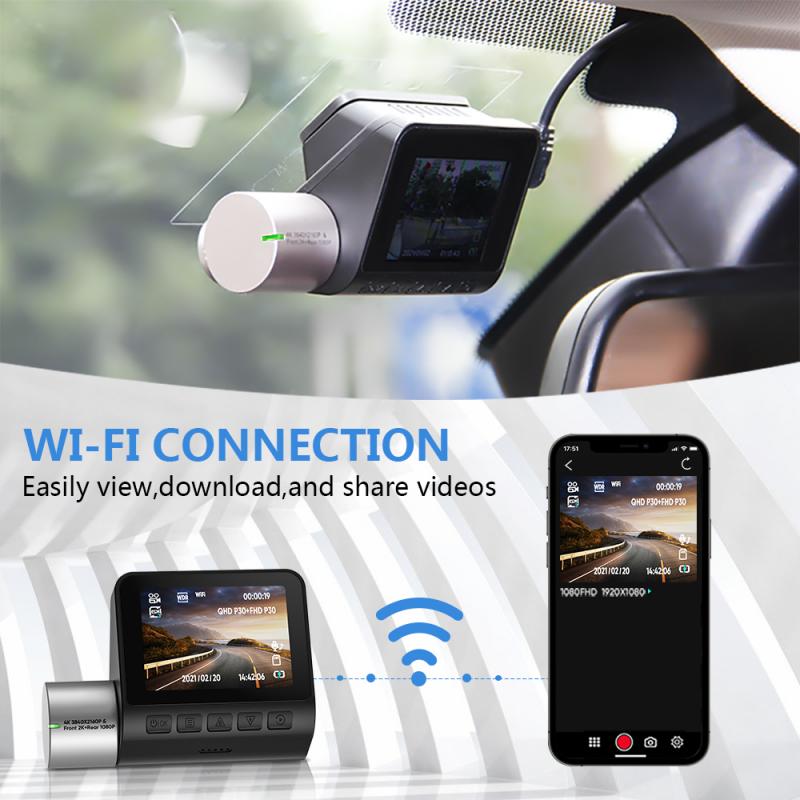
To install a dash cam, you will need the following tools and materials:
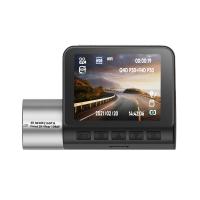
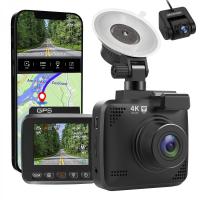
1. Dash Cam: The main device.
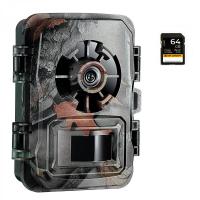
2. Memory Card: For storing video footage.
3. Power Cable: Usually provided with the dash cam.
4. Mounting Kit: Suction cup or adhesive mount.
5. Trim Removal Tool: For hiding cables.
6. Cable Clips: To secure the power cable.
7. Fuse Tap Kit: If you plan to hardwire the dash cam.
Step-by-Step Installation Guide

1. Plan the Installation
Before you start, plan where you want to place the dash cam. The ideal location is usually behind the rearview mirror, where it won't obstruct your view but will still capture a clear view of the road.
2. Mount the Dash Cam
- Clean the Windshield: Use a glass cleaner to clean the area where you will mount the dash cam.
- Attach the Mount: Depending on your dash cam, attach the suction cup or adhesive mount to the windshield.
- Position the Dash Cam: Attach the dash cam to the mount and adjust its position to ensure it captures the desired view.
3. Insert the Memory Card
Insert the memory card into the dash cam. Make sure it is properly formatted according to the dash cam's requirements.
4. Connect the Power Cable
- Cigarette Lighter Adapter: The simplest method is to plug the power cable into the car's cigarette lighter socket. Route the cable along the edge of the windshield, down the A-pillar, and under the dashboard to keep it tidy.
- Hardwiring: For a cleaner installation, you can hardwire the dash cam to your car's fuse box. This method also allows the dash cam to operate in parking mode.
5. Hide the Cables
Use a trim removal tool to tuck the power cable into the headliner, down the A-pillar, and under the dashboard. Secure the cable with cable clips to prevent it from dangling.
6. Test the Dash Cam
Before finalizing the installation, turn on your car and test the dash cam to ensure it powers on and starts recording. Adjust the camera angle if necessary.
7. Final Adjustments
Once you are satisfied with the dash cam's position and functionality, make any final adjustments to the camera angle and secure any loose cables.
Troubleshooting Common Issues
Even with careful installation, you might encounter some issues. Here are common problems and their solutions:
1. Dash Cam Not Powering On: Check the power connection and ensure the cable is securely plugged in. If hardwired, check the fuse connection.
2. Poor Video Quality: Ensure the lens is clean and the camera settings are correctly configured. Use a high-quality memory card.
3. Unstable Mount: If the mount is not holding, clean the windshield again and reattach the mount. Consider using a different mounting method if the problem persists.
4. Interference with Other Electronics: Ensure the power cable is routed away from other electronic components to avoid interference.
Maintenance Tips
To ensure your dash cam continues to function correctly, follow these maintenance tips:
1. Regularly Check Footage: Periodically review the recorded footage to ensure the dash cam is working correctly.
2. Update Firmware: Check for firmware updates from the manufacturer to keep your dash cam up to date.
3. Clean the Lens: Keep the lens clean for clear video quality.
4. Format Memory Card: Regularly format the memory card to prevent file corruption and ensure optimal performance.
Installing a car video recorder is a straightforward process that can provide significant benefits for your driving experience. By following this guide, you can ensure a clean and efficient installation, allowing you to capture important footage and enhance your vehicle's security. Whether you choose a simple plug-and-play model or opt for a more integrated hardwired setup, a dash cam is a valuable investment for any driver.


