How To Light Only The Background In Photography?
Successfully achieving the effect of lighting only the background in photography can greatly enhance the quality and aesthetic appeal of your images. This technique helps to separate your subject from the background, ensures a consistent and professional look, and adds depth to your photos. Whether you are a beginner or an experienced photographer, understanding and implementing this method requires knowledge of certain tools, techniques, and principles. In this article, we will explore various aspects of lighting backgrounds effectively, discuss typical challenges you may face, and provide practical steps to achieve beautiful results.
Importance of Background Lighting
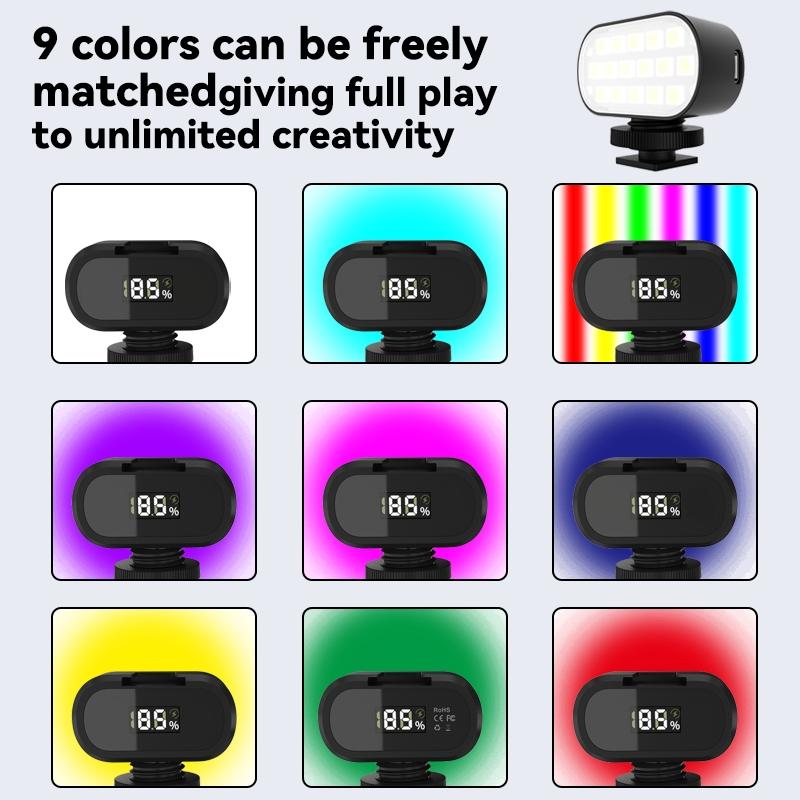
Lighting is a critical component in photography that defines shape, form, and mood. Background lighting specifically highlights the background without affecting the subject, thus ensuring that the subject stands out while the background remains lit appropriately. This technique is often used in portrait, product, and studio photography to create a visually appealing separation between the subject and the background.
Equipment Needed
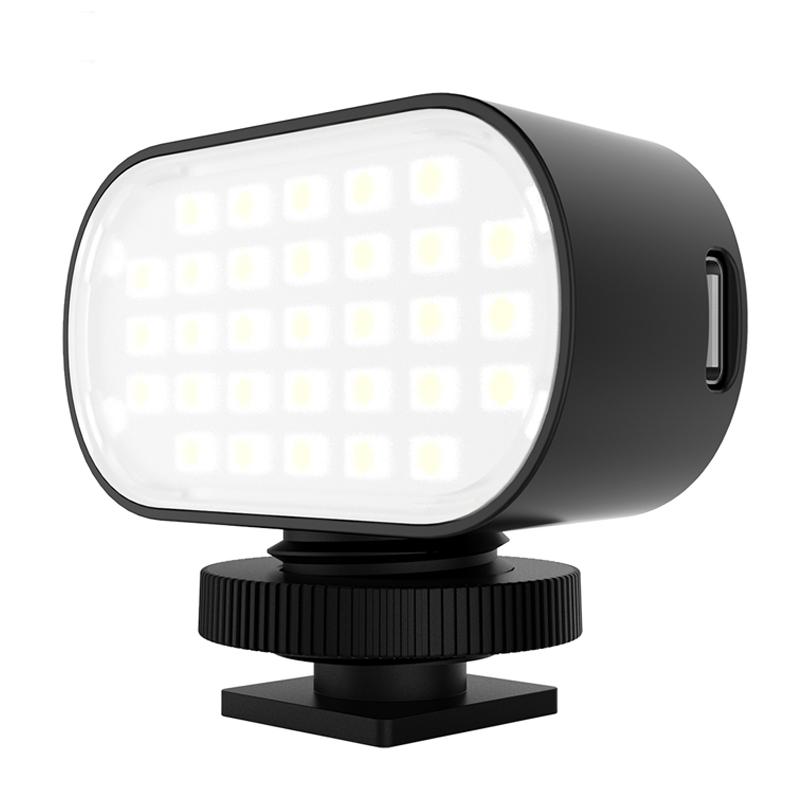
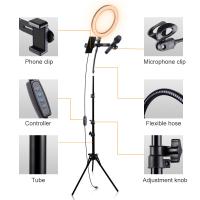
To light only the background effectively, you will need several pieces of equipment:
1. Lights/Flash Units: Strobe lights or continuous lights can be used. Strobe lights are preferred for their power and consistency.
2. Light Stands: Stable platforms to position your lights around the background.
3. Modifiers: Softboxes, umbrellas, or grids to control and direct the light.
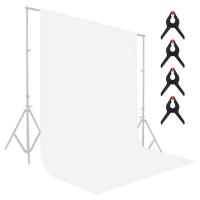
4. Backgrounds: Seamless paper, fabric backdrops, or even painted walls.
5. Gobos/Snoots: Tools to block, shape, or direct light to specific areas.
Step-by-Step Guide to Lighting Only the Background
Step 1: Position Your Background
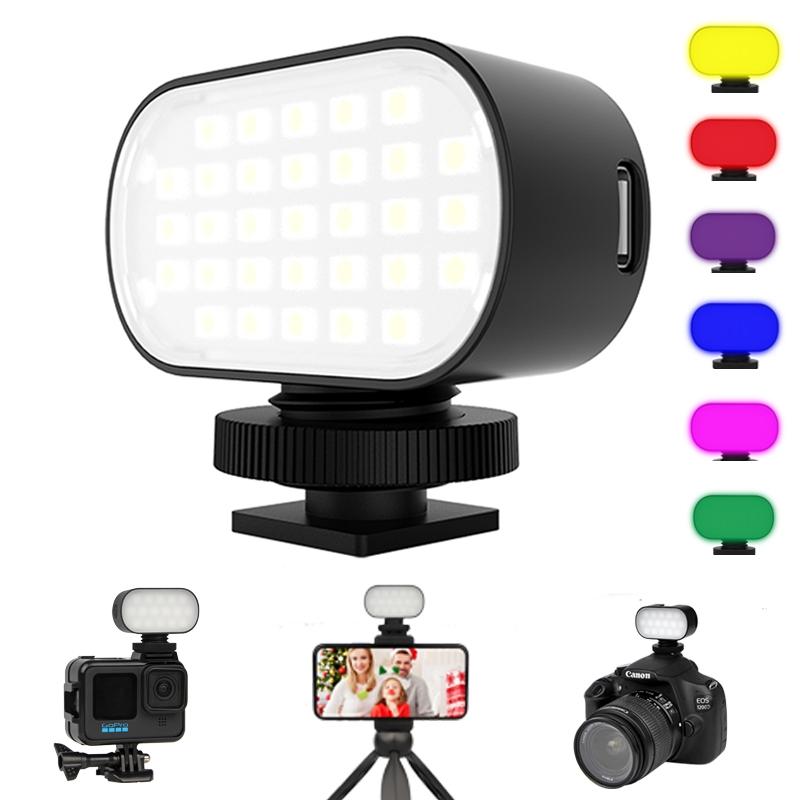
Start by setting up your background. Ensure it is smooth and free from wrinkles or creases if using fabric or paper. The background should cover the entire frame you plan to shoot.
Step 2: Set Up Your Main Light
Position your main light source (key light) to illuminate your subject. This light should focus solely on the subject and not spill over to the background. You can use modifiers like softboxes to soften and direct the light.
Step 3: Add Background Lights
Place one or more lights behind or to the side of the subject, aimed solely at the background. The goal is to illuminate the background without affecting the subject. You might need to use grids or barn doors to control the light spread and prevent it from hitting the subject.
Step 4: Use Gobos or Snoots
To further control the light and prevent it from spilling onto the subject, use gobos (go-betweens) or snoots. These tools help to block or channel light to specific areas, ensuring it only affects the background.
Step 5: Adjust Exposure and Power
Meter your lights to ensure proper exposure. The background light should be evenly distributed and ideally 1-2 stops lower or higher (depending on the effect desired) than the light falling on the subject. Balance the light power and adjust the angle till you achieve an even and controlled lighting on the background.
Common Challenges and Solutions
1. Light Spill: When the light meant for the background spills onto the subject, it can ruin the intended effect. Use barn doors, grids, and snoots to control the spill and keep the background lighting isolated.
2. Uneven Background Lighting: Having patches of too bright or too dark areas on the background. Position lights evenly and at an appropriate distance from the background. Using larger light sources or modifiers can help distribute light more evenly.
3. Shadow Issues: Shadows from the subject falling on the background. Ensure there’s enough distance between the subject and the background to minimize shadow interference. Aim lights from higher angles or use fill lights to reduce harsh shadows.
4. Reflective Surfaces: Dealing with reflective or glossy backgrounds can be tricky as they reflect light. Use polarizing filters or matte backgrounds to reduce reflections.
Creative Applications
1. Color Gels: Use color gels over your background lights to add color to the background, which can create dramatic and interesting visual effects.
2. Patterns and Projections: Using gobos with patterns or projections can create textured and dynamic background lighting, adding a creative flair to your images.
3. Selective Background Lighting: For artistic portraits or product photography, selectively lighting portions of the background can draw attention to specific areas and add depth.
Practical Examples
1. Portrait Photography: For headshots, aim for a clean, well-lit background to keep focus on the subject. Use a hair light to separate the subject from the background further.
2. Product Photography: Light the background brightly for products requiring high-key images. For darker, more moody looks, reduce the background light relative to the product lighting.
3. Event Photography: During events, such as weddings or parties, ensure the background is lit to highlight decorations without overshadowing the primary subjects.
Mastering the technique of lighting only the background in photography can significantly elevate the quality of your work. By isolating the background light, using the correct equipment, and understanding light control, you can produce professional-looking images with great visual depth and distinction. Practice and experimentation will help you refine these techniques, making it easier to achieve the desired outcome in various shooting scenarios. Remember that in photography, control over light is akin to wielding a powerful tool; use it wisely to create beautiful, compelling images.















There are no comments for this blog.