How To Look Through A Telescope?
Looking through a telescope can be an incredibly rewarding experience, whether you're an amateur stargazer or a seasoned astronomer. However, to get the most out of your telescope, it's essential to understand how to use it properly. This article will guide you through the steps of setting up and using a telescope, ensuring you have a clear and enjoyable viewing experience.
Understanding Your Telescope
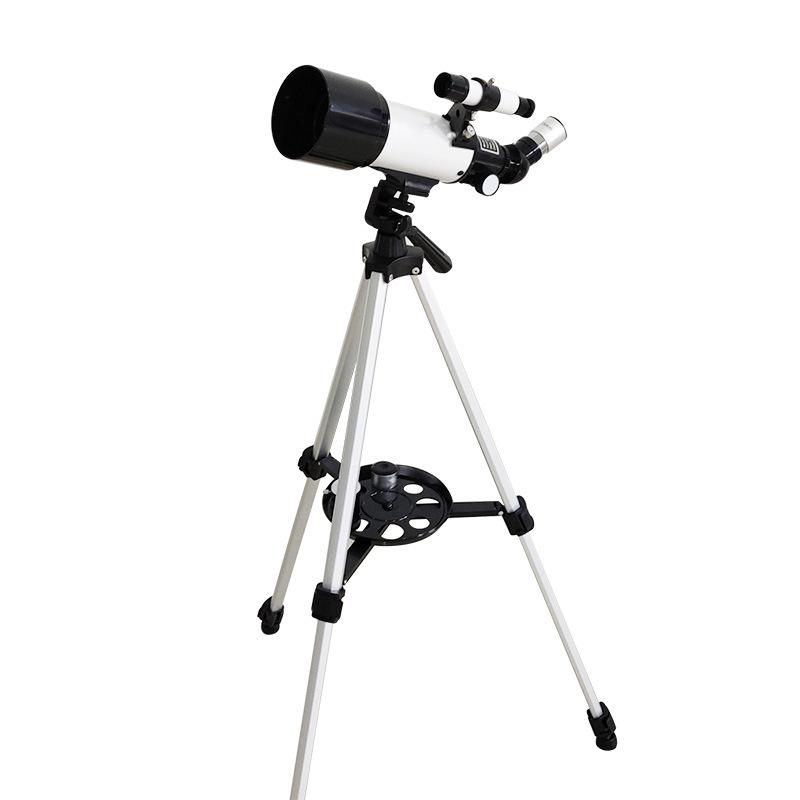
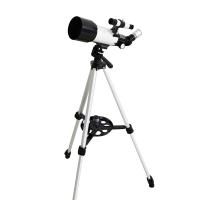
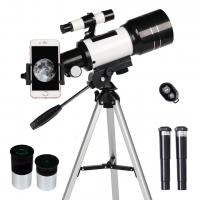
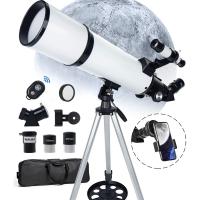
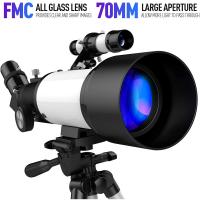
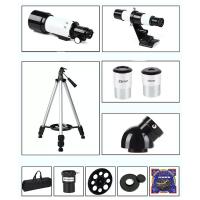
Before diving into the practical steps, it's crucial to understand the basic components of a telescope. Most telescopes consist of the following parts:
1. Optical Tube Assembly (OTA): This is the main body of the telescope, which houses the primary optics.
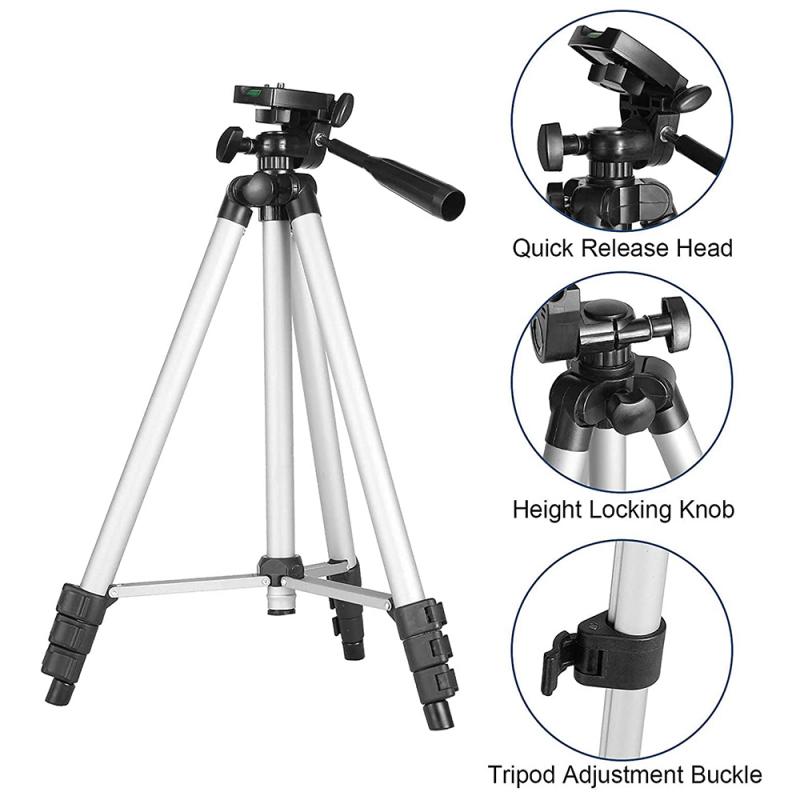
2. Mount: The structure that supports the OTA and allows it to move. There are two main types of mounts: altazimuth and equatorial.
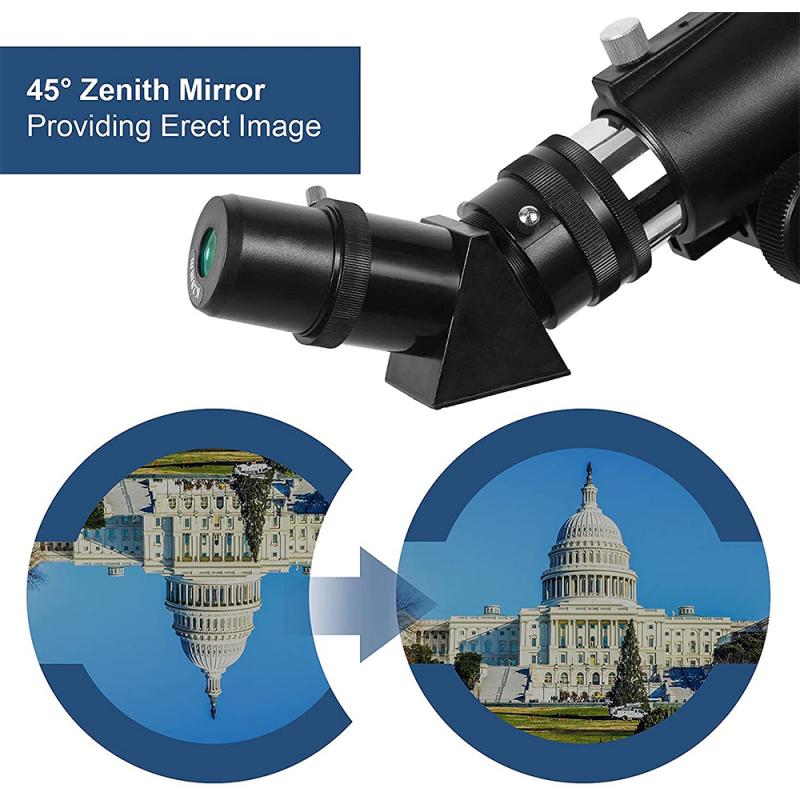
3. Eyepiece: The part you look through, which magnifies the image formed by the telescope's optics.
4. Finder Scope: A small auxiliary telescope mounted on the main telescope to help locate objects.
5. Tripod: The stand that supports the entire setup.
Setting Up Your Telescope
1. Choose the Right Location: Find a stable, flat surface away from city lights. Light pollution can significantly affect your viewing experience. A dark, open area is ideal.
2. Assemble the Telescope: Follow the manufacturer's instructions to assemble your telescope. Ensure all parts are securely attached, especially the mount and tripod.
3. Align the Finder Scope: During the day, point the telescope at a distant object, such as a tree or building. Look through the main eyepiece and center the object. Then, adjust the finder scope so that the same object is centered in its crosshairs. This alignment will make it easier to locate celestial objects at night.
Using the Telescope
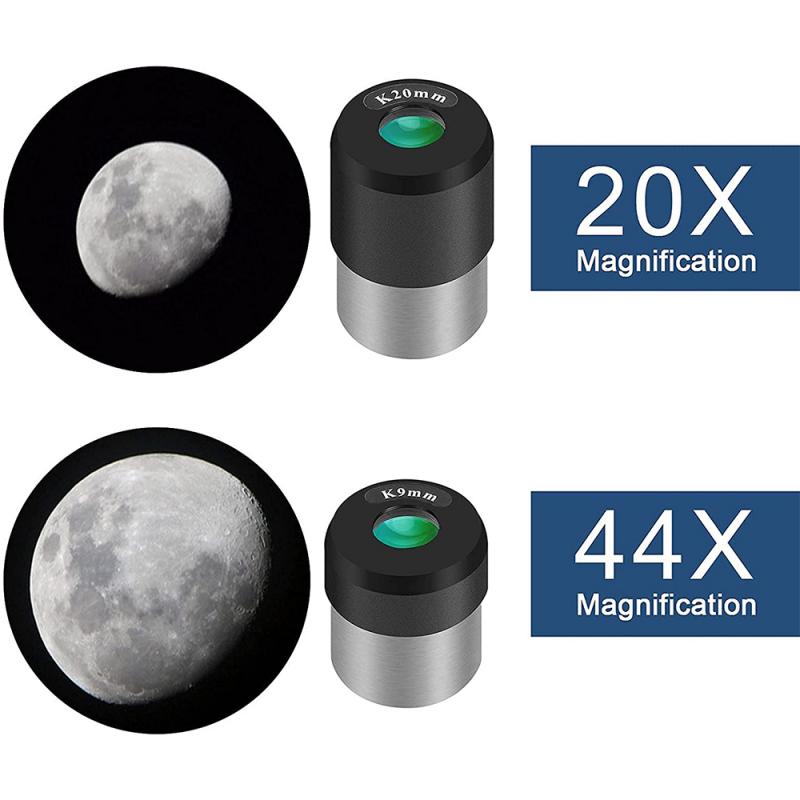
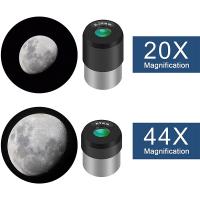
1. Start with Low Magnification: Begin with the lowest magnification eyepiece (the one with the highest number, e.g., 25mm). Low magnification provides a wider field of view, making it easier to locate objects.
2. Locate a Bright Object: Start with an easy-to-find object like the Moon or a bright planet. Use the finder scope to center the object in the main telescope's field of view.
3. Focus the Telescope: Once the object is centered, use the focus knob to bring it into sharp focus. Turn the knob slowly to avoid overshooting the focus point.
4. Increase Magnification: After locating and focusing on the object with a low magnification eyepiece, you can switch to a higher magnification eyepiece (the one with a lower number, e.g., 10mm) for a closer view. Remember, higher magnification can make the image dimmer and more challenging to keep in view due to the Earth's rotation.
Tips for Better Viewing
1. Allow the Telescope to Cool Down: If you bring your telescope from a warm indoor environment to a cooler outdoor setting, give it time to reach the ambient temperature. This process, known as "cooling down," can take 30 minutes to an hour and helps reduce image distortion caused by temperature differences.
2. Use a Star Chart or App: A star chart or a mobile app can help you identify and locate celestial objects. These tools are especially useful for beginners.
3. Avoid Touching the Telescope: Once you have an object in view, avoid touching the telescope. Even slight movements can cause the object to drift out of the field of view.
4. Be Patient: Observing celestial objects requires patience. Atmospheric conditions, such as turbulence, can affect visibility. Wait for moments of steady air, known as "seeing," for the clearest views.
Troubleshooting Common Issues
1. Blurry Images: If the image is blurry, ensure the telescope is properly focused. Check for dew or condensation on the optics and clean them if necessary. Also, ensure the telescope has cooled down to the ambient temperature.
2. Can't Find Objects: If you're having trouble locating objects, double-check the alignment of your finder scope. Make sure you're starting with a low magnification eyepiece and using a star chart or app for guidance.
3. Objects Drift Out of View: This is a common issue due to the Earth's rotation. If you're using an altazimuth mount, you'll need to manually adjust the telescope to keep the object in view. An equatorial mount can help track objects more easily once properly aligned.
Advanced Techniques
1. Polar Alignment (for Equatorial Mounts): For more advanced users with equatorial mounts, polar alignment is essential for accurate tracking. Align the mount's axis with the Earth's rotational axis by pointing it at Polaris, the North Star. This alignment allows the mount to follow celestial objects more precisely.
2. Astrophotography: Capturing images of celestial objects requires additional equipment, such as a camera adapter and a stable mount. Start with short exposure times and gradually increase as you gain experience. Software for stacking multiple images can help produce clearer, more detailed photos.
3. Filters: Using filters can enhance your viewing experience. Moon filters reduce glare, while color filters can bring out details in planets. Light pollution filters can improve visibility in urban areas.
Looking through a telescope is a fascinating journey into the cosmos, offering a glimpse of the universe's wonders. By understanding your telescope, setting it up correctly, and following best practices for viewing, you can maximize your stargazing experience. Remember to be patient and enjoy the process of discovering the night sky. Whether you're observing the craters of the Moon, the rings of Saturn, or distant galaxies, each viewing session is an opportunity to connect with the vastness of space. Happy stargazing!













There are no comments for this blog.