How To Make A Studio Light Box?
Creating a studio light box can be extremely beneficial for photographers, artists, and small business owners who want to capture high-quality images of products, artwork, or other objects. Studio light boxes, also known as light tents, allow you to achieve soft and consistent lighting by diffusing harsh light sources.
Understanding the Basics: What is a Studio Light Box?
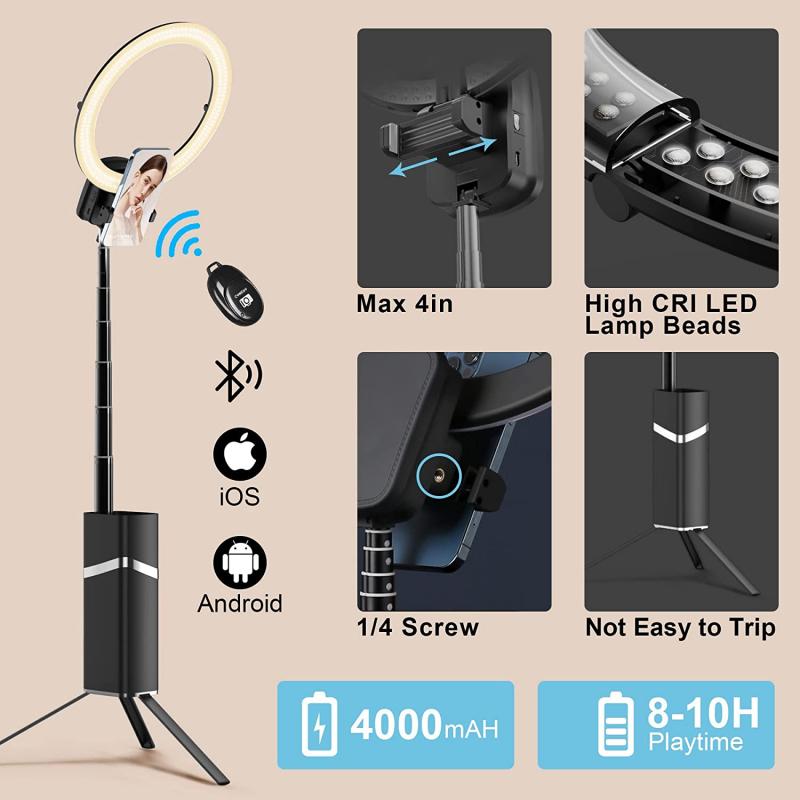
A studio light box typically features a framework covered by a light-diffusing material, often fabric or a translucent material, which surrounds the subject on multiple sides. Lights are usually positioned around the box to create even illumination and minimize shadows. The controlled lighting environment ensures that the subject is lit evenly from all angles, resulting in professional-looking photographs.
Materials You Will Need
Before beginning your project, gather the following materials:
- A cardboard box or PVC pipes for the frame
- White fabric or tissue paper to diffuse light
- White poster board for the background
- Tape, glue, or Velcro to secure materials
- LED lights or desk lamps (daylight-balanced)
- A cutting tool (box cutter or scissors)
- Ruler and pencil for measurements
- Optional: Black fabric for more controlled lighting
Step-by-Step Guide to Making a Studio Light Box
1. Building the Frame
If you’re using a cardboard box:
- Select a box that fits the size of the objects you plan to photograph, leaving ample space around the edges.
- Cut out panels on the top and both sides, leaving a 1-2 inch border.
- Make sure the edges are straight and smooth to avoid any shadows or interruptions in the light diffusion.
If you’re using PVC pipes:
- Cut PVC pipes to form the skeleton of your light box.
- Assemble pieces to form a cube structure using connectors.
2. Adding the Light Diffusing Material
- Measure and cut pieces of white fabric or tissue paper to cover the cut-out sections on your box or to drape around the PVC structure.
- Secure the fabric or tissue paper using tape, glue, or Velcro. Ensure the material is taut and smooth to avoid any wrinkles that would affect light diffusion.
3. Preparing the Background
- Measure the back interior panel of your light box, and cut a piece of white poster board to fit snugly.
- Insert the poster board as the background, creating a seamless curve from the back wall down to the floor of your light box to eliminate any corners or shadows.
4. Positioning Your Lights
- Place your lights outside the box, aiming them through the diffusing material on the sides and top.
- Using LED lights or daylight-balanced desk lamps will produce a consistent and even light.
- Depending on the level of light diffusion you need, you might want additional lights or to vary the positioning to eliminate any shadows.
Tips for Optimizing Your Studio Light Box
1. Adjusting Light Quality
- Control the intensity of your lights by varying their distance from the light box.
- Use multiple light sources from different angles to cover any potential shadow areas.
- If the light is too harsh, consider adding more layers of diffusing material.
2. Experimenting with Background Colors
- While a white background offers minimal reflections and is great for a neutral presentation, experimenting with different colors can yield interesting and more dynamic images.
- Black or colored backdrops can also emphasize certain features of your subject by providing contrast.
3. Incorporating Reflectors
- If you notice dark areas or shadows that need softening, use small reflectors. You can create DIY reflectors using white foam boards or aluminum foil.
4. Using a Tripod
- For stability and consistency in your photographs, use a tripod to keep your camera steady.
- Fixed positioning allows for easier post-processing and consistency across multiple shots.
Practical Applications
Product Photography
For entrepreneurs and small business owners looking to showcase their products online, a studio light box can make a significant difference in image quality. Better photos attract customers and can lead to higher sales conversion rates.
Artistic Projects
Artists can use studio light boxes to capture detailed images of their work. This is especially beneficial for those who need to submit high-quality images for galleries, competitions, or online portfolios.
Hobbies and Collection
Whether you're a collector of miniature models, jewelry, or other intricate items, a light box can help you document your pieces accurately, without harsh shadows or glare.
Troubleshooting Common Issues
Uneven Lighting
If you notice that one side of your object is brighter than the other, adjust your light sources to ensure they provide even illumination.
Shadows
Shadows can be minimized by adding more diffusing material or reflectors, and positioning lights to cover all angles.
Color Balance
Ensure your lights are daylight balanced, and if necessary, adjust the white balance settings on your camera to avoid color casts.
Building a studio light box is an affordable and effective way to improve your photography by achieving professional-quality lighting. By following the steps outlined above, and keeping in mind tips for optimizing your setup, you'll be able to create stunning images of products, artwork, or other small objects. Whether for business purposes or personal enjoyment, a well-constructed light box can vastly enhance your photographic capabilities.


