How To Make Big Room Sound Recording?
Recording sound in a big room can be a challenging yet rewarding endeavor. Whether you're a musician, podcaster, or filmmaker, capturing high-quality audio in a large space requires a combination of the right equipment, techniques, and an understanding of the room's acoustics. In this article, we will explore the essential steps and considerations for making a successful big room sound recording.
Understanding Room Acoustics
The first step in making a big room sound recording is understanding the acoustics of the space. Large rooms often have unique acoustic properties that can either enhance or detract from the quality of your recording. Here are some key factors to consider:
1. Reverberation: Large rooms tend to have longer reverberation times, which can make the sound muddy or unclear. While some reverberation can add a sense of space and depth to the recording, too much can be detrimental.
2. Echoes: Echoes are distinct repetitions of sound that can occur in large spaces. These can be particularly problematic if they interfere with the clarity of the recording.
3. Background Noise: Big rooms often have more background noise, whether it's from HVAC systems, outside traffic, or other sources. Identifying and minimizing these noises is crucial.
Choosing the Right Equipment

The equipment you use plays a significant role in the quality of your recording. Here are some essential pieces of gear to consider:
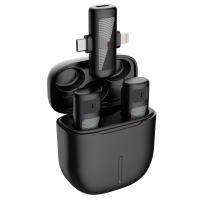
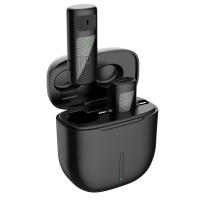
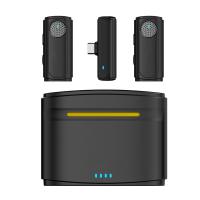
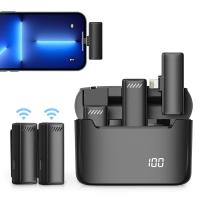
1. Microphones: The type of microphone you choose will greatly impact your recording. For big rooms, consider using condenser microphones, which are more sensitive and can capture a wider range of frequencies. Additionally, using multiple microphones can help capture the room's ambiance and provide a fuller sound.
2. Microphone Placement: Proper microphone placement is crucial in a large room. Experiment with different positions to find the best spot that captures the desired sound. Placing microphones closer to the sound source can help reduce the impact of reverberation and background noise.
3. Acoustic Treatment: While it may not always be possible to fully treat a large room, using portable acoustic panels, bass traps, and diffusers can help control unwanted reflections and improve the overall sound quality.
4. Recording Interface: A high-quality recording interface is essential for capturing clean audio. Look for interfaces with low latency and high-resolution capabilities to ensure the best possible sound.
Recording Techniques

Once you have the right equipment, it's time to focus on the recording techniques. Here are some tips to help you get the best results:
1. Sound Check: Before you start recording, conduct a thorough sound check. This involves testing the microphones, adjusting levels, and listening for any unwanted noise or issues. Make sure to walk around the room and listen from different positions to identify any problem areas.
2. Use a Pop Filter: If you're recording vocals, using a pop filter can help reduce plosive sounds (like "p" and "b" sounds) that can cause distortion in the recording.
3. Monitor the Recording: Use headphones to monitor the recording in real-time. This allows you to catch any issues early and make adjustments as needed.
4. Layering and Overdubbing: In a large room, it can be beneficial to record multiple takes and layer them together. This can add depth and richness to the sound. Overdubbing, or recording additional parts over the initial recording, can also help fill out the sound.
Post-Production
After the recording session, the next step is post-production. This involves editing, mixing, and mastering the audio to achieve the desired final product. Here are some key steps in the post-production process:
1. Editing: Start by editing the recording to remove any unwanted noise, mistakes, or dead space. This can be done using digital audio workstations (DAWs) like Pro Tools, Logic Pro, or Audacity.
2. EQ and Compression: Use equalization (EQ) to balance the frequencies and remove any unwanted resonances. Compression can help control the dynamic range and ensure a consistent volume level throughout the recording.
3. Reverb and Effects: While you may have captured some natural reverb from the room, adding additional reverb and other effects in post-production can help enhance the sound. Be careful not to overdo it, as too much reverb can make the recording sound muddy.
4. Mastering: The final step is mastering, which involves preparing the recording for distribution. This includes adjusting the overall volume, adding final EQ and compression, and ensuring the recording meets industry standards.
Practical Tips and Troubleshooting
Here are some additional practical tips and troubleshooting advice for recording in a big room:
1. Test Different Configurations: Don't be afraid to experiment with different microphone configurations and placements. What works in one room may not work in another, so take the time to find the best setup for your specific space.
2. Use a Click Track: If you're recording music, using a click track can help keep everyone in time and make the editing process easier.
3. Minimize Background Noise: If you can't eliminate background noise, try to minimize it as much as possible. This might involve turning off HVAC systems, closing windows, or recording at a quieter time of day.
4. Backup Your Recordings: Always make backups of your recordings. This ensures that you don't lose any valuable takes due to technical issues or accidents.
5. Seek Professional Help: If you're struggling to get the sound you want, consider seeking help from a professional audio engineer. They can provide valuable insights and assistance to improve your recording.
Recording sound in a big room presents unique challenges, but with the right approach, it can also offer unique opportunities to capture rich, immersive audio. By understanding the room's acoustics, choosing the right equipment, employing effective recording techniques, and carefully handling post-production, you can achieve high-quality recordings that stand out. Whether you're a seasoned professional or a beginner, these tips and strategies will help you make the most of your big room sound recording sessions.


