How To Make Camera Bag Padding?
Creating custom padding for a camera bag is an essential skill for photographers who want to protect their valuable equipment. Whether you're a professional photographer or an enthusiastic hobbyist, having a well-padded camera bag can make a significant difference in the safety and organization of your gear. In this article, we will explore the step-by-step process of making camera bag padding, the materials you will need, and some tips to ensure your camera and accessories are well-protected.
Understanding the Importance of Camera Bag Padding
Camera equipment is often delicate and expensive, making it crucial to protect it from shocks, drops, and other potential damage. Proper padding not only cushions your gear but also helps in organizing it, making it easier to access different components quickly. Custom padding can be tailored to fit your specific equipment, ensuring a snug and secure fit.
Materials Needed for Making Camera Bag Padding
Before you start, gather the following materials:
1. Foam Sheets: High-density foam is ideal for padding as it provides excellent shock absorption. You can find foam sheets in various thicknesses at craft stores or online.
2. Fabric: Choose a durable fabric to cover the foam. Nylon, polyester, or canvas are good options as they are tough and resistant to wear and tear.
3. Velcro Strips: These will help in securing the padding inside the bag and allow for adjustable compartments.
4. Scissors or a Utility Knife: For cutting the foam and fabric to the desired size.
5. Measuring Tape: To measure your camera and accessories accurately.
6. Adhesive Spray or Glue: To attach the fabric to the foam.
7. Sewing Kit or Sewing Machine: For stitching the fabric cover.
Step-by-Step Guide to Making Camera Bag Padding
Step 1: Measure Your Equipment
Start by measuring your camera and all the accessories you plan to carry in the bag. Note down the dimensions of each item, including the height, width, and depth. This will help you cut the foam to the correct size.
Step 2: Cut the Foam
Using the measurements, cut the foam sheets to create individual compartments for each piece of equipment. Ensure that the foam pieces are slightly larger than the items to provide a snug fit. You can use scissors or a utility knife for this step. If you have multiple layers of equipment, cut additional foam pieces to create a multi-layered padding system.
Step 3: Cover the Foam with Fabric
Cut the fabric into pieces that are large enough to wrap around the foam with some extra material for stitching. Spray adhesive or apply glue to one side of the foam and carefully place the fabric on it. Smooth out any wrinkles and ensure the fabric is tightly adhered to the foam. Repeat this process for all foam pieces.
Step 4: Sew the Fabric
Fold the edges of the fabric over the foam and sew them together to create a neat finish. You can use a sewing machine for a quicker and more durable result, but a hand-sewing kit will also work. Make sure the stitches are tight and secure to prevent the fabric from coming loose.
Step 5: Attach Velcro Strips
Cut Velcro strips to the desired length and attach them to the fabric-covered foam pieces. This will allow you to secure the padding inside the bag and adjust the compartments as needed. Place one side of the Velcro on the foam and the corresponding side inside the camera bag.
Step 6: Arrange the Padding in the Bag
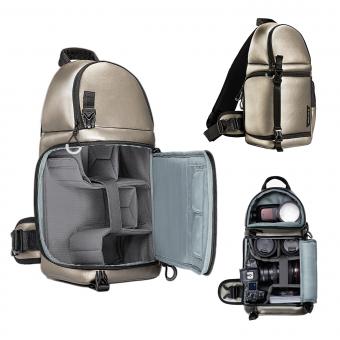
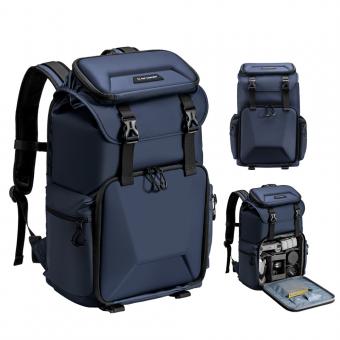
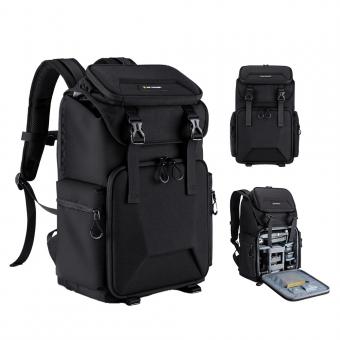
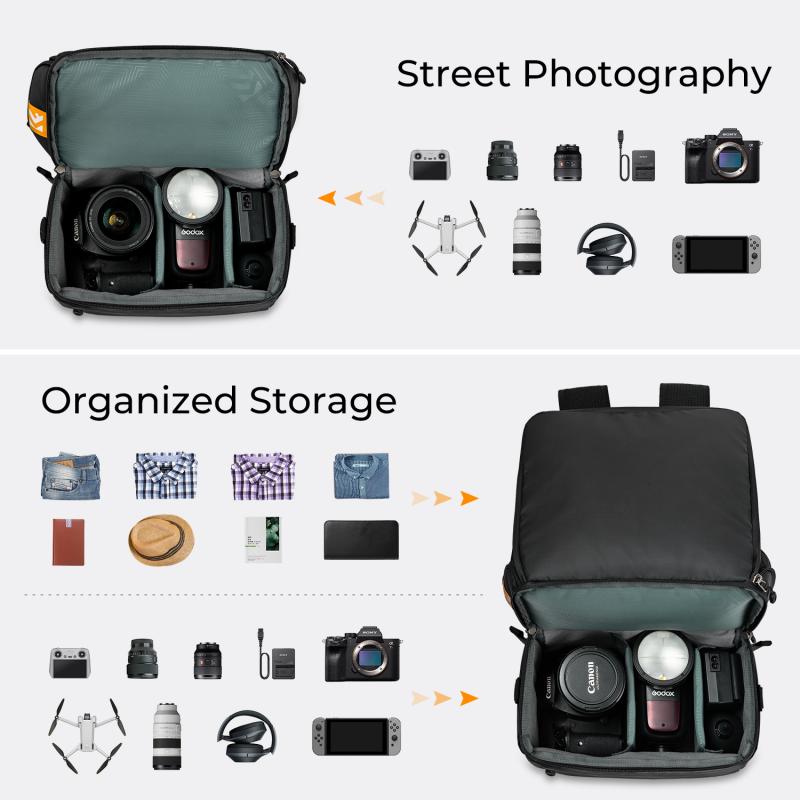
Place the foam pieces inside the camera bag, arranging them to create compartments for your camera and accessories. Adjust the placement of the Velcro strips to ensure a secure fit. Test the arrangement by placing your equipment in the compartments and making any necessary adjustments.
Tips for Effective Camera Bag Padding
1. Double Layering: For extra protection, consider using double layers of foam, especially for the bottom and sides of the bag.
2. Custom Compartments: Tailor the compartments to fit your specific gear, including lenses, batteries, and other accessories.
3. Waterproof Fabric: If you often shoot in wet conditions, use waterproof fabric to cover the foam for added protection.
4. Reinforced Edges: Reinforce the edges of the fabric with additional stitching to prevent fraying over time.
5. Modular Design: Create a modular padding system that allows you to reconfigure the compartments based on the gear you need for different shoots.
Making your own camera bag padding is a cost-effective and customizable way to protect your valuable photography equipment. By following the steps outlined in this article, you can create a padded camera bag that meets your specific needs and ensures your gear is safe and organized. Remember to measure accurately, use high-quality materials, and take your time to ensure a professional finish. With the right padding, you can focus on capturing stunning images without worrying about the safety of your equipment.


