How To Make My Recording Sound Better?
As an aspiring podcaster, musician, or content creator, one of your primary goals is likely to ensure that your recordings sound as polished and professional as possible. The good news is, you don't have to be a seasoned audio engineer to achieve excellent results. There are several practical steps you can take to enhance the quality of your recordings. This article will delve into these methods and offer actionable advice that can take your audio from amateur to exceptional.
Understanding the Basics
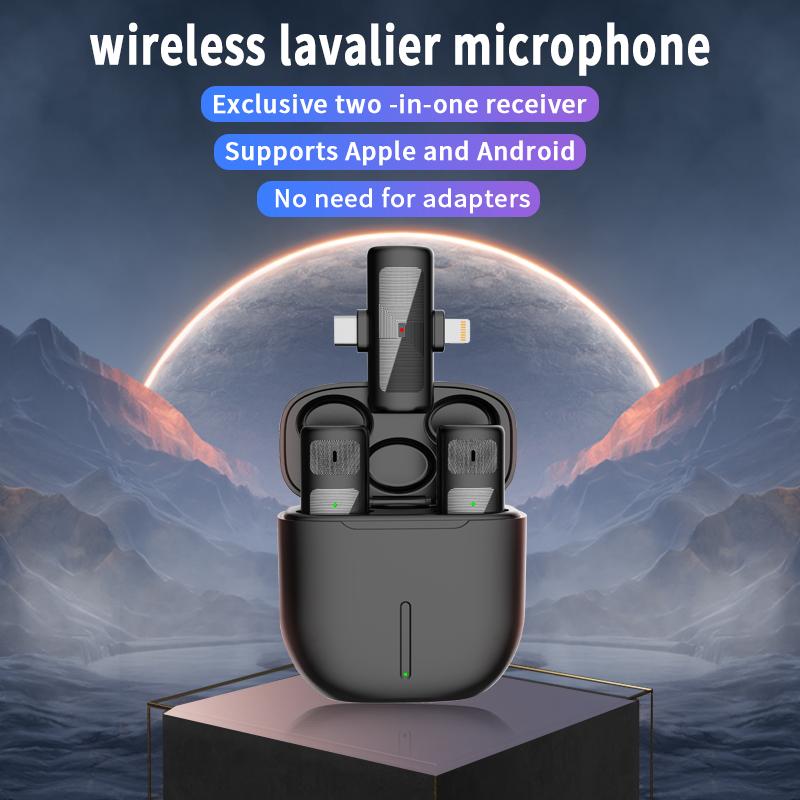
Before we get into specific techniques, it’s important to have a foundational understanding of what contributes to good audio quality. Two key factors are the quality of the equipment and the recording environment. High-quality equipment can capture a more accurate representation of your sound, while a controlled recording environment minimizes unwanted noise and interference.
Equipment Matter
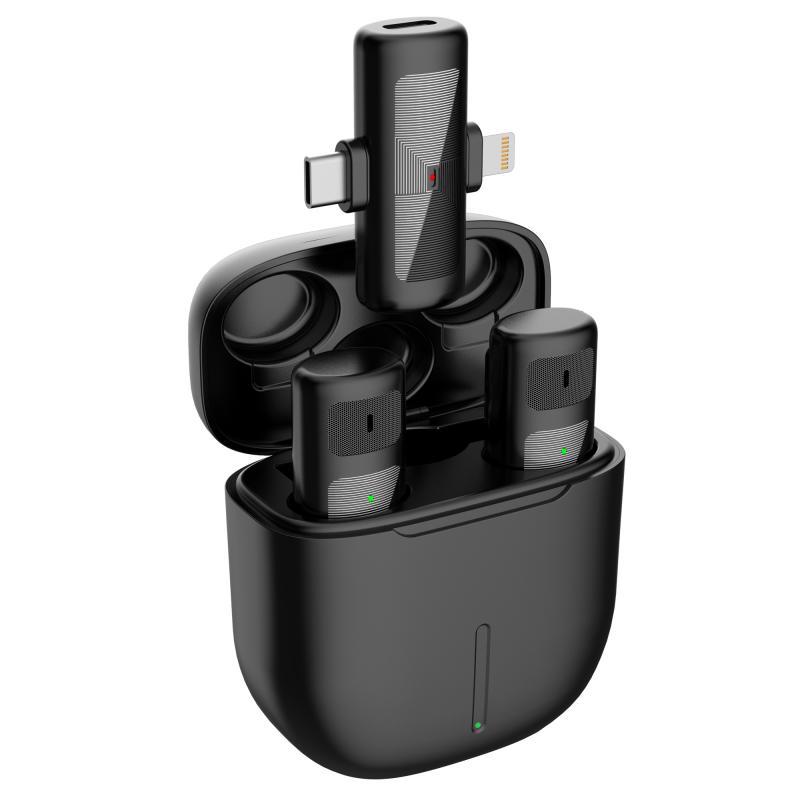
1. Microphones
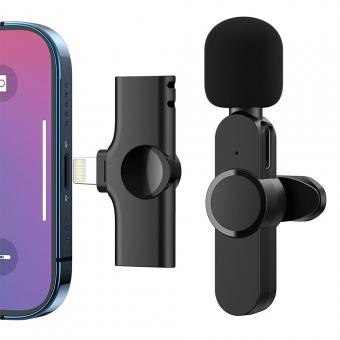
The microphone is arguably the most important piece of equipment in your recording setup. A good-quality condenser or dynamic microphone can make a substantial difference in capturing the nuances of your voice or instrument.
- Condenser Microphones: These are generally more sensitive and can capture a broad range of frequencies, making them ideal for studio recordings and vocals.
- Dynamic Microphones: These are less sensitive to distant sounds, making them excellent for live settings and louder sound sources.
Investing in a good microphone can provide an immediate uplift in audio quality. Brands like Shure, Rode, and Audio-Technica offer a range of options catering to different needs and budgets.
2. Audio Interface
An audio interface serves as the bridge between your microphone and computer. It converts your analog microphone signals into digital data that your computer can process.
- Look for interfaces with high-quality preamps, as these will amplify your microphone’s signal without adding unwanted noise or distortion.
- Popular choices include the Focusrite Scarlett series and the PreSonus AudioBox.
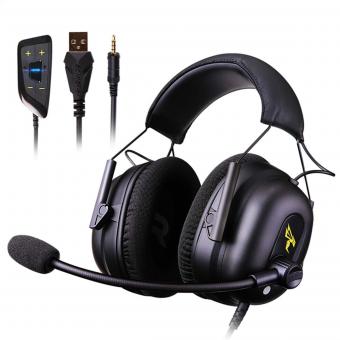
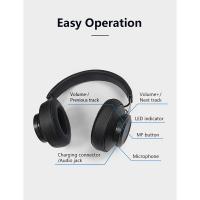
3. Headphones
Accurate monitoring is vital for making informed decisions during the recording and mixing processes. Over-ear studio headphones provide an accurate representation of your audio without coloring the sound.
- Brands like Beyerdynamic, Sennheiser, and AKG offer reliable options for different price ranges.
Setting Up Your Recording Environment

1. Acoustic Treatment
Your recording environment significantly impacts how your audio sounds. Reflective surfaces can cause unwanted echoes and reverb, muddling your recordings. Acoustic treatment helps manage these reflections.
- Absorption Panels: These reduce reflections and reverberations, helping to create a “dry” sound that is easier to work with in post-production.
- Bass Traps: These address low-frequency issues that often occur in smaller rooms.
- Diffusers: These scatter sound waves, helping to maintain a sense of space without creating harsh reflections.
2. Noise Control
Background noise is the bane of any recording session. Even minimal ambient noise can significantly impact the clarity of your recordings.
- Record in a quiet environment. Turn off appliances, close windows, and minimize other sources of noise.
- Use a microphone with a cardioid pattern to capture sound directly in front of it while rejecting sounds from the sides and rear.
- Consider using a pop filter or windscreen to mitigate plosive sounds and wind noise.
Recording Techniques
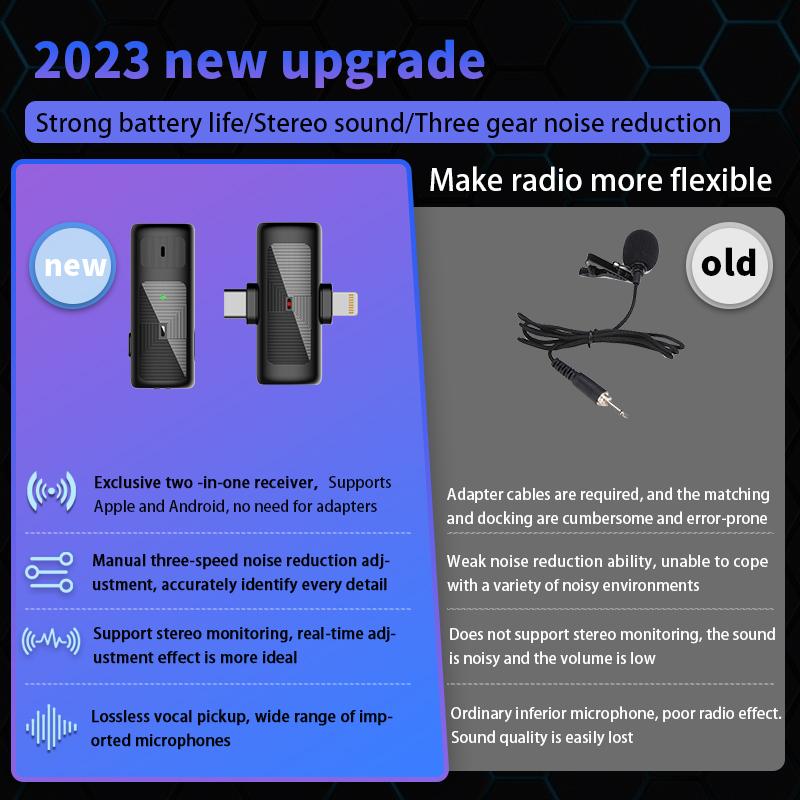
1. Microphone Placement
Proper microphone placement can drastically improve the quality of your recording.
- Vocals: Position the microphone about 6-12 inches away from your mouth. Using a pop filter can help reduce plosive noises.
- Instruments: Each instrument has a 'sweet spot.' For instance, when recording an acoustic guitar, aim the microphone at the 12th fret for a balanced sound.
2. Gain Staging
Setting the correct input levels is crucial.
- Avoid recording too hot (too loud), which can result in clipping and distortion.
- Conversely, recording too quietly can introduce unwanted noise when the signal is amplified.
- Aim for levels that peak around -6dB to -3dB, providing headroom for unexpected volume spikes.
Post-Production Techniques
1. Equalization (EQ)
EQ allows you to shape the tonal balance of your recordings. Cutting unwanted frequencies and boosting others can help your audio stand out.
- Cut low-end rumble by applying a high-pass filter at around 80 Hz for vocals.
- Use a slight boost around 2-4 kHz to add presence and clarity to vocals.
2. Compression
Compression controls the dynamic range of your audio, ensuring that softer elements are audible without louder elements becoming overpowering.
- Set a ratio (e.g., 3:1) to compress the signal, apply a threshold to determine when compression kicks in, and adjust the attack and release to suit the dynamics of your audio.
3. Noise Reduction
- Use noise reduction plugins to minimize background hiss or hum. Be careful not to overdo it, as aggressive noise reduction can introduce artifacts.
4. Reverb and Delay
Adding reverb and delay can add space and depth to your recordings, making them sound more polished.
- Subtle reverb can add a sense of room or environment to your vocals.
- Delay can add rhythmic complexity or a sense of echo, which is useful for certain styles or genres.
Software and Plugins
Having the right digital audio workstation (DAW) and plugins can make a significant difference in your workflow and the final sound of your recordings.
- Popular DAWs include Logic Pro, Ableton Live, Pro Tools, and FL Studio. Each offers unique features catering to different types of users.
- Invest in reputable plugins for EQ, compression, reverb, and other effects. Companies like Waves, Universal Audio, and FabFilter offer top-tier options.
Final Tips
1. Consistent Practice
Like any other skill, becoming proficient in recording and audio production requires practice. The more you experiment with different techniques and tools, the better you will understand their impact on your recordings.
2. Feedback and Critique
Don’t shy away from seeking feedback from peers or online communities. Constructive criticism can offer new perspectives and insights you might not have considered.
3. Continued Learning
The field of audio recording is constantly evolving. Stay updated with the latest trends, techniques, and technologies by following blogs, forums, and online courses.
By focusing on these key areas—equipment, environment, recording techniques, post-production, and continuous improvement—you can significantly improve the quality of your recordings. Whether you’re recording a podcast, a song, or any other form of audio content, these steps will help you achieve a more professional result. Happy recording!

