How To Measure Lens Filter Size?
When it comes to photography, understanding how to measure lens filter size is crucial for anyone looking to enhance their images with various filters. Whether you're a professional photographer or an enthusiastic hobbyist, knowing the correct filter size for your lens can make a significant difference in the quality of your photos. This article will guide you through the process of determining the right lens filter size, ensuring that you can make informed decisions when purchasing filters.
Understanding Lens Filters
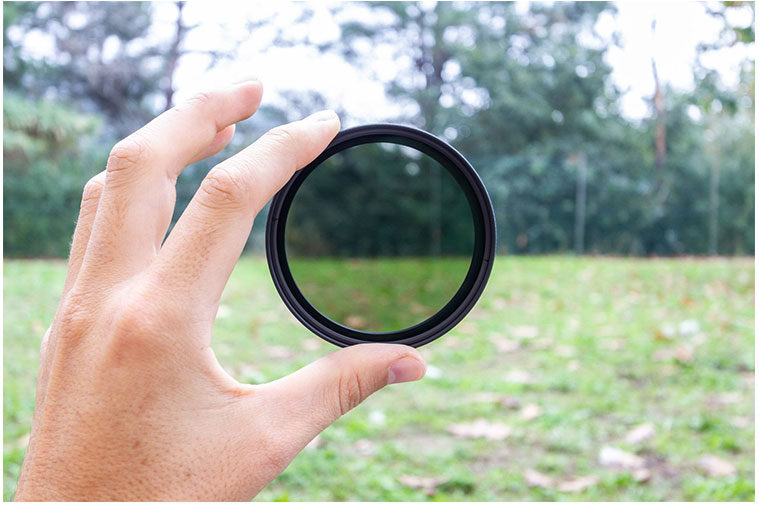
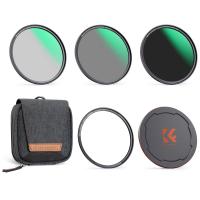
Lens filters are accessories that attach to the front of your camera lens. They serve various purposes, such as reducing glare, enhancing colors, and protecting the lens from dust and scratches. Common types of lens filters include UV filters, polarizing filters, and neutral density (ND) filters. Each type of filter can significantly impact the final image, making it essential to choose the right size for your lens.
Why Filter Size Matters
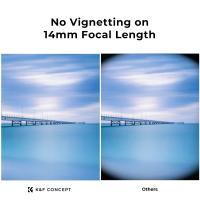
Using the correct filter size is vital for several reasons. Firstly, a filter that is too small will not fit your lens, rendering it useless. Conversely, a filter that is too large may not attach securely, potentially falling off and causing damage. Additionally, an ill-fitting filter can lead to vignetting, where the corners of the image appear darker than the center. This can detract from the overall quality of your photos.
Steps to Measure Lens Filter Size
1. Check the Lens Cap or Lens Barrel
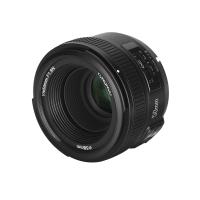
The easiest way to determine your lens filter size is to check the lens cap or the lens barrel. Most lenses have the filter size printed on the front or side. Look for a number followed by the "Ø" symbol, which represents the diameter in millimeters. For example, you might see "Ø58mm" or "Ø77mm." This number indicates the filter size you need.
2. Refer to the Lens Manual
If you can't find the filter size on the lens itself, refer to the lens manual. The manual typically includes detailed specifications, including the filter size. This information is usually found in the section that describes the lens's physical characteristics.
3. Use a Ruler or Caliper
In the absence of printed information, you can measure the diameter of the lens using a ruler or caliper. Place the ruler or caliper across the front of the lens, measuring from one edge to the other. Ensure that you measure the outer diameter, as this is the size that corresponds to the filter thread.
4. Consult the Manufacturer's Website
Another reliable source of information is the manufacturer's website. Most camera and lens manufacturers provide detailed specifications for their products online. By searching for your lens model, you can find the exact filter size recommended by the manufacturer.
Common Filter Sizes
While lens filter sizes can vary, some sizes are more common than others. Here are a few standard filter sizes you might encounter:
- 49mm
- 52mm
- 58mm
- 62mm
- 67mm
- 72mm
- 77mm
- 82mm
These sizes correspond to the diameter of the lens's front element and are widely available from various filter manufacturers.
Choosing the Right Filter
Once you know your lens filter size, you can start selecting the appropriate filters for your needs. Here are a few tips to help you choose the right filter:
1. Determine Your Needs
Consider what you want to achieve with the filter. For example, if you want to reduce glare and reflections, a polarizing filter is a good choice. If you need to control exposure in bright conditions, a neutral density filter can help. Understanding your specific needs will guide you in selecting the right type of filter.
2. Research Filter Brands
Not all filters are created equal. Some brands are known for their high-quality glass and coatings, which can significantly impact the performance of the filter. Research different brands and read reviews to find filters that offer the best value for your money.
3. Consider Multi-Coated Filters
Multi-coated filters have multiple layers of anti-reflective coating, which can reduce lens flare and ghosting. These filters tend to be more expensive but offer better image quality. If you're serious about photography, investing in multi-coated filters is a wise decision.
4. Check Compatibility
Ensure that the filter you choose is compatible with your lens. Some filters are designed for specific lens models or brands, so double-check the specifications before making a purchase.
Using Step-Up and Step-Down Rings
If you have multiple lenses with different filter sizes, you might find it impractical to buy separate filters for each lens. In such cases, step-up and step-down rings can be a cost-effective solution. These rings allow you to use a filter with a different diameter than your lens.
Step-Up Rings
Step-up rings enable you to attach a larger filter to a smaller lens. For example, if you have a 58mm lens and a 67mm filter, a step-up ring with a 58mm male thread and a 67mm female thread will allow you to use the larger filter on the smaller lens.
Step-Down Rings
Conversely, step-down rings allow you to attach a smaller filter to a larger lens. However, using step-down rings can lead to vignetting, as the smaller filter may not cover the entire front element of the lens. Therefore, step-down rings are less commonly used than step-up rings.
Measuring lens filter size is a straightforward process that can significantly impact your photography. By checking the lens cap, lens barrel, manual, or manufacturer's website, you can easily determine the correct filter size for your lens. Once you know the size, you can choose the right filters to enhance your images, whether you're looking to reduce glare, control exposure, or protect your lens.
Investing in high-quality filters and considering multi-coated options can further improve your photos' quality. Additionally, using step-up and step-down rings can provide flexibility when working with multiple lenses. By following these guidelines, you can ensure that you have the right tools to capture stunning images and elevate your photography skills.















There are no comments for this blog.