How To Mount Cameras On House?
Mounting cameras on your house is an essential step in enhancing your home security. With the rise in home invasions and burglaries, having a reliable surveillance system can provide peace of mind and act as a deterrent to potential intruders. This article will guide you through the process of mounting cameras on your house, covering everything from selecting the right cameras to ensuring they are installed correctly for optimal performance.
Selecting the Right Cameras
Before you start the installation process, it's crucial to choose the right type of cameras for your needs. Here are some factors to consider:
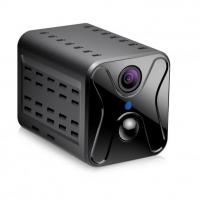
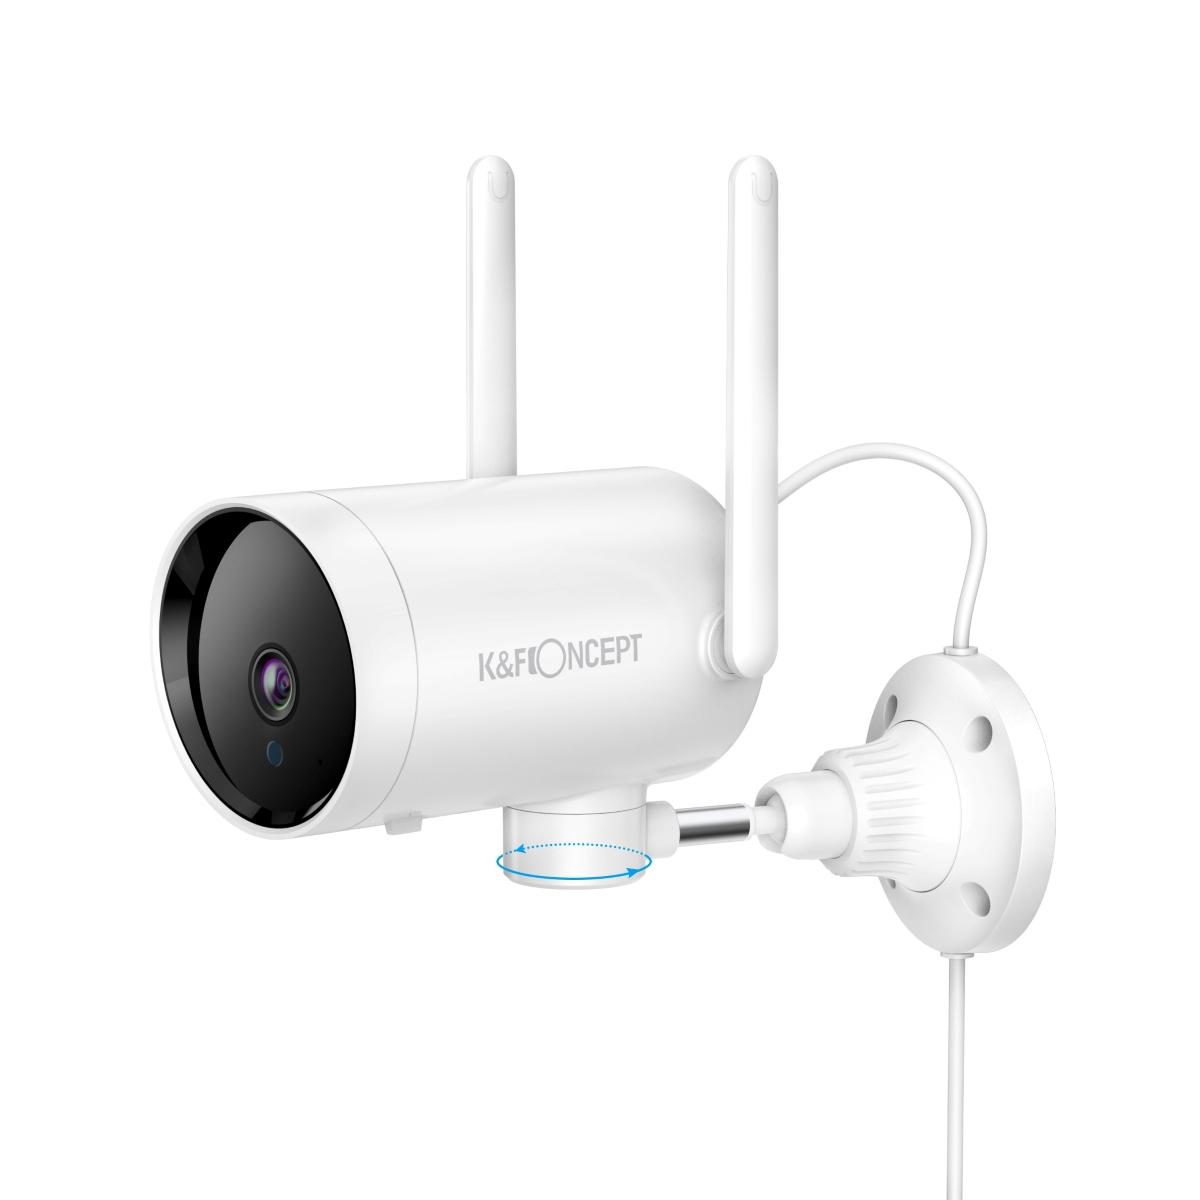
1. Camera Type: There are various types of cameras available, including bullet cameras, dome cameras, and PTZ (pan-tilt-zoom) cameras. Bullet cameras are ideal for long-distance viewing, while dome cameras offer a more discreet appearance. PTZ cameras provide flexibility with their ability to pan, tilt, and zoom.
2. Resolution: Higher resolution cameras provide clearer images, which can be crucial for identifying intruders. Look for cameras with at least 1080p resolution.
3. Night Vision: Ensure your cameras have night vision capabilities to monitor your property effectively in low-light conditions.
4. Weather Resistance: Outdoor cameras should be weatherproof to withstand various environmental conditions. Look for cameras with an IP66 or higher rating.
5. Connectivity: Decide whether you want wired or wireless cameras. Wired cameras offer a more stable connection, while wireless cameras are easier to install and can be placed in more locations.
Planning Camera Placement
Proper camera placement is essential for maximizing coverage and ensuring your cameras capture critical areas. Here are some tips for planning your camera placement:
1. Entry Points: Place cameras at all main entry points, including front and back doors, garage doors, and any side entrances.
2. Windows: Install cameras near ground-floor windows, especially those that are not easily visible from the street.
3. Driveways and Garages: Monitor your driveway and garage to keep an eye on vehicles and any activity around them.
4. Blind Spots: Identify and cover any blind spots around your property where intruders could potentially hide.
5. Height and Angle: Mount cameras at a height of 8-10 feet to avoid tampering and ensure a wide field of view. Angle the cameras slightly downward to capture faces and other identifying features.
Tools and Materials Needed
Before you begin the installation, gather the necessary tools and materials:
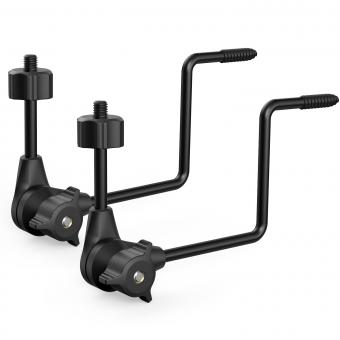
- Cameras and mounting brackets
- Power drill and drill bits
- Screws and anchors
- Screwdriver
- Ethernet cables (for wired cameras)
- Power cables or batteries (for wireless cameras)
- Ladder
- Level
- Pencil or marker
Installation Steps
Follow these steps to mount your cameras:
1. Mark the Mounting Points: Use a pencil or marker to mark the spots where you will drill holes for the mounting brackets. Ensure the marks are level to avoid crooked installations.
2. Drill Holes: Use a power drill to create holes at the marked points. If you are mounting the cameras on brick or concrete, use masonry drill bits and anchors.
3. Attach the Mounting Brackets: Secure the mounting brackets to the wall using screws and anchors. Make sure the brackets are firmly attached and level.
4. Mount the Cameras: Attach the cameras to the mounting brackets. Adjust the angle and position of the cameras to ensure they cover the desired areas.
5. Run Cables: For wired cameras, run the Ethernet cables from the cameras to your recording device or router. Use cable clips or conduit to secure the cables and keep them tidy.
6. Connect Power: Plug in the power cables for wired cameras or insert batteries for wireless cameras. Ensure the power source is reliable and protected from the elements.
7. Test the Cameras: Once the cameras are mounted and connected, test them to ensure they are working correctly. Check the video feed on your recording device or smartphone app to verify the coverage and image quality.
8. Adjust Settings: Configure the camera settings, such as motion detection, recording schedules, and alerts, to suit your needs. Refer to the camera's user manual for specific instructions.
Maintenance and Troubleshooting
Regular maintenance and troubleshooting are essential to keep your cameras functioning optimally. Here are some tips:
1. Clean the Lenses: Periodically clean the camera lenses with a soft cloth to remove dust, dirt, and debris that can affect image quality.
2. Check Connections: Ensure all cables and connections are secure and free from damage. Replace any worn or frayed cables.
3. Update Firmware: Keep your camera firmware up to date to benefit from the latest features and security patches.
4. Test Night Vision: Regularly test the night vision capabilities to ensure the cameras provide clear images in low-light conditions.
5. Monitor Power Supply: For wireless cameras, check the battery levels and replace or recharge batteries as needed. For wired cameras, ensure the power supply is stable and uninterrupted.
Mounting cameras on your house is a proactive step towards enhancing your home security. By selecting the right cameras, planning their placement strategically, and following proper installation procedures, you can create a robust surveillance system that deters intruders and provides peace of mind. Regular maintenance and troubleshooting will ensure your cameras continue to function effectively, keeping your property safe and secure. Whether you choose to install the cameras yourself or hire a professional, the investment in home security is well worth the effort.


