How To Record Audio Without Background Noise?
How to Record Audio Without Background Noise: A Comprehensive Guide
Recording high-quality audio without background noise is crucial for a range of applications, from podcasting and content creation to professional sound design and voiceovers. Background noise can be distracting and can significantly reduce the overall quality of your recordings. In this guide, we will explore various methods and tools you can use to ensure clear, crisp, and noise-free audio recordings, no matter your environment.
Understanding Background Noise
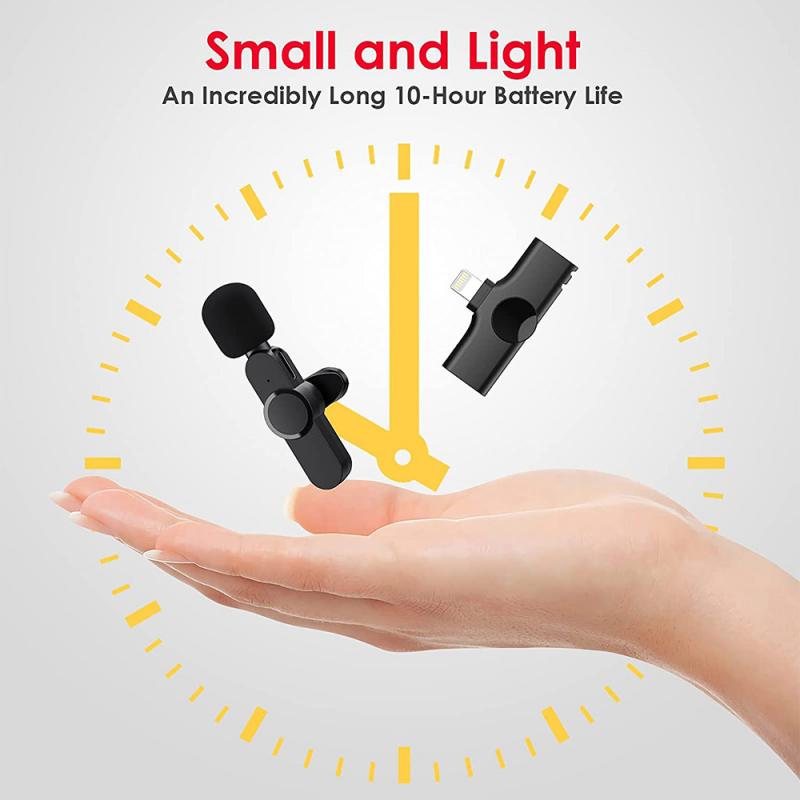
Before diving into solutions, it's important to understand what background noise is and how it affects your recordings. Background noise refers to any unwanted sound that is captured by the microphone while you are recording. This could be anything from hums and buzzes from electronic devices, traffic sounds from outside, air conditioning, or even room reverberation.
The two main categories of background noise are:
1. Static Noise: This is typically a constant hum or buzz, often produced by electrical devices, poor connections, or cheap equipment.
2. Dynamic Noise: This includes sounds that change over time, such as people talking in the background, cars passing by, or even the rustling of paper or clothing.
Both types of noise can negatively impact the clarity and professionalism of your audio, so minimizing them is key to achieving a clean, polished recording.
1. Choose the Right Microphone
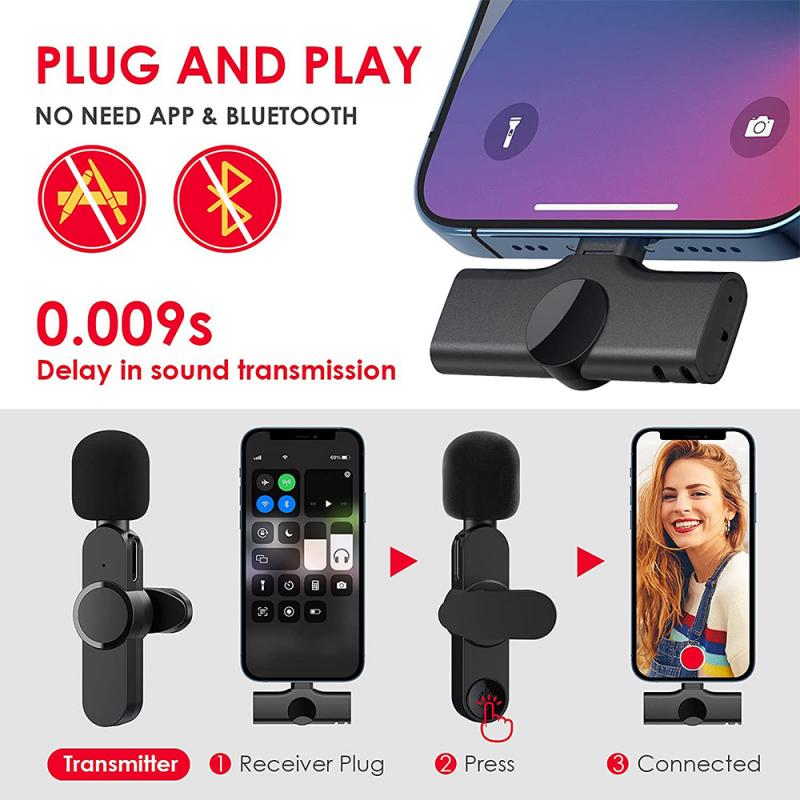
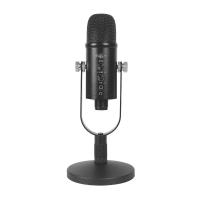
The first step to recording audio without background noise starts with choosing the right microphone. Microphone selection plays a significant role in capturing clear audio, as some microphones are more sensitive to ambient sounds than others.
Best Types of Microphones for Low Background Noise:
- Cardioid Microphones: These microphones are designed to capture sound primarily from the front, with minimal sensitivity to sounds from the sides or rear. This makes them ideal for reducing unwanted background noise. Common cardioid microphones include the Shure SM7B, Audio-Technica AT2020, and Blue Yeti X.
- Dynamic Microphones: Dynamic microphones tend to pick up less background noise than condenser microphones. They are less sensitive and only capture sound from close sources, making them ideal for recording in less-than-ideal environments.
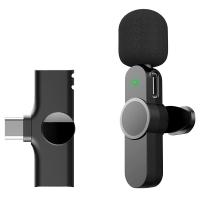
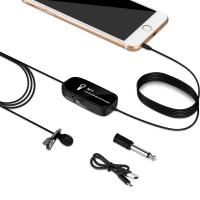
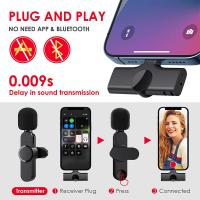
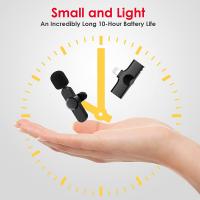
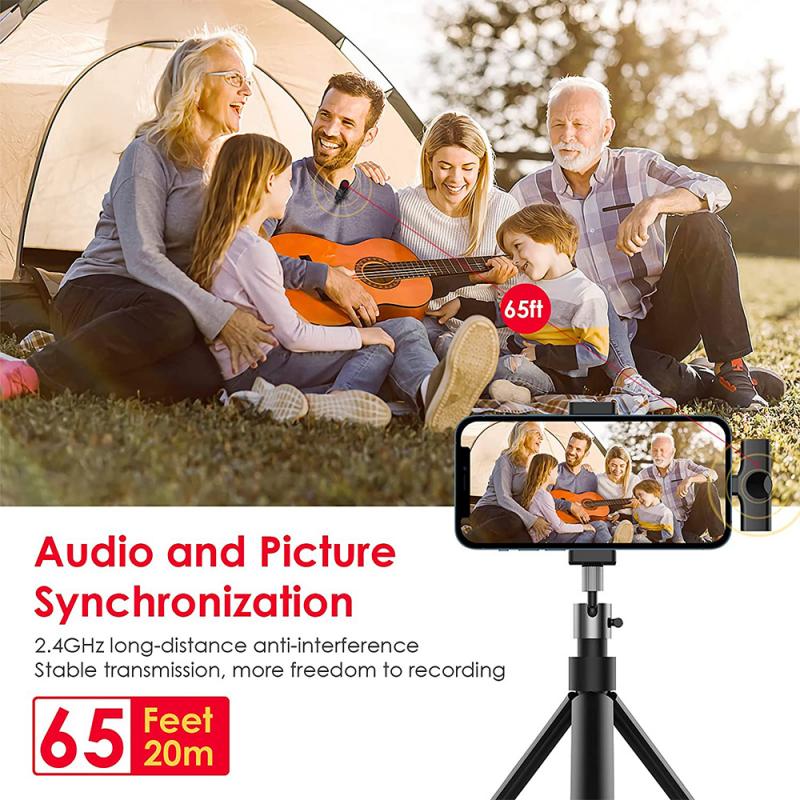
- Lavalier Microphones: These clip-on microphones are often used in interviews or presentations. They are generally directional and focus on the speaker’s voice, helping to minimize background noise.
2. Create a Soundproof Environment
One of the most effective ways to reduce background noise is by controlling your environment. Even the best microphone can still pick up unwanted sounds if the space is not optimized for recording.
Tips for Soundproofing Your Recording Space:
- Choose a Quiet Room: Ideally, pick a room that is away from outside noise sources like traffic, street construction, or noisy appliances. Rooms with carpet, heavy curtains, and padded furniture tend to absorb sound better than rooms with bare walls and hard floors.
- Seal Gaps and Cracks: Make sure that doors and windows are closed during recording. If there are any gaps or cracks, these can allow outside noise to filter in. Consider using weather stripping or draft excluders for a better seal.
- Use Soundproofing Materials: Soundproofing foam panels, bass traps, and diffusers can help reduce reverberation and prevent external noises from being captured. You can also use thick blankets or carpets to absorb sound.
- Avoid Reflective Surfaces: Hard surfaces like glass, metal, and tile tend to reflect sound, creating unwanted echoes. Whenever possible, avoid setting up your recording space near these surfaces.
3. Use a Pop Filter or Windscreen
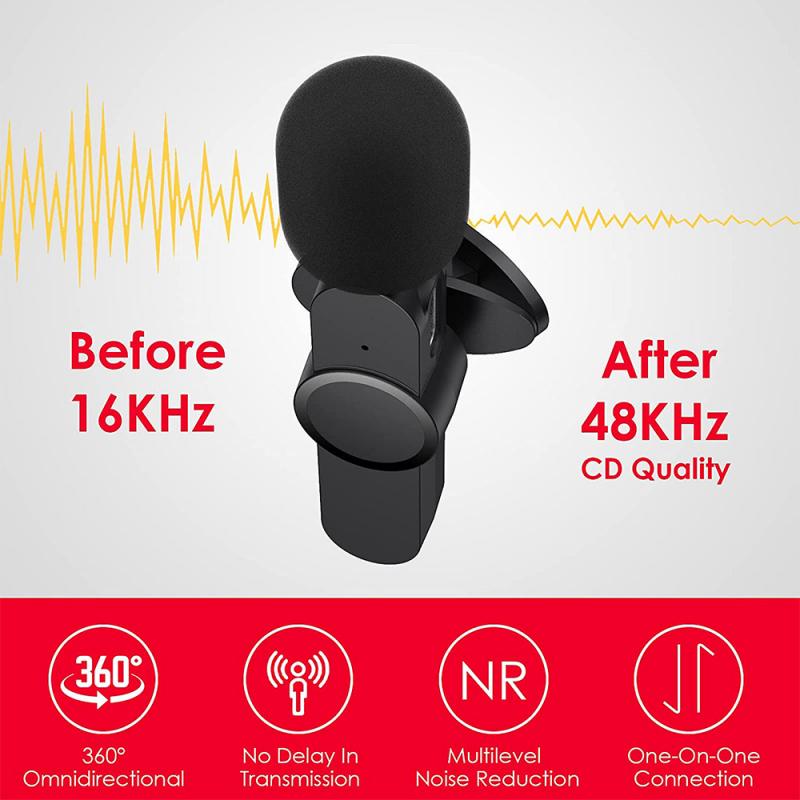
A pop filter is a simple but effective tool that can improve the quality of your audio recording by reducing plosive sounds (like the "P" and "B" sounds). These sounds can create bursts of air that lead to distortion or clipping in your recordings. A pop filter, typically made of mesh or foam, helps diffuse the air before it hits the microphone.
Similarly, a windscreen, which is often used in outdoor settings, can help reduce noise caused by wind or even heavy breathing during recordings. Both accessories are relatively inexpensive and can make a huge difference in the quality of your recordings.
4. Adjust Microphone Gain and Placement
Proper microphone placement is crucial to capturing high-quality audio. If the mic is too far away, it will pick up more ambient noise. Conversely, if it’s too close, it might cause distortion or unwanted proximity effects. Aim to place the microphone about six to twelve inches from your mouth, depending on the microphone's sensitivity and your speaking volume.
In addition to placement, adjusting the microphone's gain is equally important. Gain refers to how sensitive the microphone is to sound. High gain will capture more of the surrounding noise, while lower gain will focus more on your voice. Adjust the gain carefully to find the right balance for your environment.
5. Use Noise Reduction Software
In addition to recording in a controlled environment, you can further clean up your audio using noise reduction software. These tools can analyze your recording and remove or reduce unwanted background noise, without affecting the clarity of your voice.
Some popular noise reduction software includes:
- Adobe Audition: Adobe Audition has a built-in noise reduction feature that allows you to sample a portion of the noise and reduce it from the entire track. It also has an “Adaptive Noise Reduction” feature, which adjusts in real-time based on the noise profile.
- iZotope RX: iZotope RX is one of the industry-leading tools for audio restoration. It includes several features for noise reduction, including voice denoise, spectral repair, and dialogue isolate.
- Audacity: Audacity is a free, open-source audio editing software that offers a noise reduction effect. While it may not be as advanced as some paid options, it is more than sufficient for casual or beginner users.
6. Use a Noise Gate
A noise gate is an audio processing tool that can be used to eliminate low-level background noise that exists during silent moments. Essentially, the noise gate “closes” or mutes the audio when it falls below a certain threshold, which can help prevent the microphone from picking up background hums, air conditioning sounds, or other low-level noises when you're not speaking.
Noise gates are typically used in post-production but can also be applied during live recording sessions if your recording software or mixer supports them.
7. Post-Production Techniques
While it's best to record in an optimal environment, there are several post-production techniques you can use to further improve your audio quality.
- EQ (Equalization): Equalizing your audio can help you remove certain frequencies that may contribute to background noise. For instance, using a low-cut filter to eliminate low-frequency hums can help make your recordings cleaner.
- Compression: Compression can be used to control the dynamics of your recording, making quieter sounds more audible and louder sounds less harsh. While it won't eliminate background noise on its own, it can make the overall recording sound more polished.
- Manual Editing: If you’ve captured a recording with unwanted noise, you can manually edit the track by cutting out or fading in sections where background noise is most noticeable.
8. Consider External Equipment for Noise Cancellation
If you're in a particularly noisy environment, you may want to invest in external noise-cancelling equipment. Some options include:
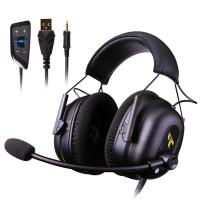
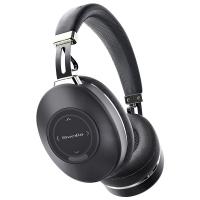
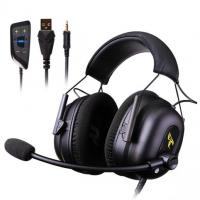
- Noise-Cancelling Headphones: Using noise-cancelling headphones during recording can help you isolate your voice and reduce distractions.
- Portable Recorders: Some portable recorders, like the Zoom H5 or H6, have built-in noise reduction features and can be used in environments where you can't fully control the acoustics.
9. Ensure Proper Mic Technique
Good microphone technique is critical for reducing background noise during recording. Always speak directly into the microphone, and avoid turning your head or moving too much while speaking. This ensures the microphone is focused on your voice and not on surrounding sounds.
Achieving clear, noise-free audio recordings requires a combination of proper equipment, a controlled environment, and post-production techniques. By investing in a high-quality microphone, soundproofing your space, using noise reduction tools, and implementing good recording practices, you can significantly reduce or eliminate unwanted background noise from your recordings.
While there are several steps you can take during the recording process to minimize background noise, remember that each environment is unique, and some trial and error may be required. By following these guidelines and experimenting with different approaches, you'll be well on your way to producing professional-sounding audio that captivates your audience and enhances your content.


