How To Record Phone Calls With Voice Recorder?
Recording phone calls using a voice recorder is a task that many people find necessary for various reasons, including for legal purposes, personal records, or professional needs. This article provides a comprehensive guide on how to record phone calls using a voice recorder, covering all the essential steps and considerations to ensure a successful and high-quality recording.
Understanding Legalities
Before delving into the technical specifics, it's crucial to understand the legal implications of recording phone calls. The legality of recording conversations differs from country to country and even from state to state within the United States. In some areas, only one party needs to be aware of the recording (one-party consent), while in others, all parties involved must be informed and agree to the recording (two-party consent). To avoid legal complications, always check the recording laws applicable to your circumstance and get the necessary consents.
Choosing the Right Equipment
The quality of your recording largely depends on the equipment you choose. Here's a basic list you should consider:
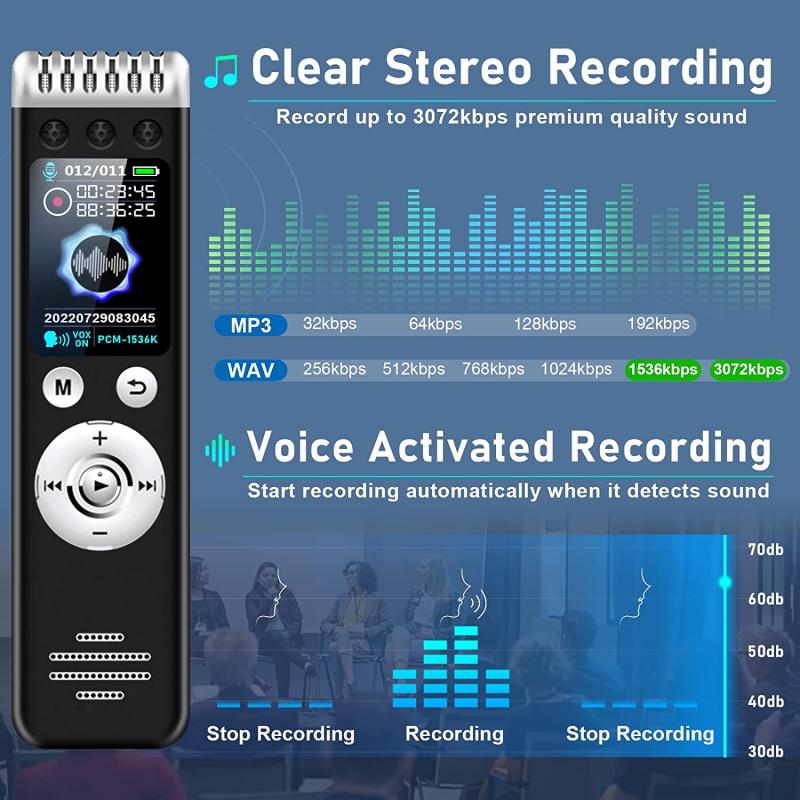
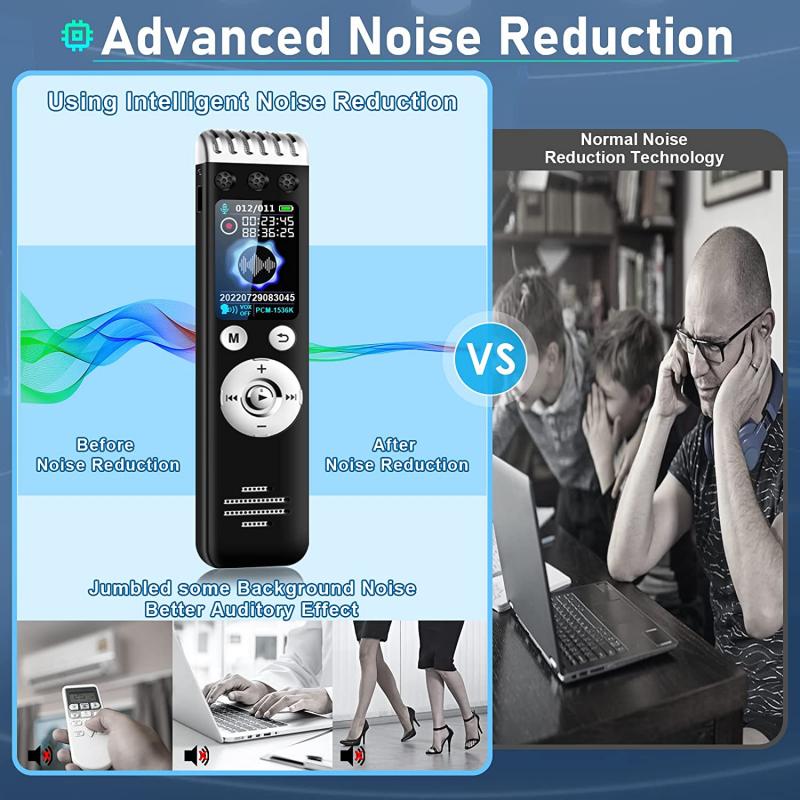
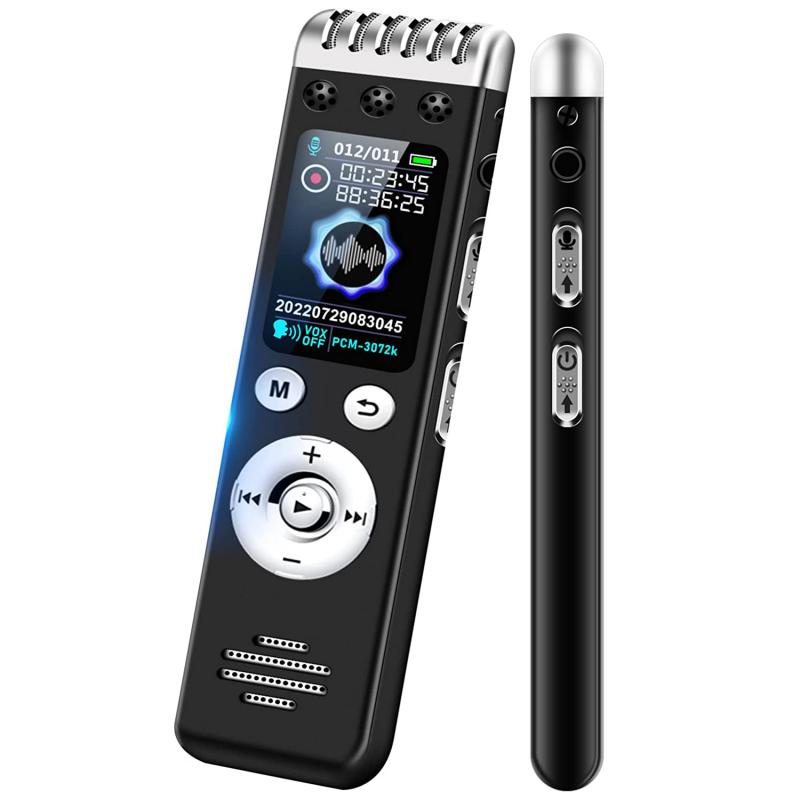
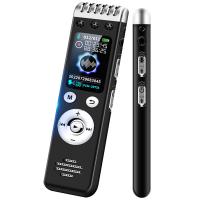
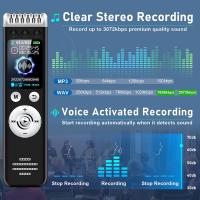
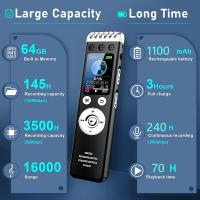
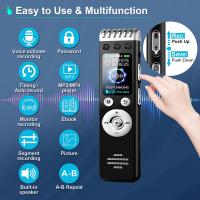
1. Voice Recorder: Modern digital voice recorders come with various features such as noise reduction, voice activation, and high storage capacity. Choose a model that meets your needs.
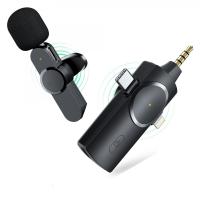
2. Telephone Recording Adapter: This device connects your phone to your voice recorder and ensures the audio from both ends of the call is captured clearly.
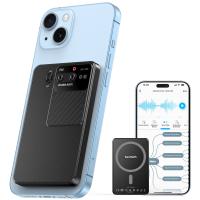
3. Smartphone/PC Software: If you’re planning to use a smartphone or PC to record, there are many software options available that can be just as effective as a standalone recorder.
Methods for Recording Phone Calls
There are multiple approaches to record phone calls, and the best method often depends on the type of phone you’re using. Below are different techniques for various devices:
For Landline Phones
Method 1: Using a Telephone Recording Adapter
1. Connect the Adapter: Plug the telephone recording adapter into your landline phone’s jack.
2. Attach the Voice Recorder: Connect the other end of the adapter to your digital voice recorder.
3. Start Recording: Turn on your voice recorder before dialing the call. Ensure it’s actively recording before the conversation starts.
4. Conduct the Call: Make your phone call as usual. The adapter will capture the conversation and route it to your voice recorder.
Method 2: Using a Speakerphone
1. Set Up Speakerphone: Activate the speakerphone mode on your landline phone.
2. Position the Voice Recorder: Place the voice recorder close to the phone’s speaker to capture the audio.
3. Start Recording: Turn on the voice recorder and begin recording.
4. Conduct the Call: Make your call on speakerphone, ensuring the recorder picks up audible and clear audio.
For Smartphones
Method 1: Using Recording Apps
1. Choose a Recording App: Download and install a call recording app from the App Store (iPhone) or Google Play Store (Android). Examples include TapeACall, Call Recorder, and Automatic Call Recorder.
2. Configure Settings: Follow the app’s setup instructions and configure the settings to suit your requirements.
3. Initiate Recording: Open the app before making or receiving a phone call, and start the recording process as outlined by the app.
Method 2: Using an External Voice Recorder
1. Use a Headset Adapter: Purchase a headset adapter that allows you to split your smartphone’s audio into the microphone and earphone jacks.
2. Connect the Voice Recorder: Plug the adapter into your smartphone and attach the voice recorder to the microphone jack.
3. Start Recording: Activate the voice recorder before beginning the call.
4. Make the Call: Use the smartphone as normal; the adapter will transmit the audio to the voice recorder.
Tips for High-Quality Recordings
1. Test Beforehand: Conduct a test recording to ensure the setup works correctly and the audio quality meets your expectations.
2. Minimize Background Noise: Ensure you are in a quiet environment to avoid interference with the recording.
3. Speak Clearly: Both you and the person you’re speaking with should enunciate clearly to ensure the voice recorder captures all responses.
4. Use a High-Quality Recorder: Prioritize using a high-quality digital voice recorder with noise reduction and ample storage capacity.
Storing and Managing Recordings
Once you have successfully recorded your phone call, managing the recorded files becomes the next important aspect. Most digital voice recorders will save files in formats like MP3, WAV, or WMA. Here’s how to organize and store your recordings effectively:
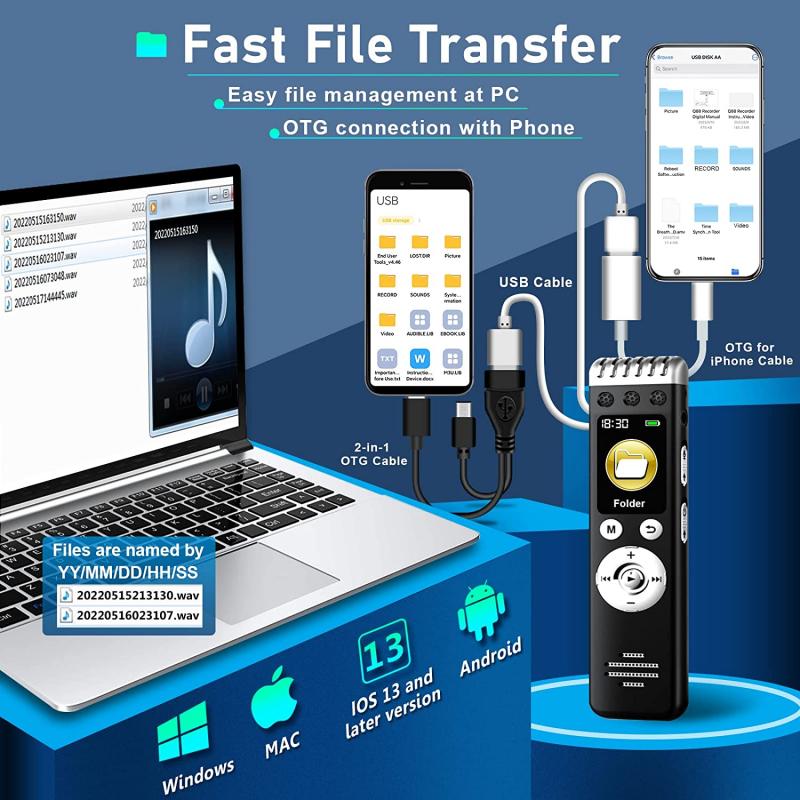
1. Transfer Files: Connect your voice recorder to a computer using a USB cable and transfer the files to a dedicated folder for easy access.
2. Convert Formats: If necessary, convert files to your preferred format using audio conversion software.
3. Label Recordings: Name and date your recordings for better organization and retrieval.
4. Backing Up: Back up your recordings to cloud storage services such as Google Drive, Dropbox, or Amazon S3 to ensure you don’t lose any important data.
Recording phone calls using a voice recorder can be immensely useful, but it requires the right equipment and knowledge. By following this guide, you can ensure that you are well-prepared to record phone calls effectively and legally. Remember to always check the legal requirements for recording conversations in your region and obtain the necessary consents before proceeding. With the proper steps and considerations, you can produce high-quality recordings that meet your personal or professional needs.











There are no comments for this blog.