How To Record Video With Selfie Stick?
Recording video with a selfie stick has become increasingly popular due to the convenience and flexibility it offers. Whether you're a vlogger, a traveler, or just someone who loves capturing moments, a selfie stick can be a valuable tool. In this article, we will explore the various aspects of using a selfie stick to record video, including choosing the right selfie stick, setting up your device, recording techniques, and tips for achieving the best results.
Choosing the Right Selfie Stick
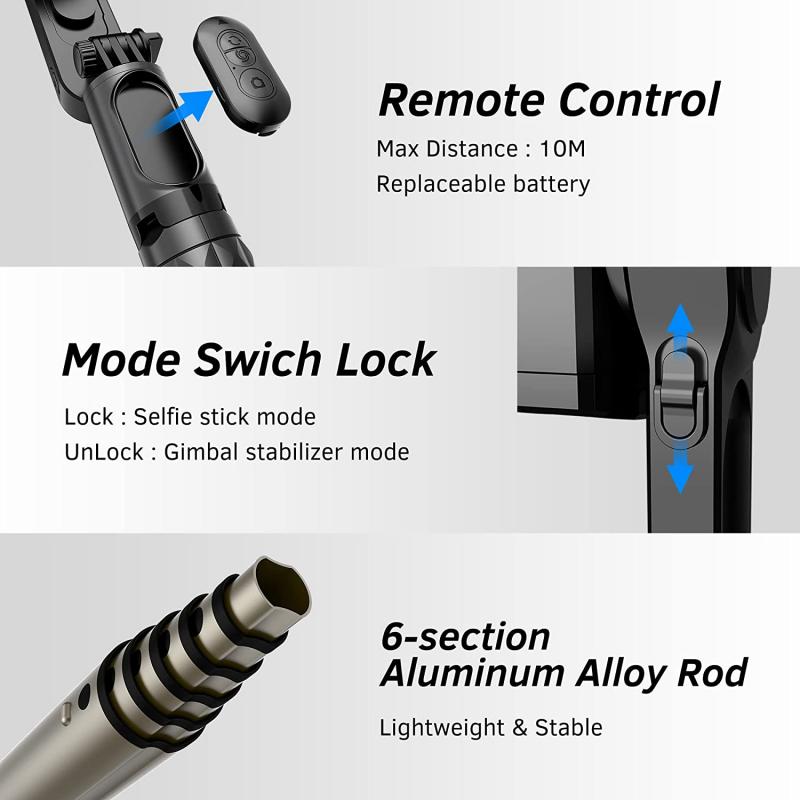
The first step in recording video with a selfie stick is selecting the right one for your needs. There are several factors to consider:
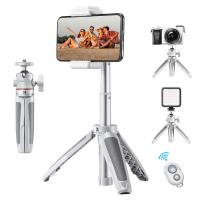
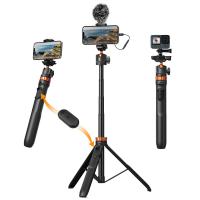
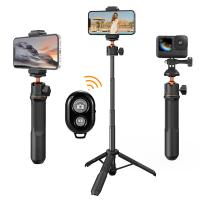
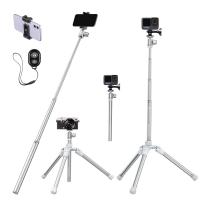
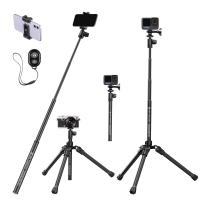
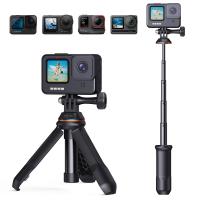
1. Compatibility: Ensure that the selfie stick is compatible with your device, whether it's a smartphone, GoPro, or digital camera. Some selfie sticks come with universal mounts, while others are designed for specific devices.
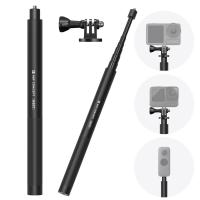
2. Length and Extendability: The length of the selfie stick is crucial. A longer stick allows for wider shots and more creative angles, but it should also be sturdy enough to support your device without wobbling.
3. Build Quality: Look for a selfie stick made from durable materials like aluminum or high-quality plastic. It should be lightweight yet strong enough to hold your device securely.
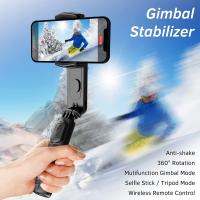
4. Bluetooth Remote: Many modern selfie sticks come with a built-in Bluetooth remote, allowing you to start and stop recording without touching your device. This feature is particularly useful for reducing camera shake.
5. Portability: If you plan to travel with your selfie stick, consider its portability. A foldable or telescopic design can make it easier to carry around.
Setting Up Your Device
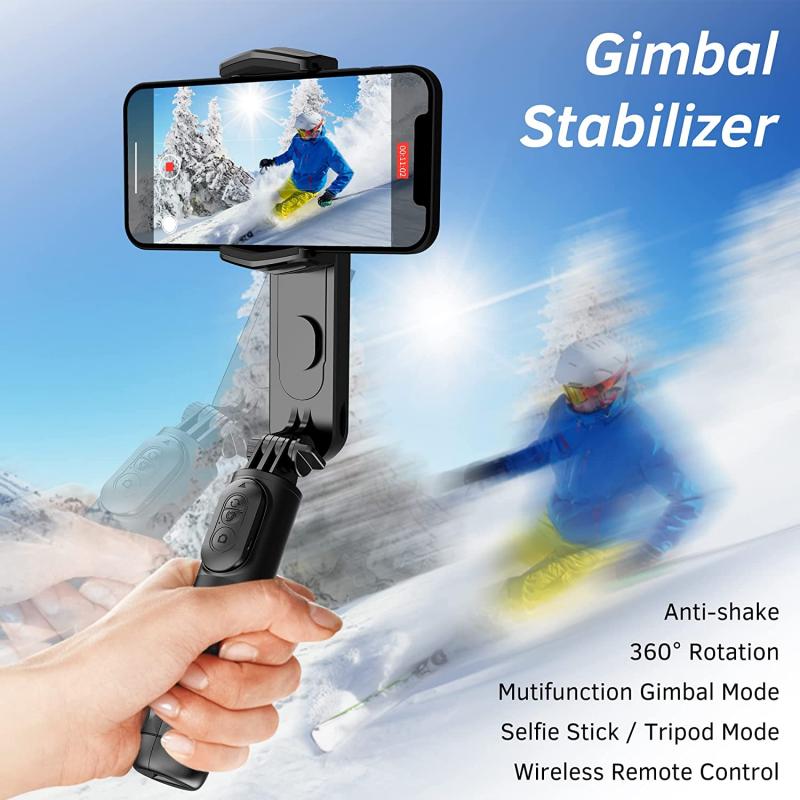
Once you have chosen the right selfie stick, the next step is to set up your device for recording. Here are the steps to follow:
1. Mount Your Device: Securely attach your smartphone, GoPro, or camera to the selfie stick's mount. Ensure that it is tightly fastened to prevent any accidental drops.
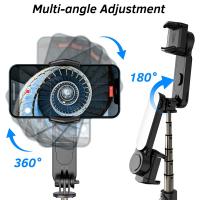
2. Adjust the Angle: Most selfie sticks have adjustable mounts that allow you to change the angle of your device. Experiment with different angles to find the best one for your shot.
3. Connect the Bluetooth Remote: If your selfie stick comes with a Bluetooth remote, pair it with your device. This usually involves turning on the remote and enabling Bluetooth on your device, then selecting the remote from the list of available devices.
4. Open the Camera App: Open the camera app on your device and switch to video mode. Make sure you have enough storage space and battery life to record your video.
Recording Techniques
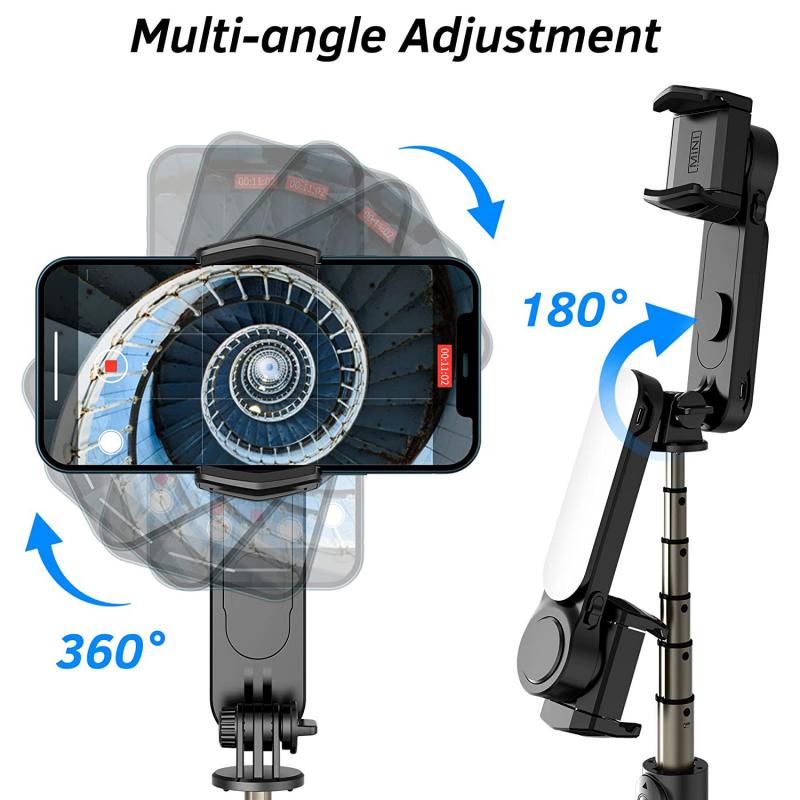
Now that your device is set up, it's time to start recording. Here are some techniques to help you get the best results:
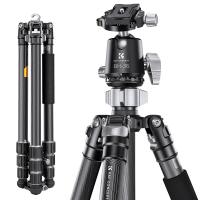
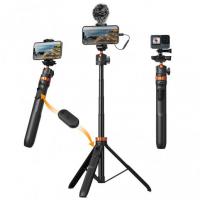
1. Stabilize Your Shots: One of the main challenges of recording with a selfie stick is keeping the camera steady. Use both hands to hold the stick and keep your movements slow and smooth. If possible, use a tripod attachment for added stability.
2. Use the Rule of Thirds: When framing your shots, try to follow the rule of thirds. This involves dividing the frame into nine equal parts using two horizontal and two vertical lines. Place your subject along these lines or at their intersections for a more balanced and visually appealing composition.
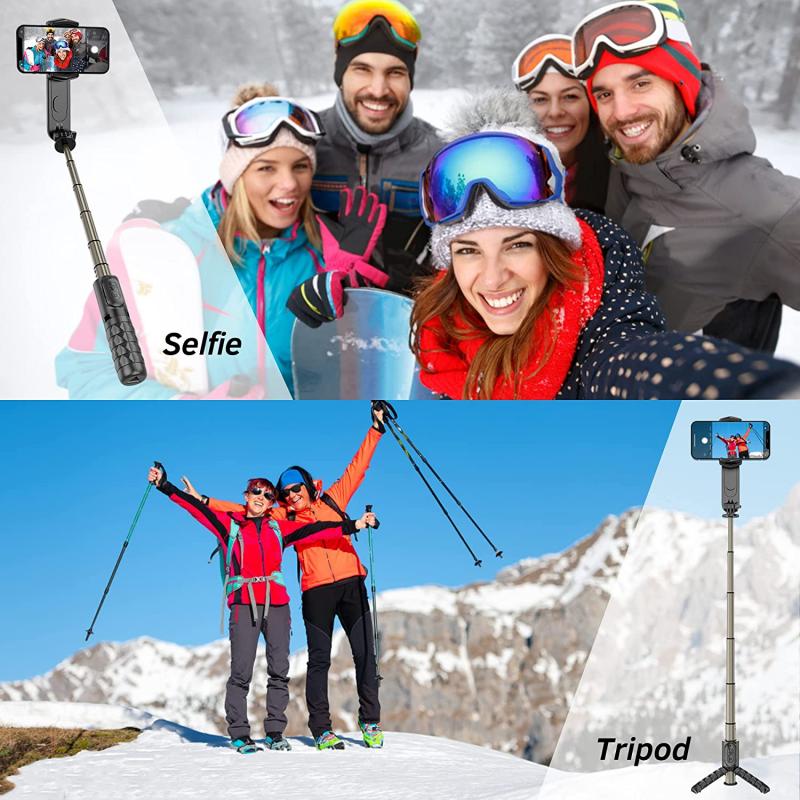
3. Experiment with Angles: One of the advantages of using a selfie stick is the ability to capture unique angles. Try recording from high above, low to the ground, or at unusual angles to add variety to your footage.
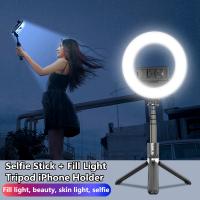
4. Mind the Lighting: Good lighting is essential for high-quality video. Whenever possible, record in well-lit environments. If you're recording outdoors, try to shoot during the golden hours (shortly after sunrise and before sunset) for the best natural light.
5. Use the Remote: To minimize camera shake, use the Bluetooth remote to start and stop recording. This allows you to keep your hands steady on the selfie stick.
Tips for Achieving the Best Results
To ensure that your videos turn out great, here are some additional tips:
1. Practice Makes Perfect: Spend some time practicing with your selfie stick before you start recording important videos. This will help you get a feel for how it handles and how to achieve the best shots.
2. Check Your Settings: Make sure your camera settings are optimized for video recording. This includes selecting the appropriate resolution and frame rate for your needs.
3. Keep It Clean: Regularly clean the lens of your device to ensure clear and sharp footage. A dirty lens can result in blurry or hazy videos.
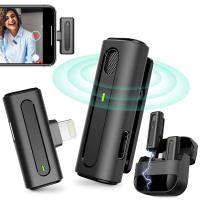
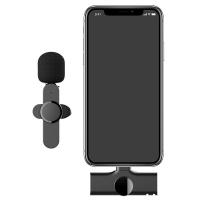
4. Be Mindful of Audio: If you're recording audio along with your video, be aware of background noise. Consider using an external microphone for better sound quality.
5. Edit Your Footage: After recording, take the time to edit your footage. This can involve trimming unnecessary parts, adding transitions, and enhancing the overall quality. There are many video editing apps available that can help you achieve professional-looking results.
Recording video with a selfie stick can be a fun and rewarding experience. By choosing the right selfie stick, setting up your device properly, and using effective recording techniques, you can capture high-quality videos that you'll be proud to share. Remember to practice and experiment with different angles and settings to find what works best for you. With these tips in mind, you'll be well on your way to creating stunning videos with your selfie stick.


